Self-tanning mitts provide a tone of convenience, and you will wind up obtaining a little nicer tan after you learn to use them. However, you can use an alternative of tanning mitt if you do not have one. Many people decide to only use their hands, which is perfectly an option. However, utilising your hands can lead to orange hands and a somewhat less even hand at the same time it will hard to apply fake tanning uniformly all over athe body. Don’t worry however, if you’re planning to use your hands, we’ll talk about a few strategies down below to accomplish it properly.
If we don’t have a mitt around, the best thing to do is try and recreate the benefits of an alternative of tanning mitt that is available around our house.
What to use instead of a tanning mitt?
Following is a list of alternative tanning mitt that is handy and effective for you.
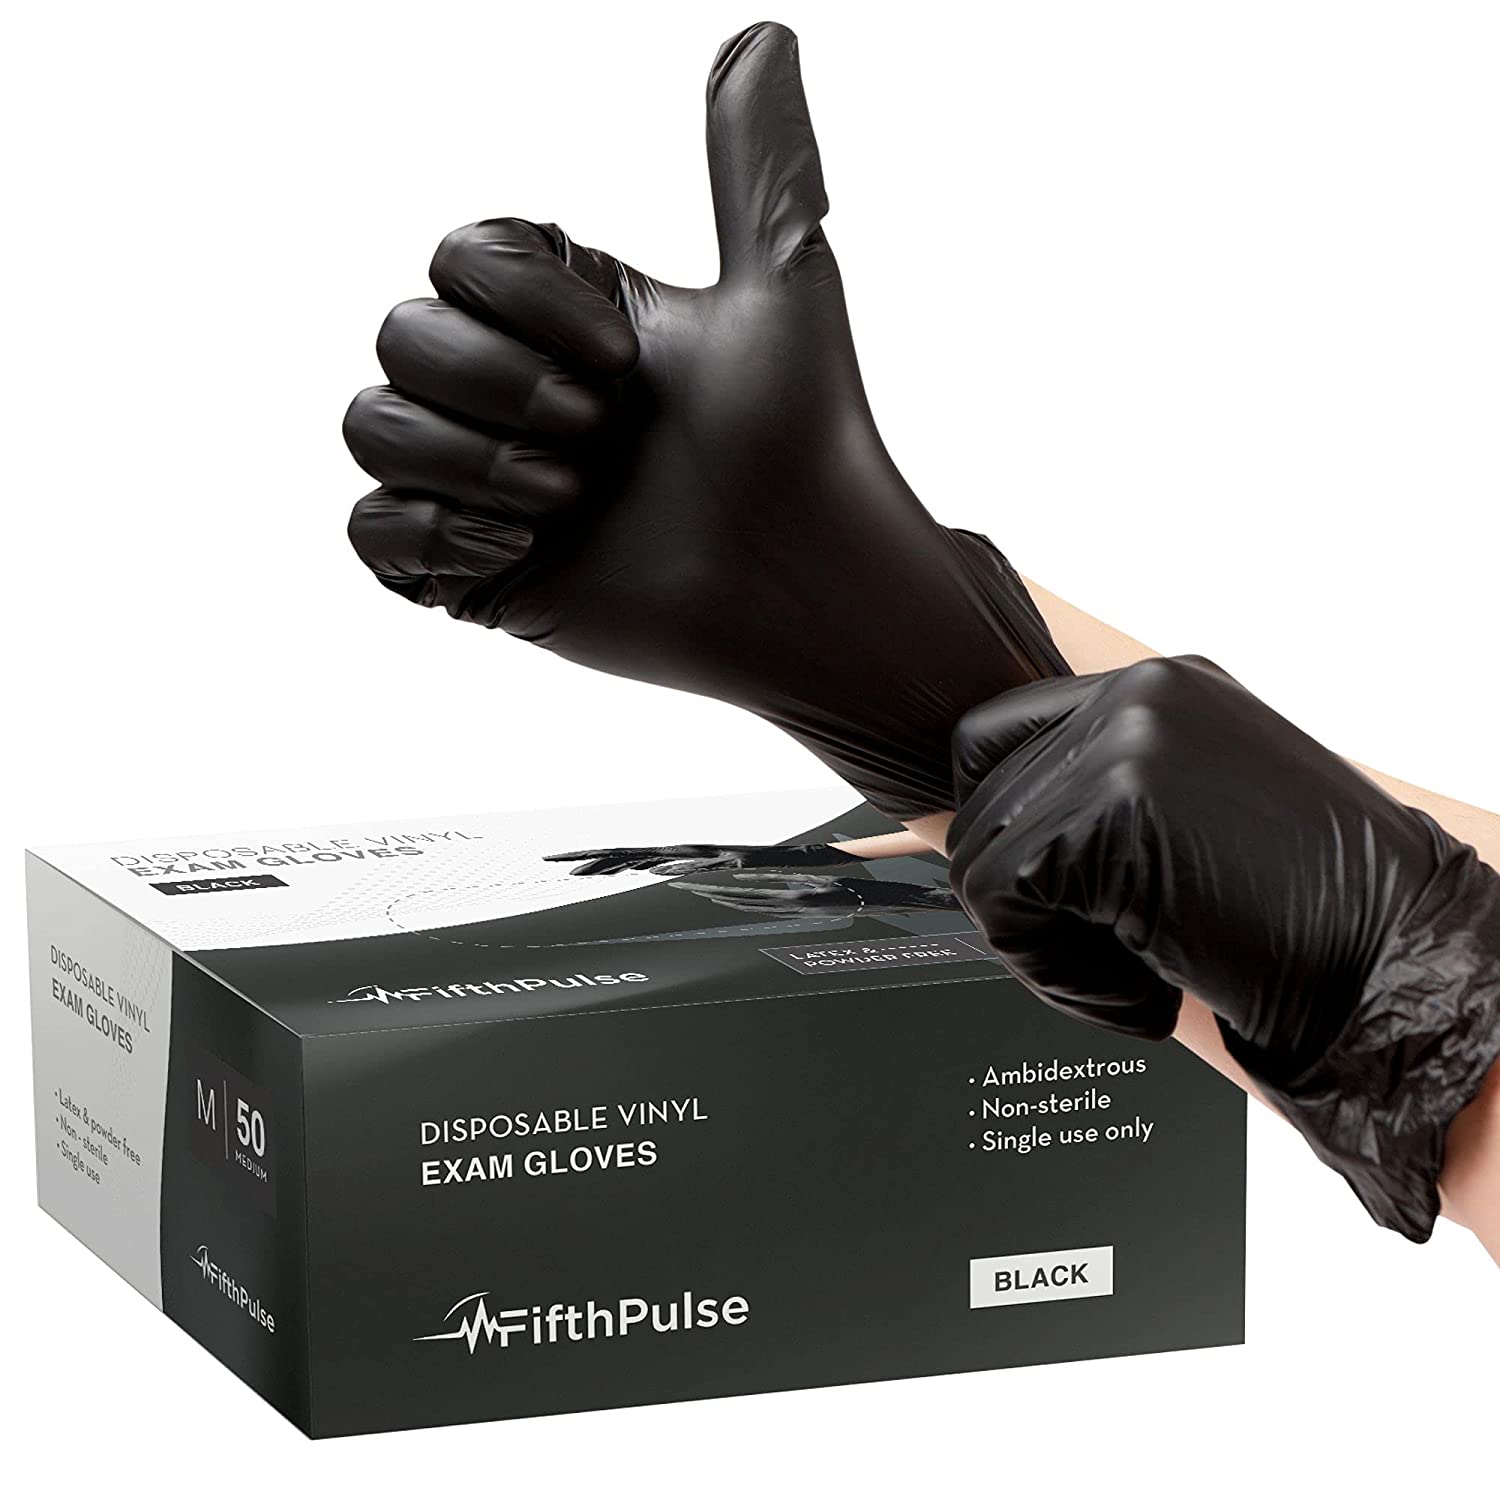
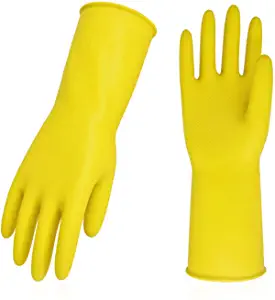
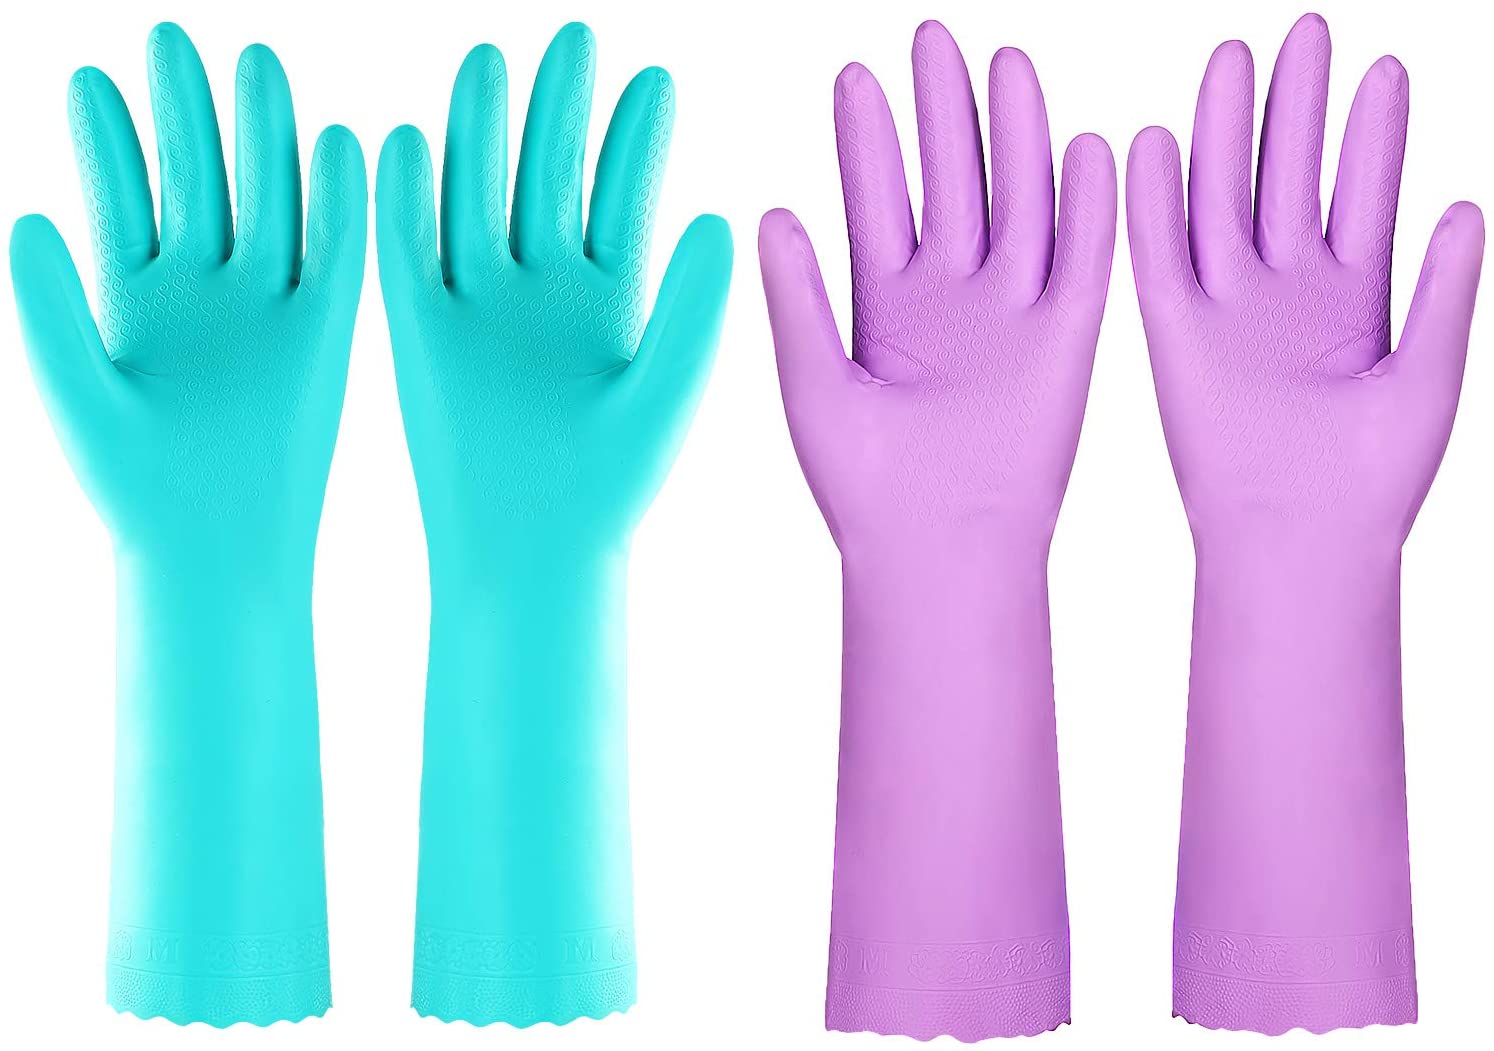
1. Use A Rubber Glove
Sounds a bit silly right? Rubber gloves, on the other hand, are a good alternative to tanning mitt for many people, and few even prefer them. There are certain self-tanning mitts (or other equivalents) that absorb a lot of the self-tanner, making them less effective than others.
In addition to wasting time and resources, this can also result in unequal application. Sunless tanning products won’t be harmed by rubber gloves like these from Amazon because they won’t be absorbed.
It’s also common for fake tanning mitts that lack finger openings. There are some areas of your body where this isn’t as effective as others, and it might be a challenge to tan there. With rubber gloves, we have a lot of freedom in these regions.
 |
 |
 |
| Check for Price At Amazon | Check for Price At Amazon | Check for Price At Amazon |
Rubber gloves are also useful for self-tanning because the product can be easily removed after use by washing the gloves. For self-tanners that don’t contain any bronzer or guide colour, the glove should be able to be used multiple times.
You don’t have to worry about washing your hands later to remove the orange colour because they won’t let any of the stuff get to your hands.
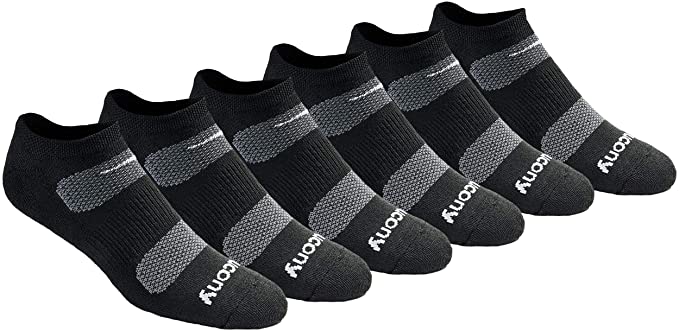
2. Using a sock as a tanning mitt
Another popular alternative to tanning mitt among users is this one. You may apply self-tanner without over-tanning your hands by using a pair of socks as a mitt.
Most self-tanner products work best when applied with your sock inside out, then distributed with your sock. Since there is nearly always some product being held by the sock, the tan goes on a little smoother than it does with a rubber glove.
The roller will always have some product on it, allowing it to go on evenly, as compared to a spatula while painting a wall (well, that analogy is bad, but you get the point).
 |
 |
 |
| Check for Price At Amazon | Check for Price At Amazon | Check for Price At Amazon |
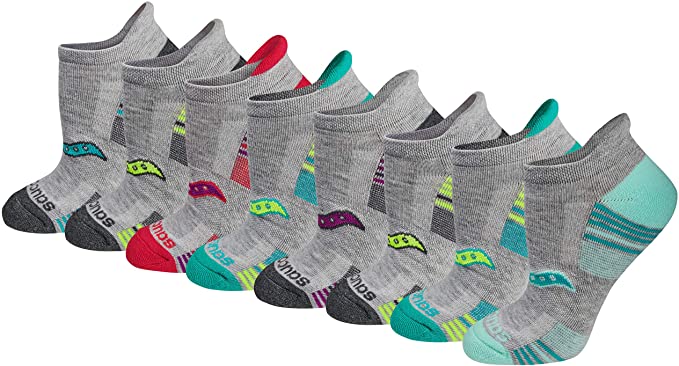
I’ll mention that if you peruse tanning forums online as I do, you’ll find that many women prefer to apply their self-tanner with slipper socks.
This alternative of tanning mitt is a little thicker and will do a better job of protecting your hands. There are certain advantages to utilising socks, though, including the fact that they are affordable and may be replaced quickly after a few wears.
Even if your socks or someone else’s is being used, make sure you never put them on your feet again. Self-tanner can remain on this alternative of tanning mitt even after washing (which you should never do). There are a plethora of humorous photographs of people with tanned feet popping up on the internet these days.
3. Use Your Hands
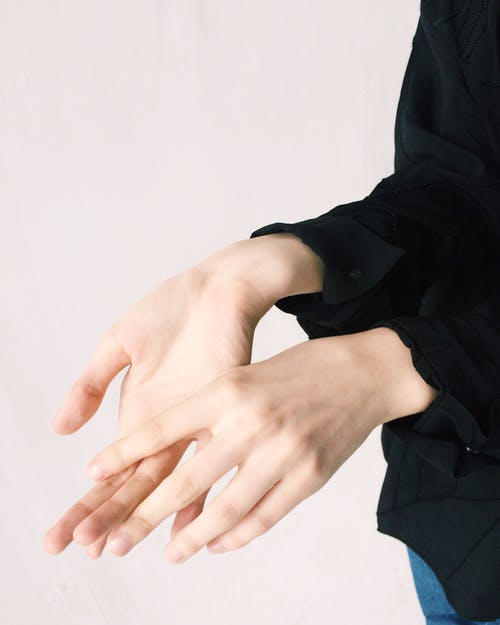
That’s a scary thought, isn’t it? The vast majority of individuals begin using fake tanners in this manner, and I believe everyone is fine with this alternative of tanning mitt.
Using your hands to apply a sunless tanner can be a very effective alternative to tanning mitt as long as you follow the instructions carefully and follow them exactly. So before anything else, take a shower, exfoliate, shave, and moisturise your body as usual. For the sake of brevity, I won’t go into too much detail here.
After you’ve completed all of your preparation, apply a generous amount of self-tanner (I like this one from Amazon) to your entire body. Avoid applying too much self-tanner to the driest parts of your body, such as your knees, elbows, ankles, and so on.
When you’re satisfied with the tanner’s coverage, wash your hands immediately!
Using a sugar or sand scrub is the greatest technique to get rid of the dead skin cells. Before the self-tanner has a chance to set, give it a good scrub. You shouldn’t have any self-tanner left on your hands if you do this immediately and thoroughly.
4. Make Use of Cling Film When Applying Self-Tanner
Despite its outlandish sound, this alternative of tanning mitt proves to be rather effective. Wrap your hand entirely in Reynolds cling wrap and you’ve got yourself a homemade faux tanning mitt.
To avoid suffocating your hand, wrap it as tightly as possible without suffocating it completely. The self-tanner will stick to the cling wrap’s flat surface.
Some people prefer this way to all others, so I strongly advise you to give it a shot. You can read the rest of my instructions for applying self-tanner with plastic wrap right here.
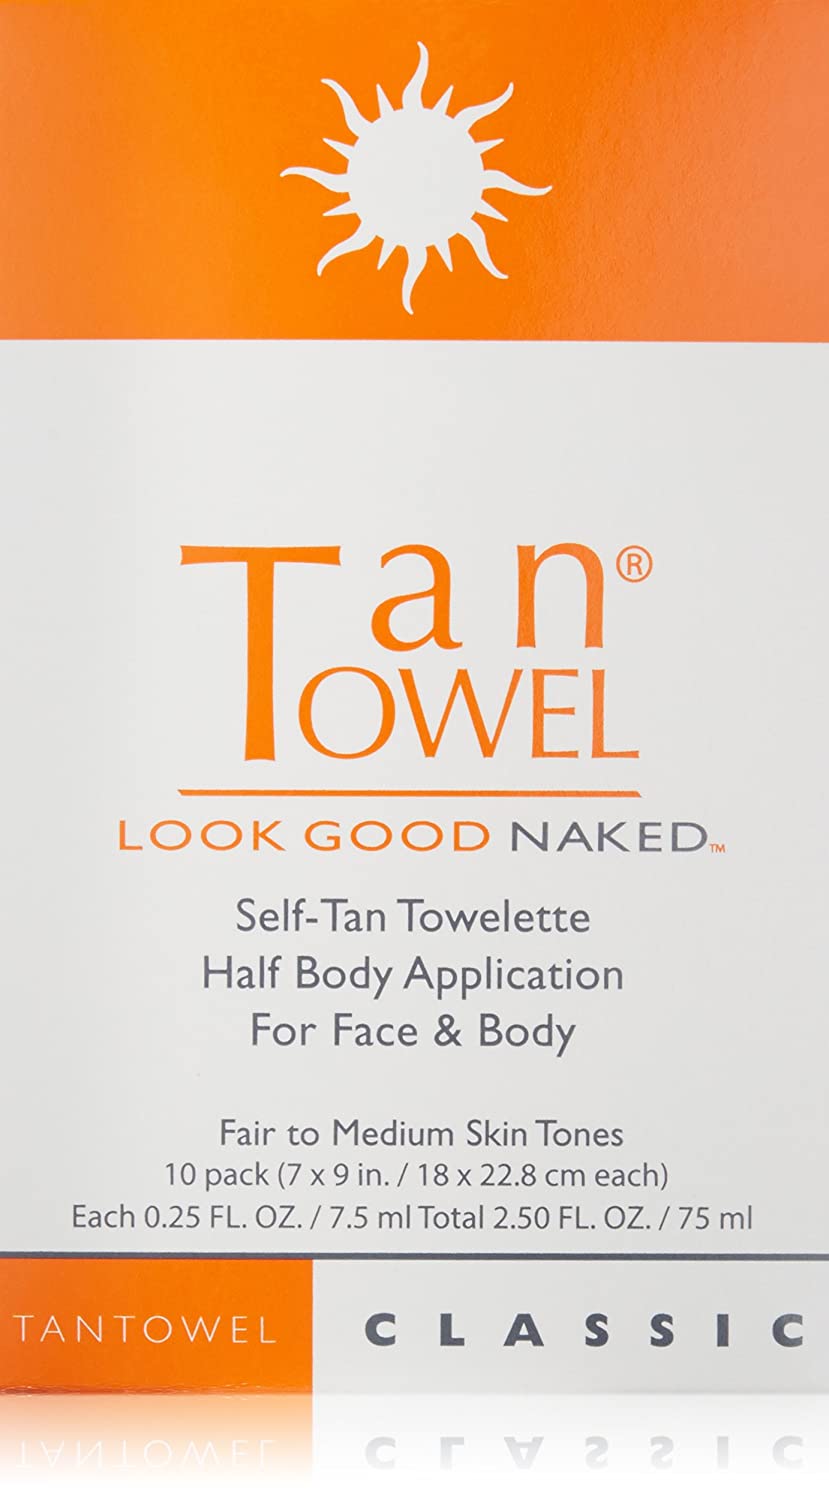
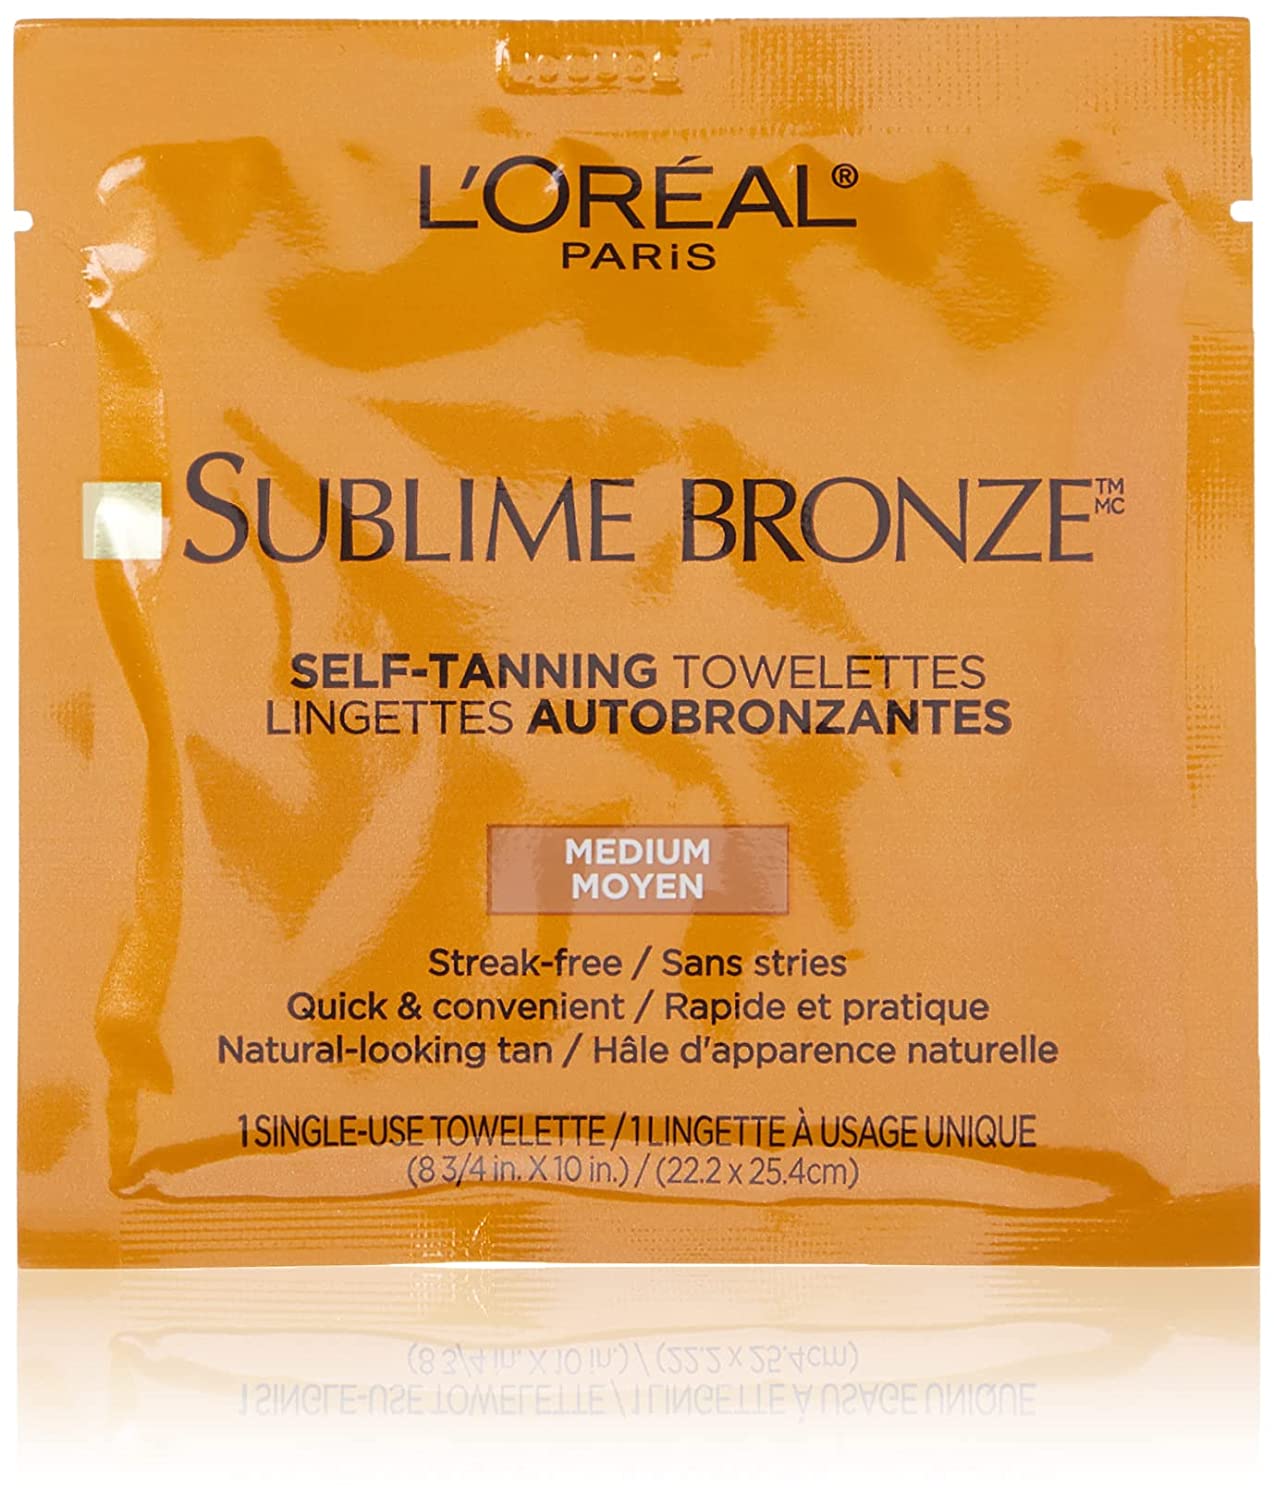
5. Using self-tanning wipes
Every year, the popularity of self-tanner wipes grows, and with good reason: they work great! For those who lack a mitt or are dissatisfied with the alternatives, this alternative of tanning mitt may be the ideal solution. A detailed guide to the top self-tanning wipes on the market is available for your perusal.
 |
 |
 |
| Check for Price At Amazon | Check for Price At Amazon | Check for Price At Amazon |
It’s a great self-tanner on a handy towelette, but that’s about it. This is a trade-off between convenience and savings in the long run. If you’re going on a trip or attending a function, or simply don’t have a lot of time but still want a great summer glow, these products are ideal.
Because they are already on a towelette, they are easier to apply than if you were to use your hand. Nonetheless, it’s still a good idea to wash your hands well after using these products to avoid any discolouration.
How to apply self-tanner without a mitt
Let’s now talk about how to prepare for using an alternative of tanning mitt.
Remember that the prep work you put in before applying self-tanner can be just as crucial as the self-tanner itself!
Self-Tanner Application Without A Mitt: What You Need To Know
It doesn’t matter what kind of self-tanner you use, preparation ahead of time can make all the difference while applying an alternative of tanning mitt.
Here are the suggestions of a tanning specialist about what she did before applying self-tanner.
Exfoliate
Before applying a self-tanner, it is essential that you properly exfoliate your skin (see my complete guide here). It’s important to keep in mind that DHA is the primary active element in self-tanners. It’s a chemical process that occurs when DHA comes into touch with skin cells that causes pigmentation.
The tan can appear uneven or blotchy if you have dead skin cells on your body. Oil-based exfoliants have the potential to leave a film on the skin, so avoid using them. I prefer to use an exfoliating mitt rather than a sugar scrub for this purpose.
Using Wax And Shaving Methods With Caution
Even if you’re using a mitt to apply self-tanner, this is critical. At least 24 hours before applying self-tanner, you should have had any hair removal done. Shaving or waxing can inflame the skin and create micro-cuts if not done correctly. Before applying any product, make sure your skin is relaxed.
After you’ve applied a fake tan, make sure you don’t wax or shave. This is a travesty of justice. Your skin’s outermost layer contains the DHA. Attempting to shave too soon after a tan has set can result in a streaky, blotchy tan.
Make sure you’re moisturising correctly!
When it comes to ensuring that your self-tan lasts, moisturising is essential! Immediately following the use of the self-tanning lotion, be sure to hydrate your skin well to prevent drying it out. The flaking of your skin can look unnatural if your skin is too dry. Find out everything you need to know about moisturising in my comprehensive guide.
Applying self-tanner on the same day as you’ll be using moisturiser, deodorant, or perfume is not recommended. Odd reactions to the product can occur when using any of these goods.
Investing in high-quality goods
Self-tanner is one of those items where you get what you pay for, and it doesn’t cost a fortune. Because not every product is ideal for everyone, you may have to do some experimenting to find what works best for you. Stick to your guns!
Icy Water
This is not a common suggestion, but it has worked well for myself and others who have given it a shot.
Spray your skin with cold water shortly after you exit the shower if you’re applying a fake tan or getting a spray tan right before you leave. As well as being good for your health, this method also helps to shut your pores, which makes it easier for your tan to take hold and look flawless. It also ensures that the cream does not clog any of your pores, which is important.
Pay Particular Attention to Your Face

When it comes to fake tan, it is good to know how to apply self-tanner to the face. While self-tanning your face, take your time and be patient. This is as important as how to apply self-tanner to back.
Self-tanner and moisturiser go hand in hand for me. This makes it easier to apply and prevents my pores from being clogged. When using a self-tanning mitt, whether homemade or purchased, simply mix the two on the surface of the mitt before applying.
Before, during and after applying self-tanner, these methods will ensure that you get a gorgeous tan even if you do not have a glove.
The 10 Best Tanning Tricks to Follow to Get the Best Results
Now that you know how to use an alternative of tanning mitt, here are some tips to get the best results.
1. Always perform a 24-hour skin-patch test before using any new skin-care product to ensure that you will not react to it. You can do this by using a dime-sized amount anywhere on your body. If you have a strong response, get medical attention immediately!
2. Use a gradual tanner if this is your first time using a self-tanner or it has been a long time since your last use. Amazon has a huge selection of high-quality products from which to choose.
3. The skin should be DRY before applying the product. Wet skin will ruin your outcomes, which may seem obvious to some. Wait at least eight hours before moisturising, and be sure to do it regularly if you want to keep your tan looking as healthy as possible.
4. Use products with organic components and instil what your skin needs. You can get Skinerals California self-tanner lotion, a highly rated blend formulated with organic components. You can get Fakebake’s Flawless Coconut Serum, which is packed with coconut oil and hyaluronic acid, as well as amino acids.
5. The dry portions of your body, such as your knees, elbows, etc., benefit greatly from a small amount of moisturiser.
6. Following the application, make a point of washing your hands immediately. To remove the dye completely before it becomes absorbed into your skin, use an exfoliating soap.
7. Be patient and don’t give up if the first few attempts don’t bear fruit. Getting a good tan using a self-tanner takes practice, so be patient if you’re a beginner user. Stick to your guns!
8. The day before you plan to apply, wait to shave. When you’re pregnant, your skin is more vulnerable, and you may have little wounds or open pores. Instead, attempt to shave the night before or give it at least eight hours to spare your skin from irritation and razor burn.
9. As a last resort, ask a friend, family member, or another person you don’t mind showing your underwear in front of for assistance. They can assist you to achieve a more even backside appearance. Additionally, having a second set of eyes on things is always beneficial!
10. If you’re looking to get rid of some strange blemishes on your skin, you might try slicing a lemon in half and rubbing it on. The acids aid in the removal of the tan. Instead of adding more products, you might see if that helps.
Biggest Mistakes to avoid while self-tanning
Sophie Evans, a tanning expert, explains the most common tanning mistakes and how to avoid them.
- Ignoring the need to wash your applicator mitt after every use. There are many ways to make a mess of your mitts, says Evans. This results in an uneven tan because they use dirty tans that are overloaded with old tanner. Hand-wash a mitt in soapy water, rinse, and air-dry after each use.
- It’s possible to overdo it with tanning products. There’s a limit to how much self-tanner your skin can take in. Your skin’s colour is determined by the amount of DHA in the formula, not the amount you apply. Because they’re worried, “people use a small amount for their whole thigh,” says Evans. Stripes appear as a result.
- Getting a haircut too late or too early. To ensure that your follicles have time to heal, you should shave, wax, or thread at least 24 hours before tanning. In this case, Evans says, “the tanner will sit in the pores and cause a pitted look”. To extend the life of your tan, avoid shaving for at least a week after you’ve finished tanning.
- After getting a tan with an alternative of tanning mitt, don’t wash your hands or feet. Someone with dark hands and feet is going to acquire an extremely wrist crease. To dilute the self-tanner, use plain lotion to the affected regions before and after it is applied. A makeup-removal wipe is also a good option.
- “Sunscreen is still necessary even if you have a self-tan,” Evans explains. Make sure your tan has developed for at least eight hours before you put on sunscreen. Self-tanners that develop more quickly are becoming more popular.
Conclusion about ALTERNATIVE OF TANNING MITT
Fake tan can be applied in a variety of ways. One of the best ways to achieve this is with a self-tanning mitt, but any of the methods about the alternative of tanning mitt I listed above should yield similar results.
You’ll get better at applying fake tan, regardless of how you go about it. It does take practice, though. A nice tan is easy to achieve if you do your homework, buy the right product, and apply it evenly.