
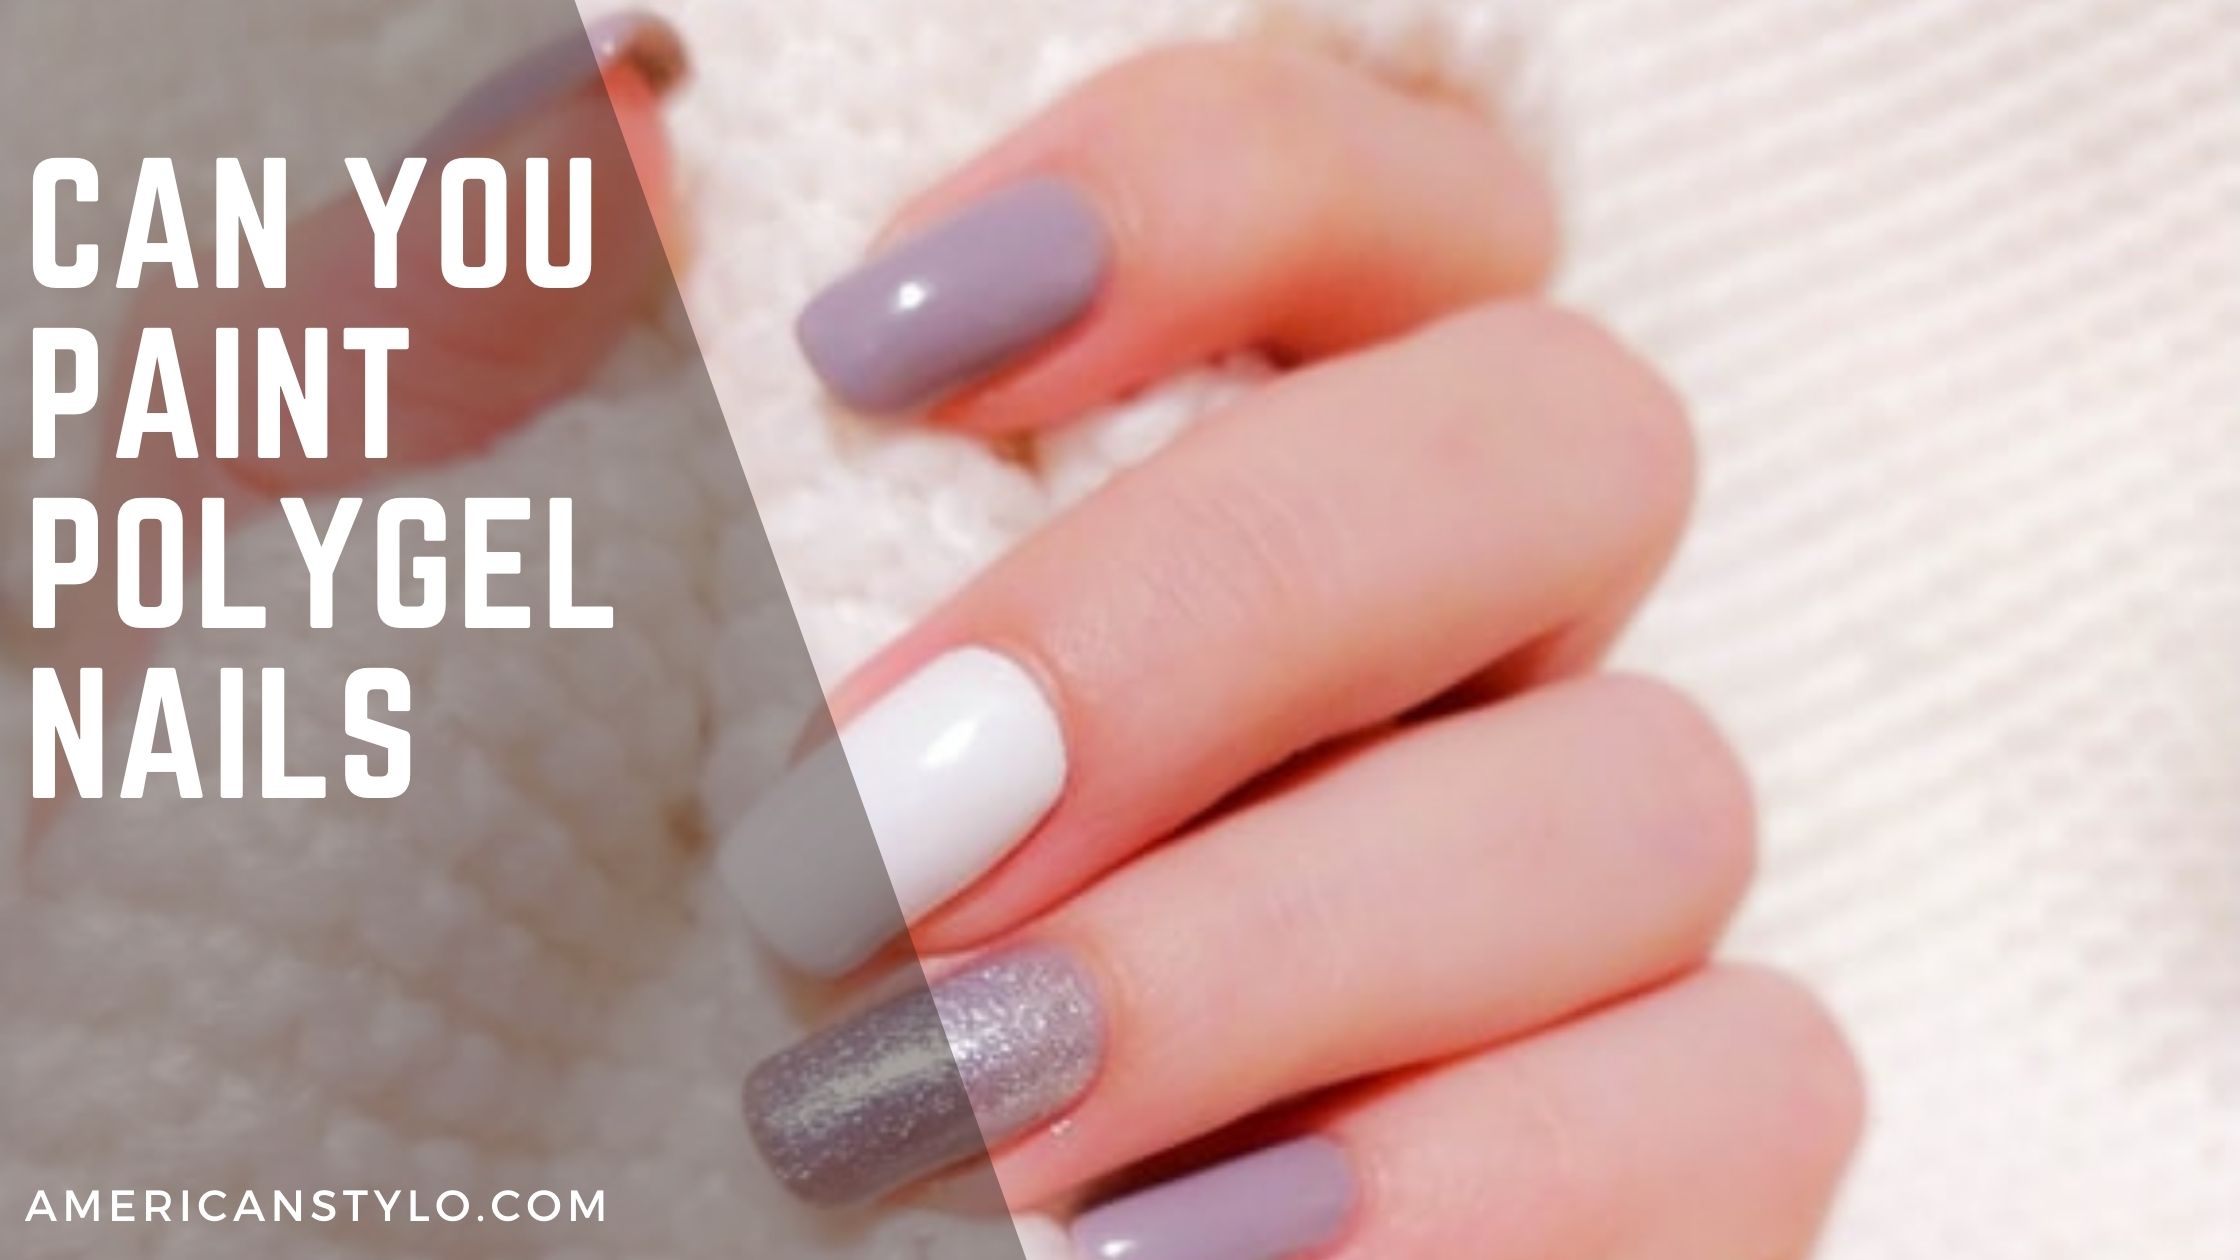
As a newer type of nail art, polygel lacks a wide range of colours. To achieve the colour you want, you may need to paint your poly gel.Is it possible to do this with poly gel? Do poly gel nails require painting? Can you paint polygel nails? You may be curious about that. It makes sense to paint your poly gel nails if you have a wide range of colour preferences. As a result, you can use any colour that is compatible with your polygel.
Polygel Nails: What Are They?
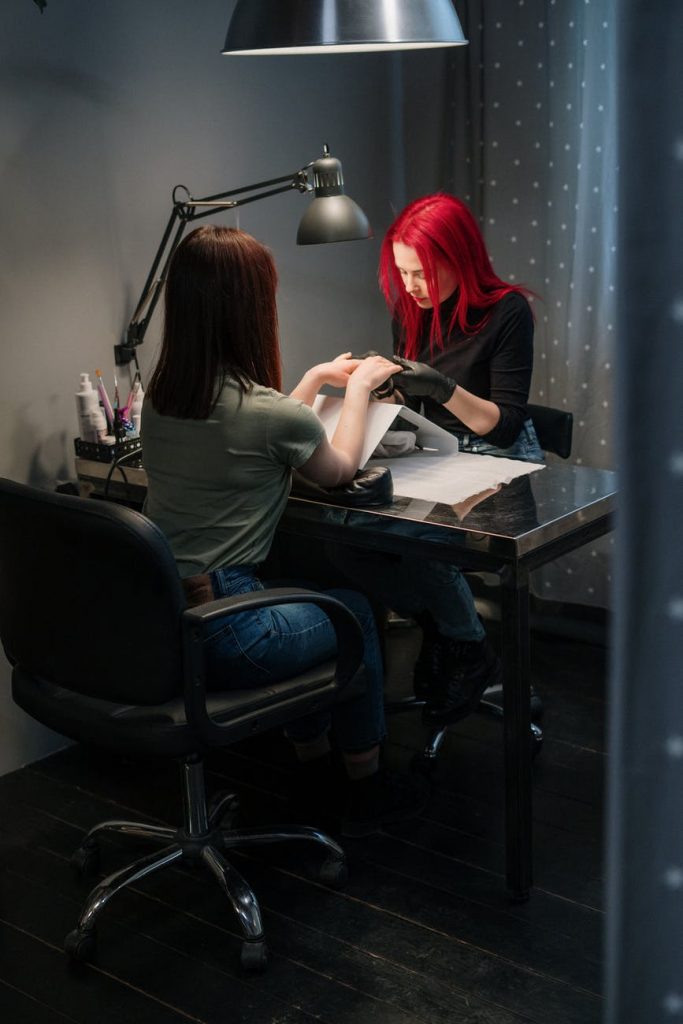
Before realizing that can you paint polygel nails? Let us know what Polygel nails are. Using the Polygel Nail Technique can elevate your manicure to the next level. Similar to gel and acrylics, but with none of the drawbacks, it is a hybrid product. When applied to the nails, polygel has a putty consistency and is smoothed with a flat brush. It can be used as an overlay for natural nails or sculpted like acrylics, making it highly versatile. There are no monomers or harsh chemicals in this product, and it doesn’t need to be mixed.
The nails you obtain will be strong, flexible, and light, and they will not hurt your natural nails or have a strong scent. A UV light or LED lamp can be used to cure these polishes, which are usually clear but can be blended with gel or conventional polish if desired.
Here, I’ll give you step-by-step instructions if you want to know can you paint polygel nails! from start to finish.
Various Polygel Paint Types
Polygel nails can be given an extra colour with a range of paints. While it’s fine to use old paintings, they must not compromise the stability of your fake nails.
Nail polish, gel polish, acrylic, conventional pigments, and so on are among the various types. These are important to know before learning how can you paint polygel nails?

Tips and Tricks for how can you paint polygel nails
On Polygel Nails, apply Nail Polish.
Nail polish is one of the simplest and most effective methods to customise your Polygel Nails. Even if gel nail polish is now available, I advocate applying it over the other option.
Gel nail paint, on the other hand, is nearly as hard-wearing as Polygel. In other words, this indicates that the gel polish will last nearly as long as Polygel.
Gel polish and Polygel are quite similar in formula, thus they bond and keep together better than conventional nail polish.
Polygel, on the other hand, has two options:
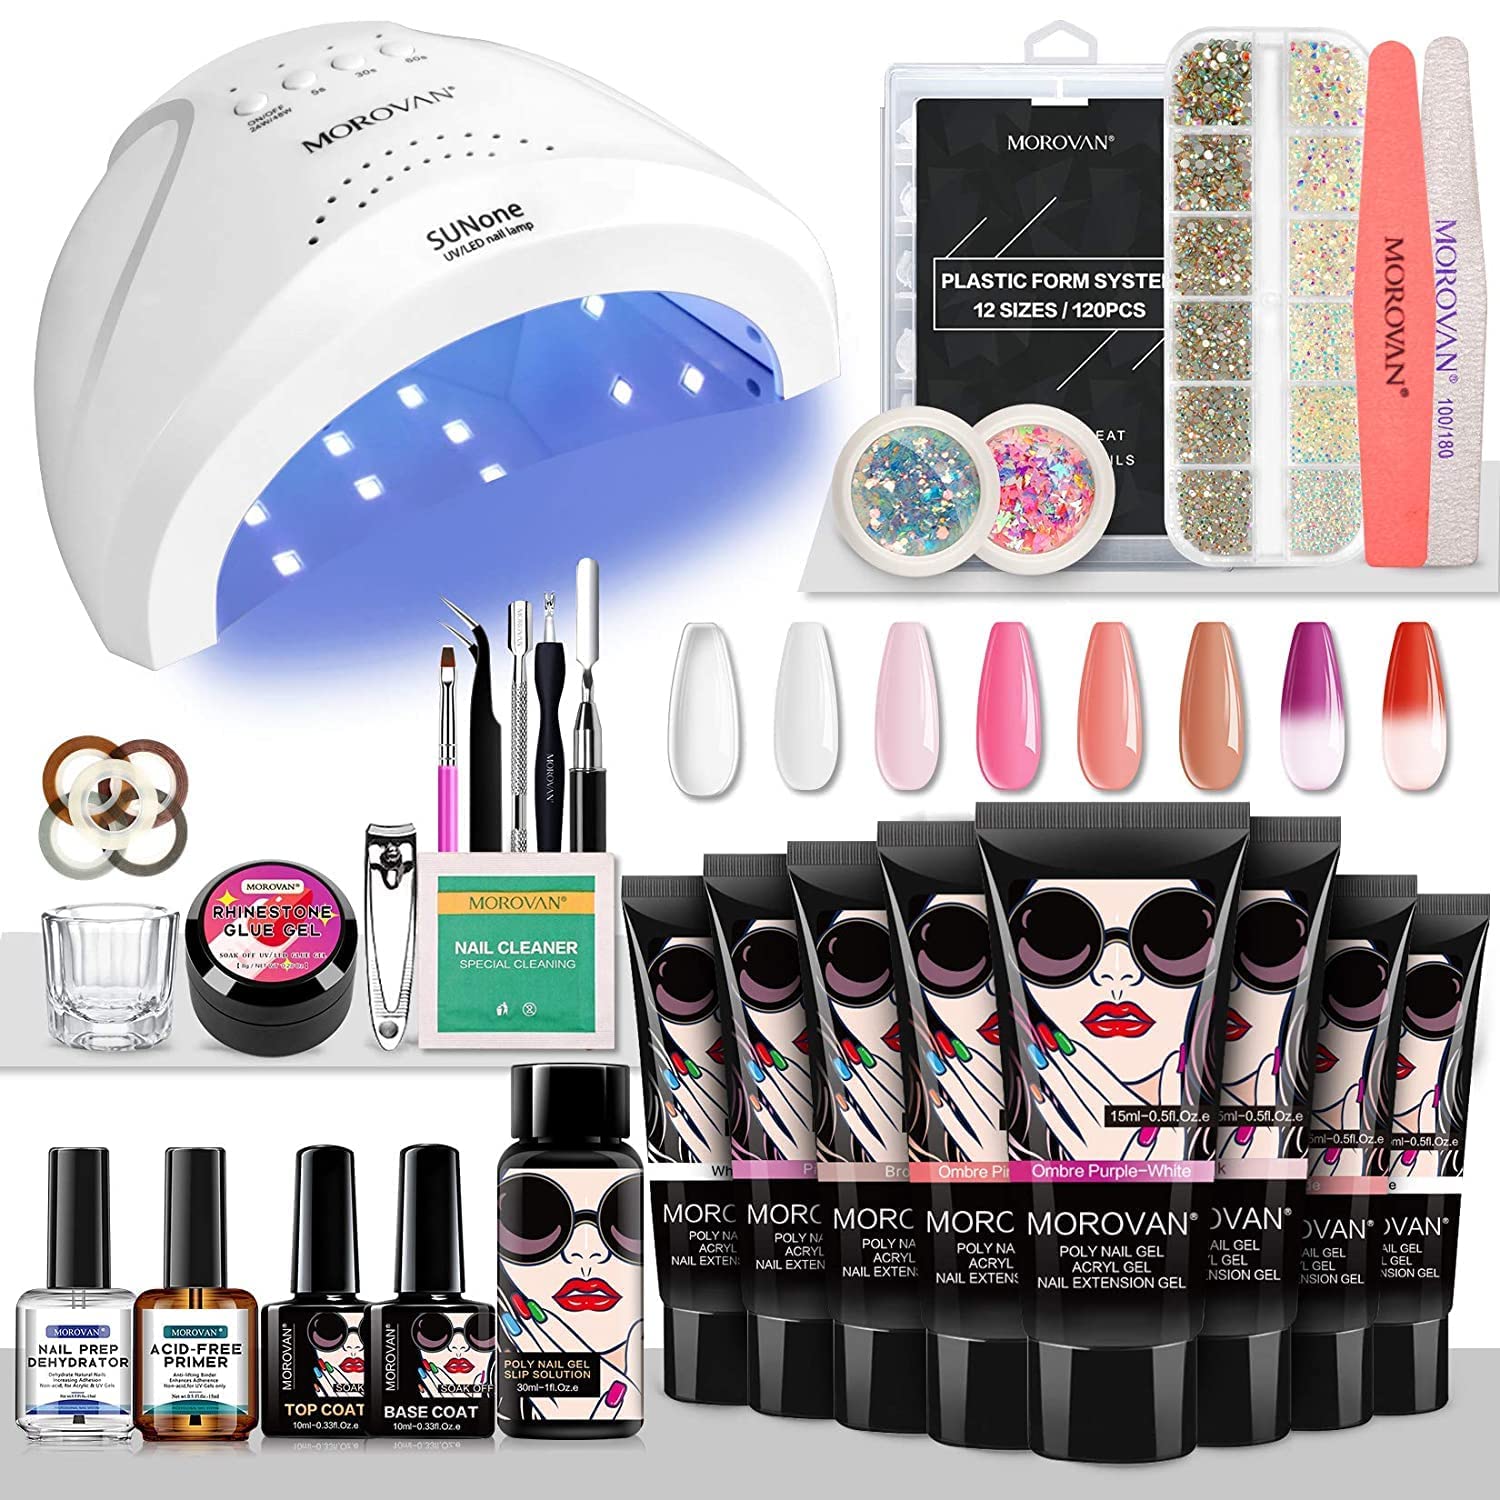
- The Morovan Polygel Kit is a full Polygel kit that includes everything you need to get started.
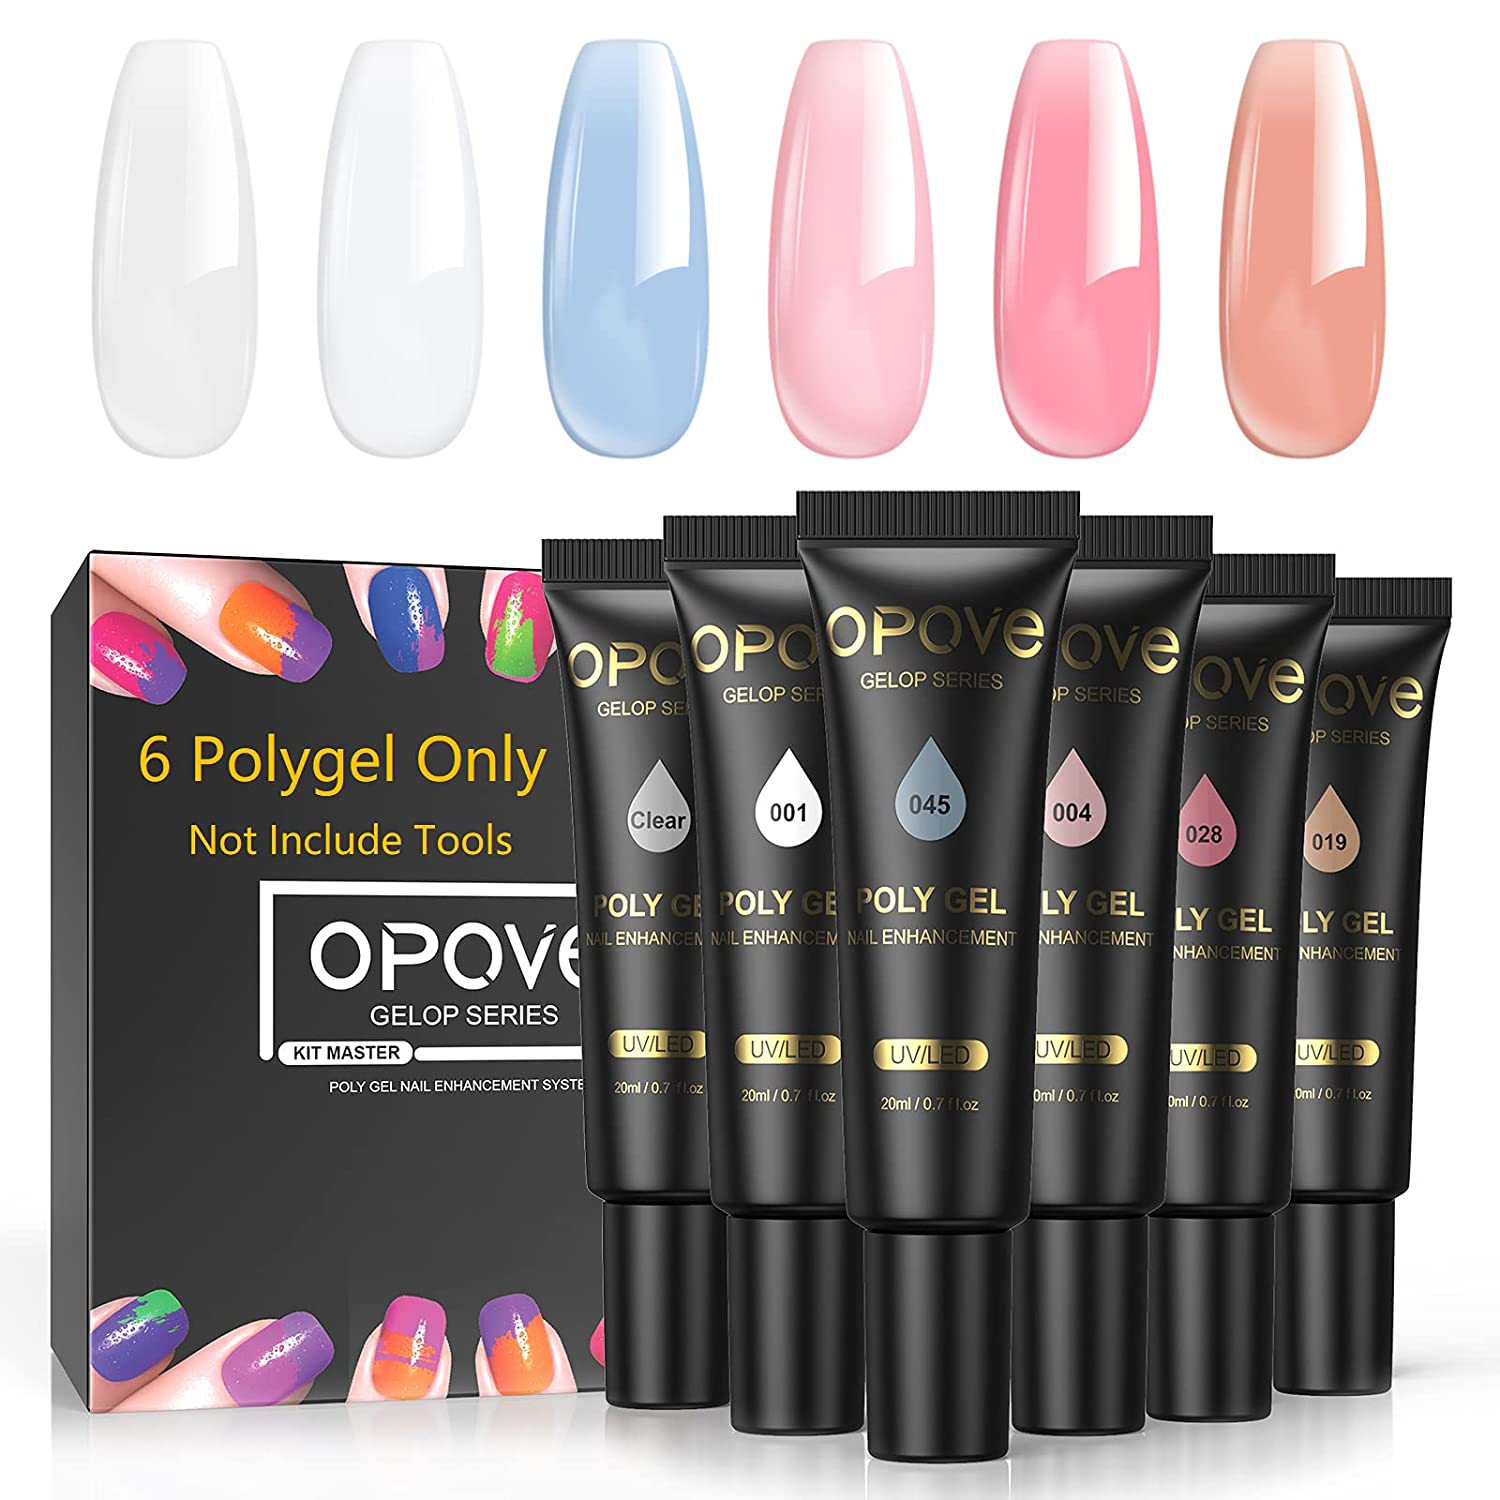
- Gelish Clear Polygel, on the other hand, is an excellent Polygel for applying nail polish. They’re more expensive, but they’re the brand that most nail techs prefer because they’re long-lasting and simple to deal with.
|
|
|
| Check For More Details At Amazon | Check For More Details At Amazon | Check For More Details At Amazon |
Adorn your fingernails with Nail Stickers
Applying nail stickers to your Polygel Nails is another way for how can you paint polygel nails!
You can peel and stick nail stickers on your fingernails because they are little, custom-made stickers typically made of vinyl.
Strengthen Your Polygel Nails.
Polygel Nails can last for up to four weeks if applied appropriately. However, the life expectancy of Polygel varies widely from person to person.
Your Polygel Nails will wear out more quickly if you engage in a lot of physical activity, such as gardening, cleaning, or cooking, which exposes your nails to harsh chemicals and other environmental conditions. All manicures, from synthetic nails to dip powder, fall within this category.
Tips for strengthening and extending the life of your polygel nails:
Ensure that your nails are properly prepared and cleaned
To get the most out of your Polygel Nails, make sure you clean and prep your nails properly before using any product.
To get your nails ready, do the following:
- Remove any nail paints or acrylics that may be on your nails.
- Push your cuticles back with the pusher and align them to the back of your nails to complete this step. Lifting can occur if Polygel Nails are applied to the cuticle area instead of straight to the nails if you do not take care of your cuticles.
- A medium-grit nail file is best for this. Finally, file your nails. Make your nails rougher so the Polygel can stick better. It also helps to remove any cuticle skin that could cause your nails to lift.
- It’s time to clean your nails. You can use acetone or rubbing alcohol to do this after you’ve cut them. This helps to get rid of any oil and dirt that might be on your nails, which could make the Polygel not stick.
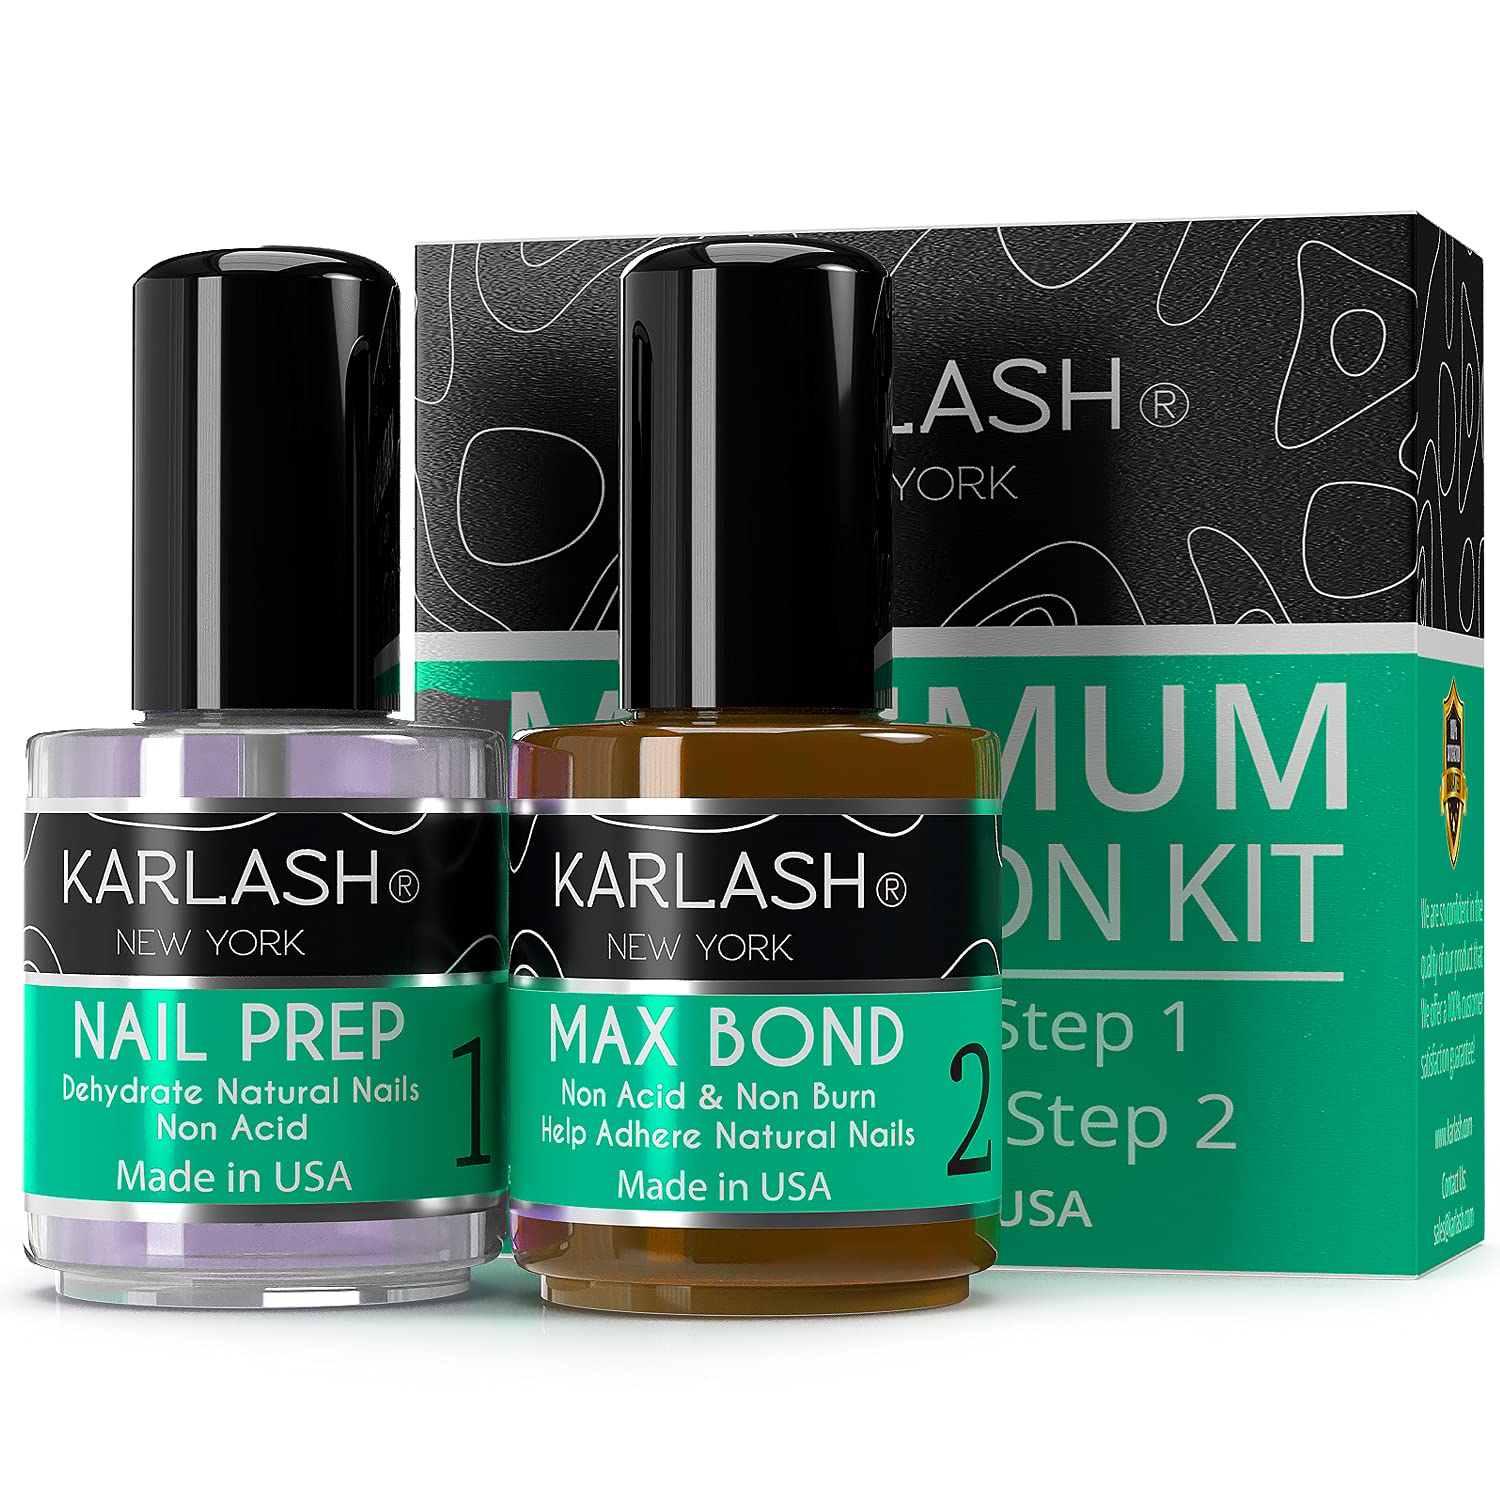
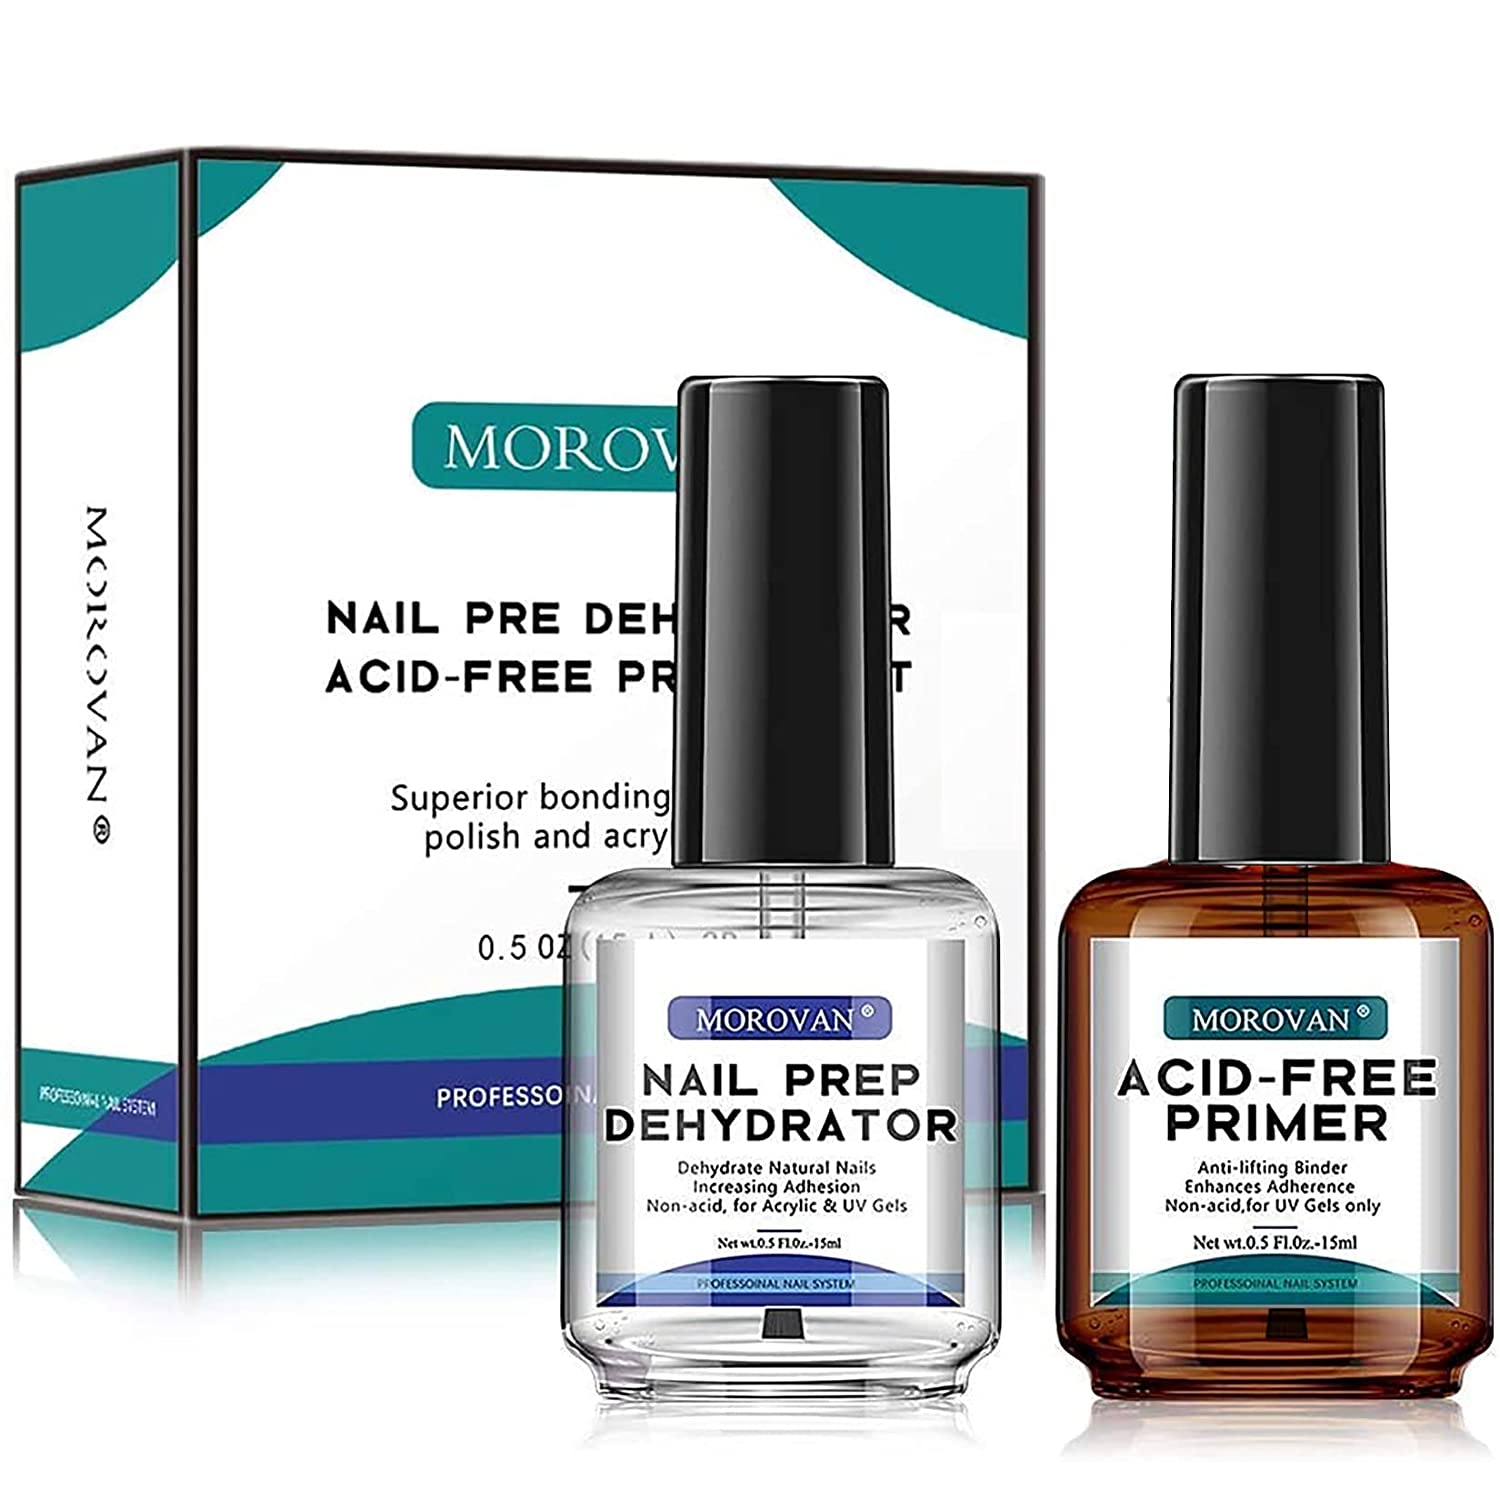
Use a Nail Primer and a Dehydrator
If your manicures are prone to lifting, Nail Primers and Dehydrators are a must-have for long-lasting results.
Dehydrators remove all moisture and oils from the nail plate. The Polygel may not adhere to your nails if your nails are wet or oily.
Nail Primers scuff your nails with tiny, microscopic scratches to give them a worn-down appearance. This makes it easier for Polygel to attach to your nail plates, resulting in longer-lasting results.

|
|
|
| Check For More Details At Amazon | Check For More Details At Amazon | Check For More Details At Amazon |
A Gel Base and Top Coat
Polygel Nails can be made more resilient and glossy with the use of a gel base and topcoat. Polygel adheres to the Gel Base Coat because it has a strong bond with the nail plate and a sticky coating.
Over the Polygel Nails, Gel Top Coat forms a strong, glossy shield that prevents them from:
- Scratching easily
- To protect the Polygel from being damaged by harsh chemicals, it is necessary to provide this buffer layer.
Gershion, however, provides the best Polygel on the market if you need it quickly. That’s going to last you a long time without having to be replaced. They’re a tad more pricey, but they’re well worth it.
Avoid using harsh chemicals on your Polygel Nails
Polygel Nails can last longer if they are not exposed to extreme environments, such as cooking, cleaning with strong detergents, or gardening with pesticides. Nails made of Polygel are more susceptible to chipping and lifting under these conditions.
So, to keep your Polygel nails safe while cleaning, cooking, or gardening, I suggest using heavy-duty rubber gloves.
Make sure that your Polygel Nails have fully cured.
Insufficiently cured polygel will be brittle, with a hard exterior layer and a soft interior. If this is the case, your Polygel is going to be extremely vulnerable to breaking.
Now that your Polygel has hardened, you must:
- Make sure you’re using the correct brand of Polygel by following the manufacturer’s instructions. Simply follow the instructions exactly and cure it for 60 seconds if they recommend doing so.
- Turn your hands over and cure your Polygel Nail Extensions by curing under them. This ensures that your Polygel has fully cured.
- Make sure you’re utilising a high-quality UV Led Lamp, such as a 48 watt or more. The lamp’s output increases linearly with its wattage.
No single Form, Just Nail Tips
Nail tips, as opposed to nail forms, are a better application method for polygel nails. Since the Polygel rests on the nail tips, you get a considerably stronger Polygel than you would with a nail form.
In both paper and dual versions, the Polygel remains free-standing, which weakens the nail and makes it more vulnerable to breaking.

Use Dual Forms
Nail extensions can be made quickly and easily with Polygel and Dual Forms, another way is how can you paint polygel nails!
How to apply Dual-Forms on Polygel Nails?
Polygel nails can be applied in a variety of ways, including with dual forms, which makes them quite versatile. For a novice, this is one of the simplest ways to employ. To ensure that you are using the procedure correctly, you can follow the steps outlined in this YouTube video. A dual shape slightly larger than your nail should be your first choice.
Using a spatula side of a two-sided tool with a brush, apply Polygel to the dual form with the spatula side. Apply the slide liquid to make it easier to remove. Place the Polygel at a 45-degree angle on your natural nail after spreading it over the dual shape. When it’s time to cure, you can use a clamp to keep it in place more securely. As a result, bubbles may not develop. To shape your nail, remove the dual form after curing.

When Applying Polygel, use the two-bead method.
For Nail Tips, I recommend using the two-bead Polygel application technique.
This technique is simpler to execute and results in a lovely apex, giving your nails a naturally curvy appearance while also increasing their durability.
- Applying one bead to the false nail tips is the first step, followed by spreading it out to cover only the tips.
- After that, a UV LED lamp is used to heal the affected area.
- The natural nails are then painted with a second bead.
- The second bead is used to cover the natural nails and mix them in with the tips.
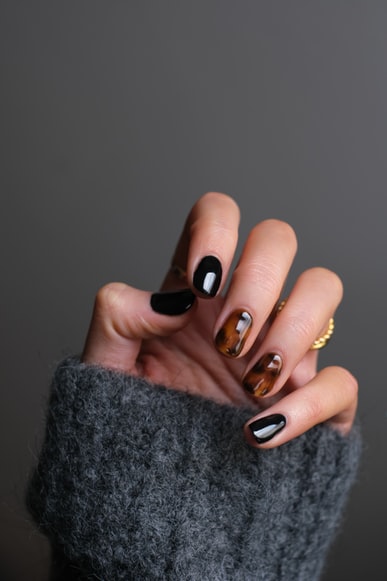
When it comes to polygel nails, can you use regular nail polish?
If you’ve already applied a topcoat to your gel nails, you can use ordinary nail polish over them. Any conventional nail polish will work with polygel because it is a firm gel-type artificial gel for nails.
Regular nail polish is easier to remove with a file than gel polish, in my perspective.
Traditional nail polish must be your first choice if you want flexible coloured nails, even though their lifespan is slightly shorter. Using a non-acetone nail paint remover will not harm your polygel nail extensions if you want to change your polish colour.

How can you paint polygel nails?
Remove the top layer first if you want to use conventional nail paint on top of your gel nails. The sheen that gives your manicure a polished appearance is provided by this layer. Traditional nail polish will easily slide’ and peel off if applied directly to it. If you decide to go with a different shade later, use an acetone-free remover to avoid damaging the gel.
Apply a gel top coat and then cure it to extend the life of your colour. You don’t always have to go to a salon to get a high-quality manicure.
You can do it at home with a little practise and fine-tuning your skills! Let’s have a look at how to apply your gel polish on your nails, step by step:
Shape and File your nails to your desired form
Before painting, you should always shape and file your nails.
Remove the cuticles from the skin
The skin on your nail plate should be pushed back or cutaway. Some people prefer to have their hair cut by a professional.
With a good pair of cuticle trimmers and a pusher, though, you can accomplish this yourself.
Apply a base coat on your nail
Apply a thin coat of gel base-coat and allow it to dry.
Use two very thin coats of colour
Gently apply the colour in layers as you go. Paint twice, but use a less amount of paint each time.
Use the Top Gel to complete.
This is when your manicure comes to a close. To achieve a polished and finished look, apply the top gel.
Alcohol can help you get rid of sticky remains.
After curing the top coat gel, some gels leave sticky residue on your nails. With a cotton swab dipped in isopropyl alcohol, gently remove them.
While wondering can you paint polygel nails, you can say YES!
A comparison of polygel vs. gel
Polygel and gel nails appear to be nearly indistinguishable at first appearance, but there are crucial differences. A form of lacquer, gel nails is not an extension of your natural nails, but rather a longer-lasting alternative. Unlike hard gel, polygel can be used as a natural nail overlay or as an augmentation, depending on the application. A UV light cures both gel and Polygel, but an LED lamp can also be used to cure Polygels. They’re more airy and flexible than traditional plastics, and they don’t have much of a fragrance. Gel nails are more vulnerable to fracture than Polygel nails because they are thinner.
Acrylic vs. Polygel: Which Is Better?
Acrylic nails have several advantages, the most notable of which are the length and variety of nail forms and nail art that they allow. Polygel, on the other hand, is a viable alternative. Polygel has several advantages over acrylics, the most notable of which is that it is more elastic, lighter, and stronger. They are less prone to breaking and appear and feel more genuine. When applied, the monomer dust used in acrylics is thought to have an extremely pungent odour.Read this related article which will help you a lot acrylic nail kits for home
The fact that Polygel does not require any mixing, as do acrylics, makes it a more convenient application method. Powder monomer and acrylic liquid are mixed to generate acrylics. Polygel can be applied to your natural nails as an extension, or it can be put as an overlay to your existing nails.
Polygel Nails: How to Take Them Off?
If you know that can you paint polygel nails! You should know that Polygel nails can be removed in a variety of ways. It’s possible to remove them by scrubbing them and then soaking them in water. No soak-off gel is required, and it’s easy to remove using a hand nail file or an electronic file.
In this regard you should must check that article glass nail file vs emery boards
This approach is typically used by nail technicians to remove most of the Polygel, which can then be followed by an acetone soak. If you want to do it yourself, soak a piece of cotton wool in acetone first. Use aluminium foil to cover your fingertips and leave for 10 minutes.

What is the ideal thickness for Polygel nails?
Before considering, can you paint polygel nails? You must know their thickness. Polygel nails, which may be put in a variety of thicknesses, are a popular nail augmentation. For sculpting, thicker nails are better, but for long-lasting effects, thinner ones are better.
Your natural nail will grow brittle and thick if you don’t file off any extra Polygel nail product before applying it. An adequate nail thickness protects your finger from pain but is not so thick that it is painful.
If you use damp Polygel or not-completely dry Polygel, there is a greater danger of lifting around the edges first before the Polygel pops off later on; down the road! Gel nails made with polygel have many advantages, but they also have certain downsides. A variety of polygel nails are available, some of which are more rigid than others.
A typical sort of flexible gel that dries quickly when exposed to UV light but not so much if left unprotected at all times of the day or night is the most prevalent variety. Putting on polyurethane nails takes patience and time-consuming care instructions before application, which might be tough for beginners.
This takes anything from 24 hours to up to the time it takes for the gel to cure underneath your natural nail plate.
What is the secret to keeping Polygel nails in place?
Now you know can you paint polygel nails! After applying a base coat to aid in nail adhesion, dab on a thin coating of Polygel nail paint and let dry completely before reapplying a second coat if desired. After applying Polygel polish, keep your hands still for at least 10 minutes. Take care of minor imperfections by wiping away any residue with nail polish remover and cotton balls.
To keep your manicure from cracking or peeling, use a top coat to seal in the shine. For best results, use two coats of Polygel polish, not three like you would with conventional ones, as a reminder.
Do not use your hands or do anything that could cause your nails to fall out prematurely for at least 30 minutes.
Conclusion about Can you paint polygel nails
For those who want to show off their artistic side, Polygel nails are the answer. You don’t have to be concerned about breaking your natural nail when painting your poly gel fingernails with ordinary nail lacquer or gel polish.
Traditional artificial nails will not chip or peel like these because they are constructed of a polymer that is tougher than acrylics. Hypoallergenic properties mean that it won’t irritate the skin, making it a great choice for anyone with allergies or sensitivities.
Considering all of these advantages, you don’t have to think can you paint poly gel nails! Just go for it.