Some helpful articles,
10 Best nail primer to prevent lifting
Does Mascara Make Your Eyelashes Longer?
How to take off SNS nails?
All you need to know about: How to Clean a Beauty Blender?
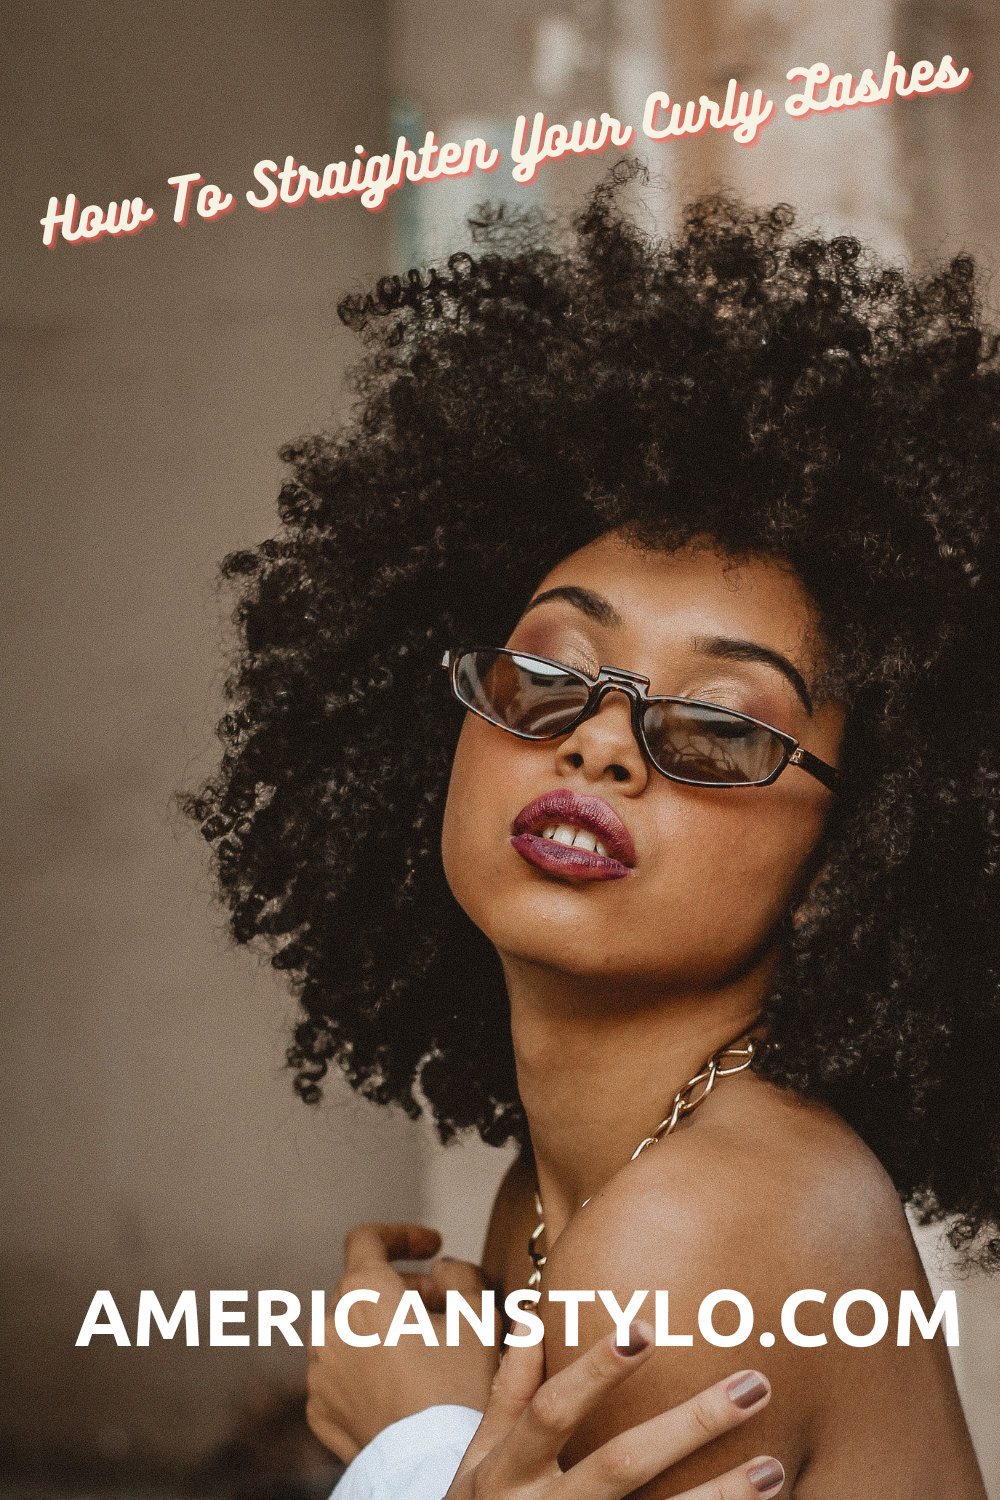
Curly lashes can be a beautiful and unique feature, but there are times when you may want to achieve a different look with straighter lashes. Whether you’re getting ready for a special occasion or just want to experiment with a new style, straightening your curly lashes can make a noticeable difference. In this article, we’ll explore How To Straighten Your Curly Lashes, Top 5 tips, fluttery lashes you desire.
How To Straighten Your Curly Lashes? Top 5 tips.
1. Use a Lash Curler in Reverse:
One of the simplest methods to straighten your curly lashes is by using a lash curler in reverse. Instead of curling your lashes, you’ll be using the curler to gently straighten them. Start by placing the curler at the base of your lashes and hold it there for a few seconds. Then, slowly move the curler upwards along the length of your lashes, applying gentle pressure as you go. Repeat this process a few times until your lashes appear straighter. Take care not to apply excessive force or pull on your lashes too hard, as this can cause damage.
2. Apply Heat:
Heat can be an effective tool for temporarily straightening your lashes. You can achieve this by using a heated eyelash curler or a hairdryer. If you opt for the eyelash curler, warm it up with a blow dryer for a few seconds and then use it as described in the first method. Alternatively, you can use a hairdryer on a low setting, holding it a safe distance away from your lashes, and blowing warm air onto them while gently combing through with a clean mascara wand or a spoolie brush. Remember to use heat cautiously and avoid overheating your lashes to prevent any damage.
3. Choose the Right Mascara:
Selecting the right mascara can also help you achieve straighter lashes. Look for a lengthening mascara with a lightweight formula. Begin by curling your lashes using a regular lash curler. Then, apply a coat of the lengthening mascara from the base to the tip of your lashes, focusing on stretching them out in a straighter line. Wiggle the mascara wand back and forth as you apply to separate and elongate the lashes. If desired, repeat the process for a more dramatic effect.
4. Consider a Lash Lift:
For a semi-permanent solution to straighten your curly lashes, a lash lift can be a great option. A lash lift is a professional treatment that enhances your natural lashes, giving them a lifted and curled appearance. During the treatment, a technician applies a lifting solution to your lashes, reshaping them into a straighter position. The results typically last between six to eight weeks, depending on your lash growth cycle. To ensure safety and desired outcomes, it’s important to consult with a trained professional and choose a reputable salon for the lash lift procedure.
5. Nourish with Castor Oil:
Castor oil is known for its nourishing properties and can help soften and straighten your curly lashes over time. Before going to bed, apply a small amount of castor oil to your lashes using a clean mascara wand or a cotton swab. Gently comb through your lashes to ensure even distribution. Leave the oil on overnight and wash it off in the morning. With regular use, you may start to notice that your lashes become more manageable and appear straighter.
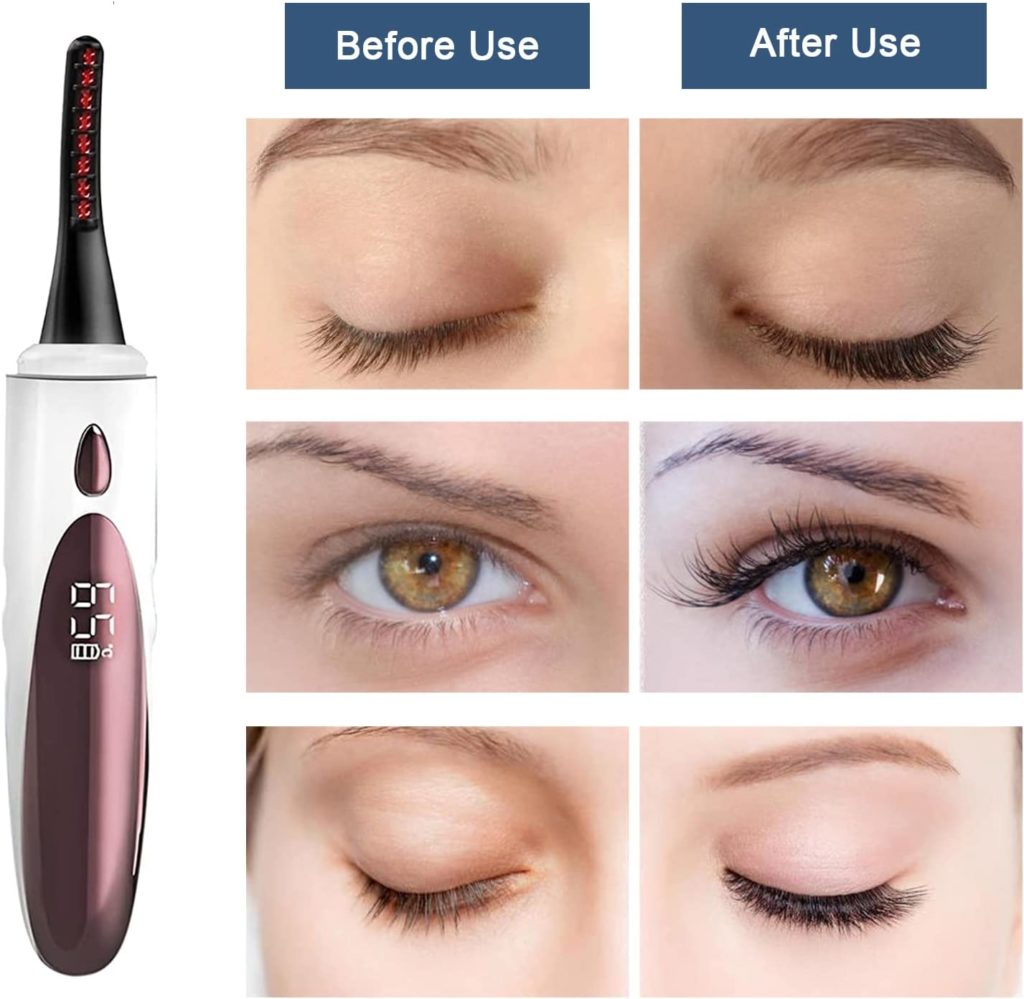
How to straighten your curly lashes to use an electric curler?
Whether you’re aiming for a more natural appearance or want to experiment with different styles, straightening your curly lashes can make a noticeable difference. One effective method to achieve this is by using an electric curler. So, how to straighten your curly lashes using an electric curler?
Choose the Right Electric Curler:
Before you begin straightening your curly lashes, it’s important to select the right electric curler. Look for one that is specifically designed for straightening lashes rather than curling them. These curlers typically have a flatter clamp and a heating element that helps in achieving the desired straightening effect.
Prep Your Lashes:
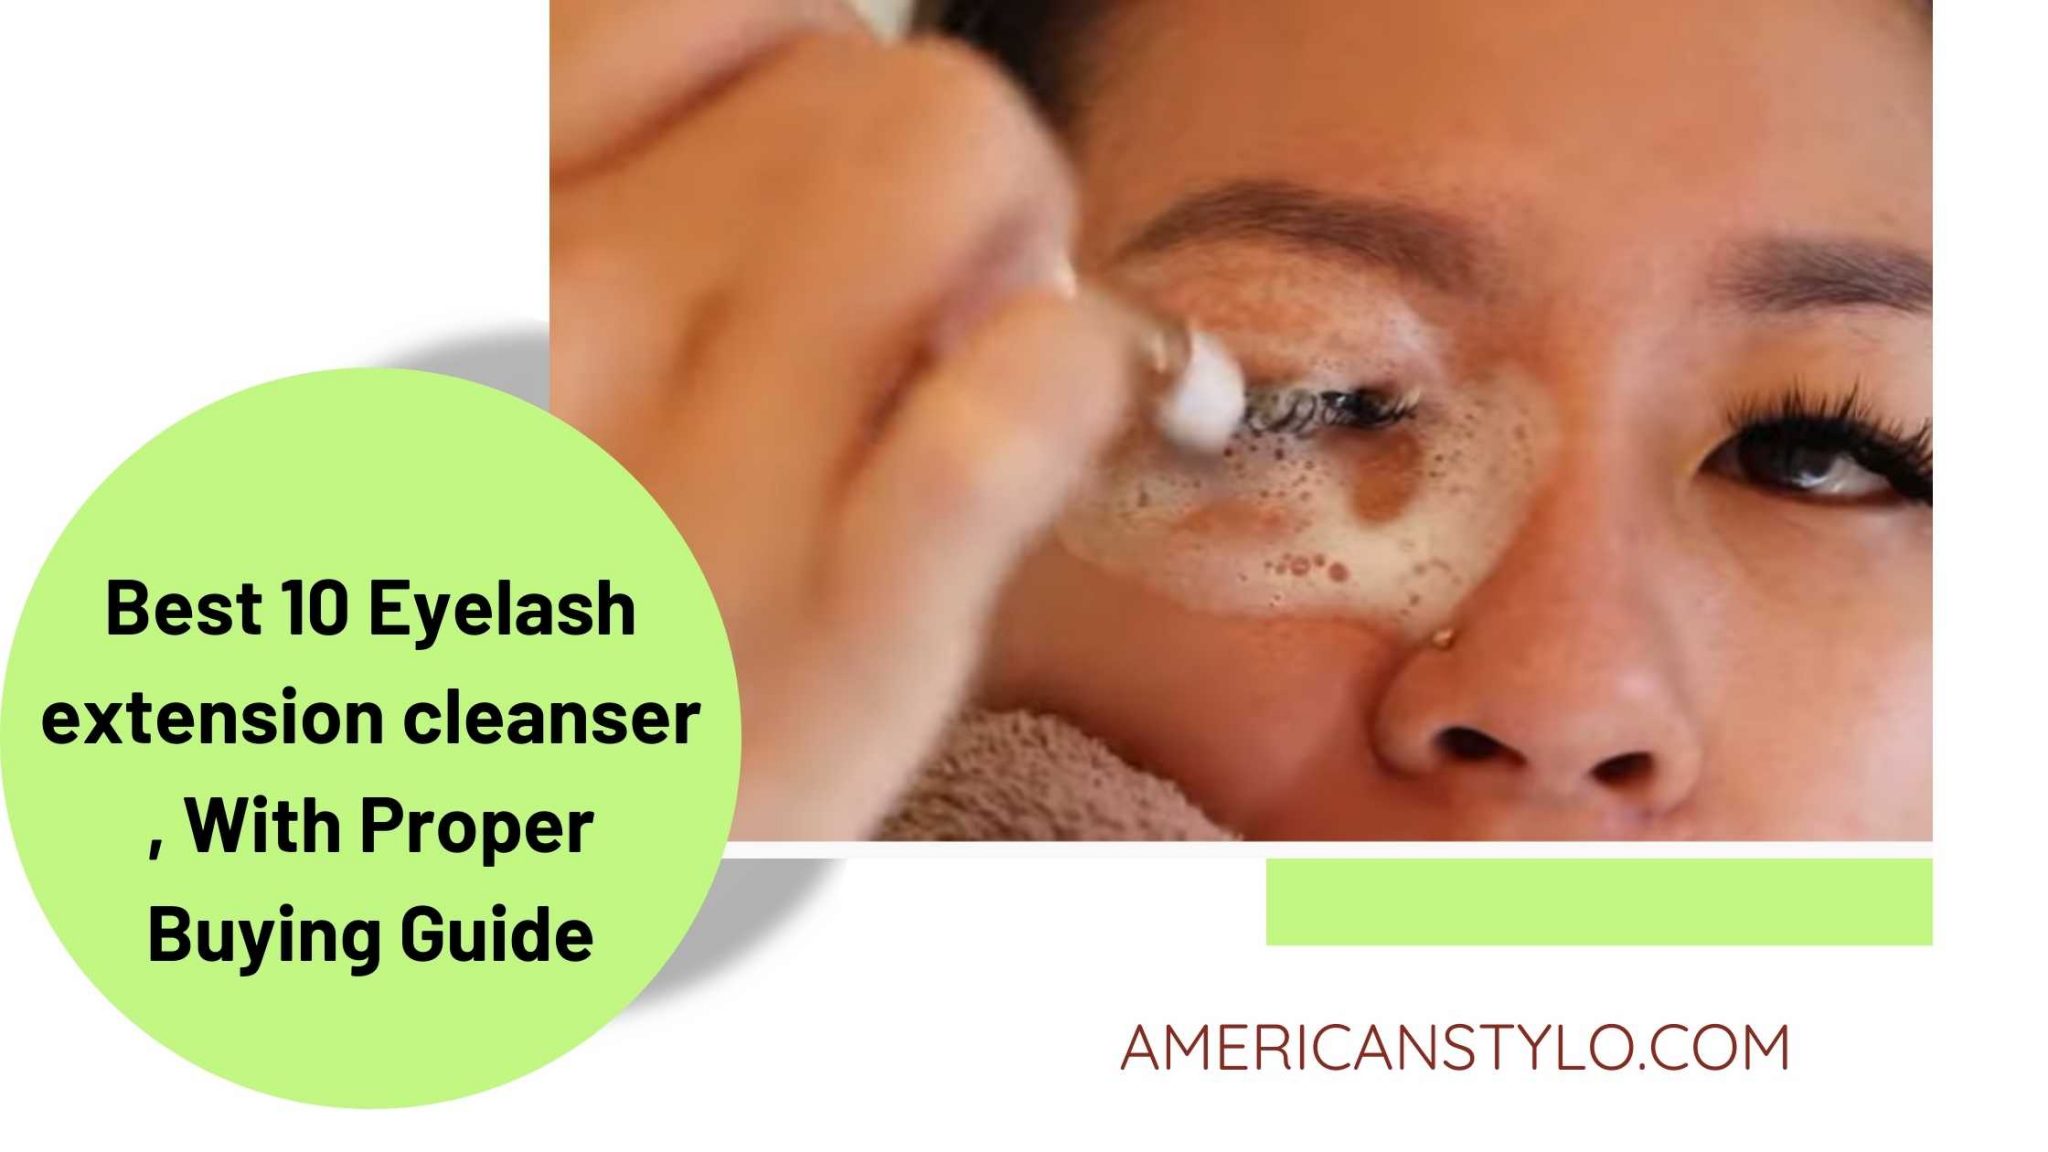
Before using the electric curler, it’s important to prepare your lashes. Make sure they are clean and free of any makeup or residue. Gently remove any traces of mascara or eyeliner using a gentle makeup remover or micellar water. Cleansing your lashes thoroughly ensures that the electric curler can effectively straighten them without any interference from previous products.
Heat the Electric Curler:
Next, turn on the electric curler and allow it to heat up. Different models may have varying heat settings, so it’s important to refer to the instructions provided with your specific curler. Most electric curlers have an indicator light that turns on when they are ready for use. Give the curler a few minutes to reach the desired temperature.
Position the Electric Curler:
Hold the electric curler in one hand and position it at the base of your lashes. Make sure the heated clamp is facing upwards towards your eyelid. Be cautious and avoid getting too close to the lash line to prevent any accidental contact with your skin. Positioning the curler correctly is crucial for effectively straightening your lashes without causing any discomfort or damage.
Straighten Your Lashes:

Once the electric curler is in the right position, gently press the clamp against your lashes and hold it there for a few seconds. Slowly and carefully glide the curler upwards towards the tips of your lashes, applying gentle pressure. This process helps straighten the curl and elongate your lashes for a more straightened appearance. Repeat this step if necessary to ensure all lashes are adequately straightened.
Repeat on the Other Eye:
After straightening the lashes on one eye, repeat the same process on the other eye. Ensure that the electric curler is adequately heated before using it on the second eye. Take your time and be mindful of the pressure you apply to avoid any unnecessary tugging or pulling on your lashes.
Apply Mascara (Optional):
Once you have straightened your curly lashes with the electric curler, you can choose to apply mascara for added definition. Opt for a mascara formula that provides lengthening and separating properties. Start at the base of your lashes and wiggle the wand as you move it upwards to coat and separate each lash. Applying mascara after straightening your lashes can enhance the straightened effect and create a more polished look.
Clean and Store the Electric Curler:
After using the electric curler, allow it to cool down before cleaning and storing it. Follow the manufacturer’s instructions for cleaning and maintenance to ensure the longevity of your curler. This includes removing any excess mascara or residue and wiping the curler with a soft, damp cloth. Store the electric curler in a safe place where it won’t be exposed to moisture or extreme temperatures.
By following these steps, you can effectively straighten your curly lashes using an electric curler. Remember to be gentle!

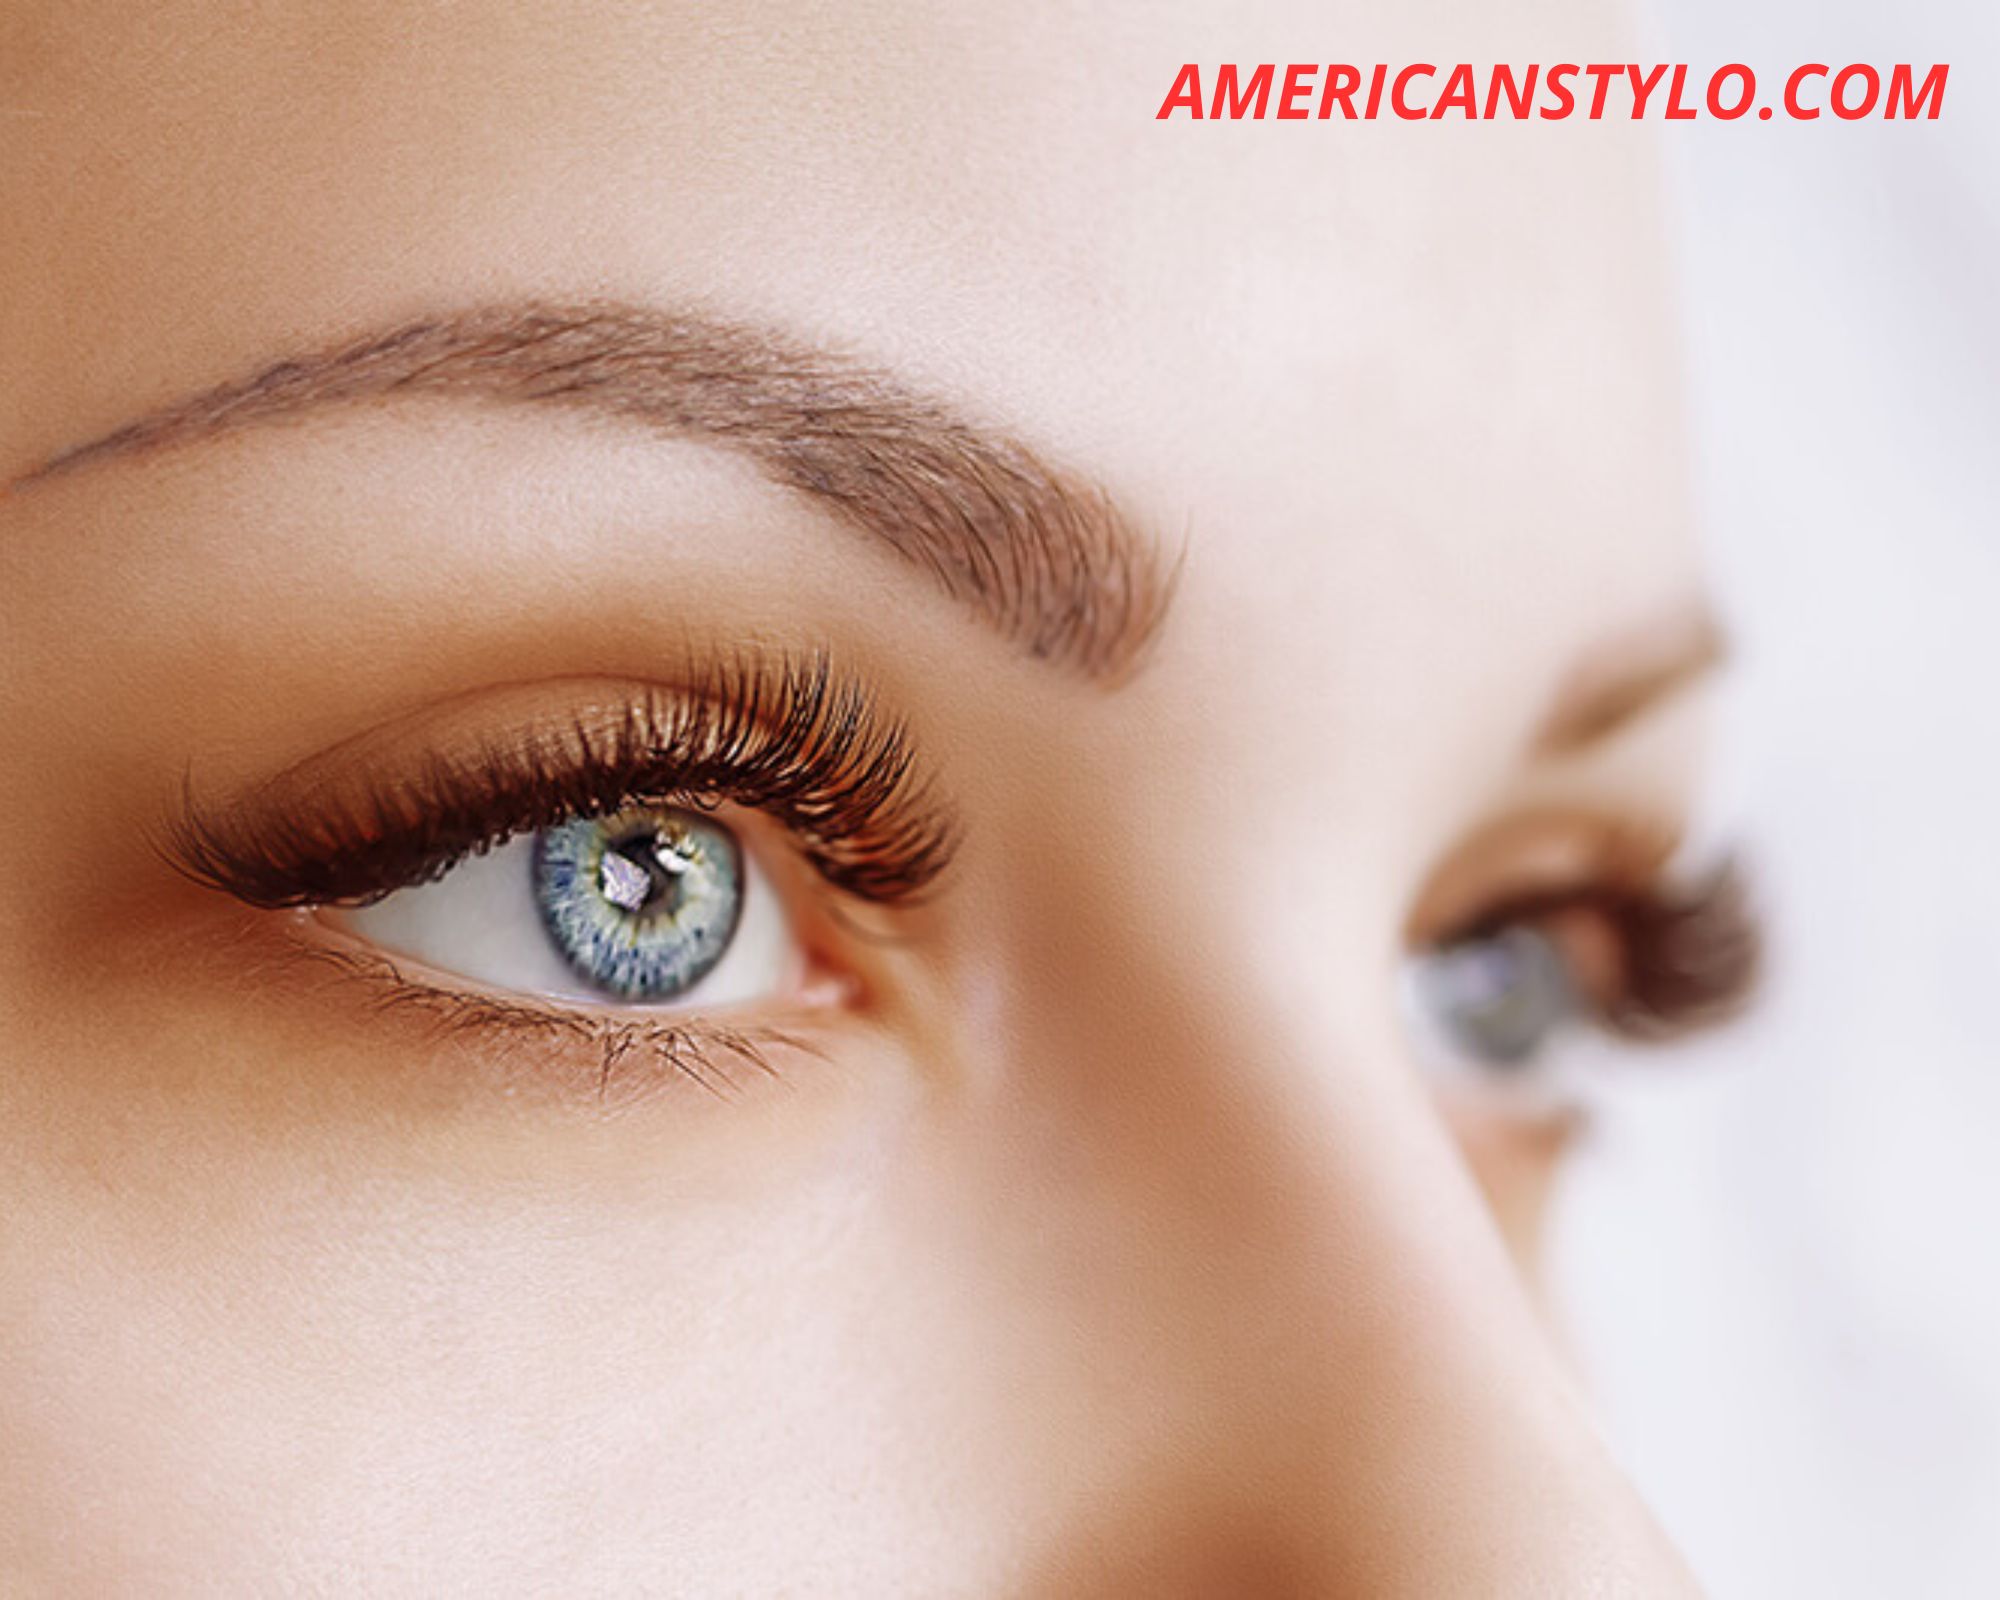
How to Straighten Your Curly Lashes to Use a Primer?
While some are blessed with naturally straight lashes, others have curly lashes that can sometimes be challenging to manage. If you have curly lashes and want to achieve a straighter, more lifted look, using a primer can be a game-changer. Now, we will explore the benefits of using a primer and provide you with a step-by-step guide on how to straighten your curly lashes effectively.
What is an Eyelash Primer?
Before we dive into the process of straightening your curly lashes, let’s first understand what an eyelash primer is and how it works. An eyelash primer is a specially formulated product that is applied before mascara. Its purpose is to enhance the effects of mascara, adding length, volume, and curl to your lashes. Most eyelash primers also contain conditioning ingredients that nourish and protect your lashes.
Why Use a Primer for Straightening Curly Lashes?
Using a primer is an excellent option for individuals with naturally curly lashes. Here are some reasons why:
Straightens and lifts: An eyelash primer helps to temporarily straighten and lift your curly lashes, creating a more open-eyed and wide-awake appearance.
Enhances mascara performance: By providing a smooth base for mascara application, a primer allows your mascara to adhere better to your lashes, resulting in longer-lasting and more voluminous lashes.
Nourishes and protects: Many eyelash primers contain beneficial ingredients such as vitamins, peptides, and proteins that help nourish and protect your lashes from damage.
Now that we understand the benefits of using an eyelash primer, let’s go through a step-by-step guide on how to straighten your curly lashes effectively:
Step 1: Cleanse and Moisturize
Start by cleansing your face and removing any makeup or residue from your lashes. Use a gentle cleanser to avoid any irritation. Once your face is clean, apply a lightweight oil-free moisturizer to hydrate the area around your eyes.
Step 2: Choose the Right Primer
There are several eyelash primers available in the market, so choose one that suits your needs. Look for a primer that is specifically designed to add length and curl to your lashes. Also, opt for a formula that is nourishing and contains ingredients like vitamins and peptides to promote lash health.
Step 3: Apply the Primer
Gently remove the wand from the eyelash primer tube, ensuring that it isn’t overloaded with product. Starting from the base of your lashes, apply the primer in a zigzag motion to ensure even coverage. Coat both the upper and lower lashes to achieve a consistent look.
Step 4: Comb Through Your Lashes
After applying the primer, use a clean eyelash comb or a spoolie brush to comb through your lashes. This step helps to separate and define your lashes, ensuring that they are evenly coated with the primer.
Step 5: Curl if Desired
If you want to further enhance the curl of your lashes, you can use an eyelash curler. Gently clamp the curler at the base of your lashes and hold for a few seconds. Be careful not to apply too much pressure, as this can cause damage or breakage.
Step 6: Apply Mascara
Once the primer has dried, it’s time to apply mascara. Choose a lengthening or volumizing mascara that complements the effects of the primer. Starting from the base, wiggle the mascara wand through your lashes in an upward motion. Apply multiple coats as desired, making sure to let each coat dry before applying the next.
Remember that everyone’s lashes are unique, and results may vary depending on your natural lash type and texture. It’s crucial to be gentle when trying different methods and avoid excessive force or harsh chemicals that can damage your lashes. If you experience any discomfort or irritation, discontinue use and consult a professional.
In conclusion, achieving straightened lashes is possible with the right techniques and products. Using an eyelash curler, applying heat, using a lash primer, opting for a waterproof mascara, and practicing proper lash care can all contribute to straightening your curly lashes. Experiment with these methods and find what works best for you to achieve the desired straightened lash look that enhances your eyes’ beauty.