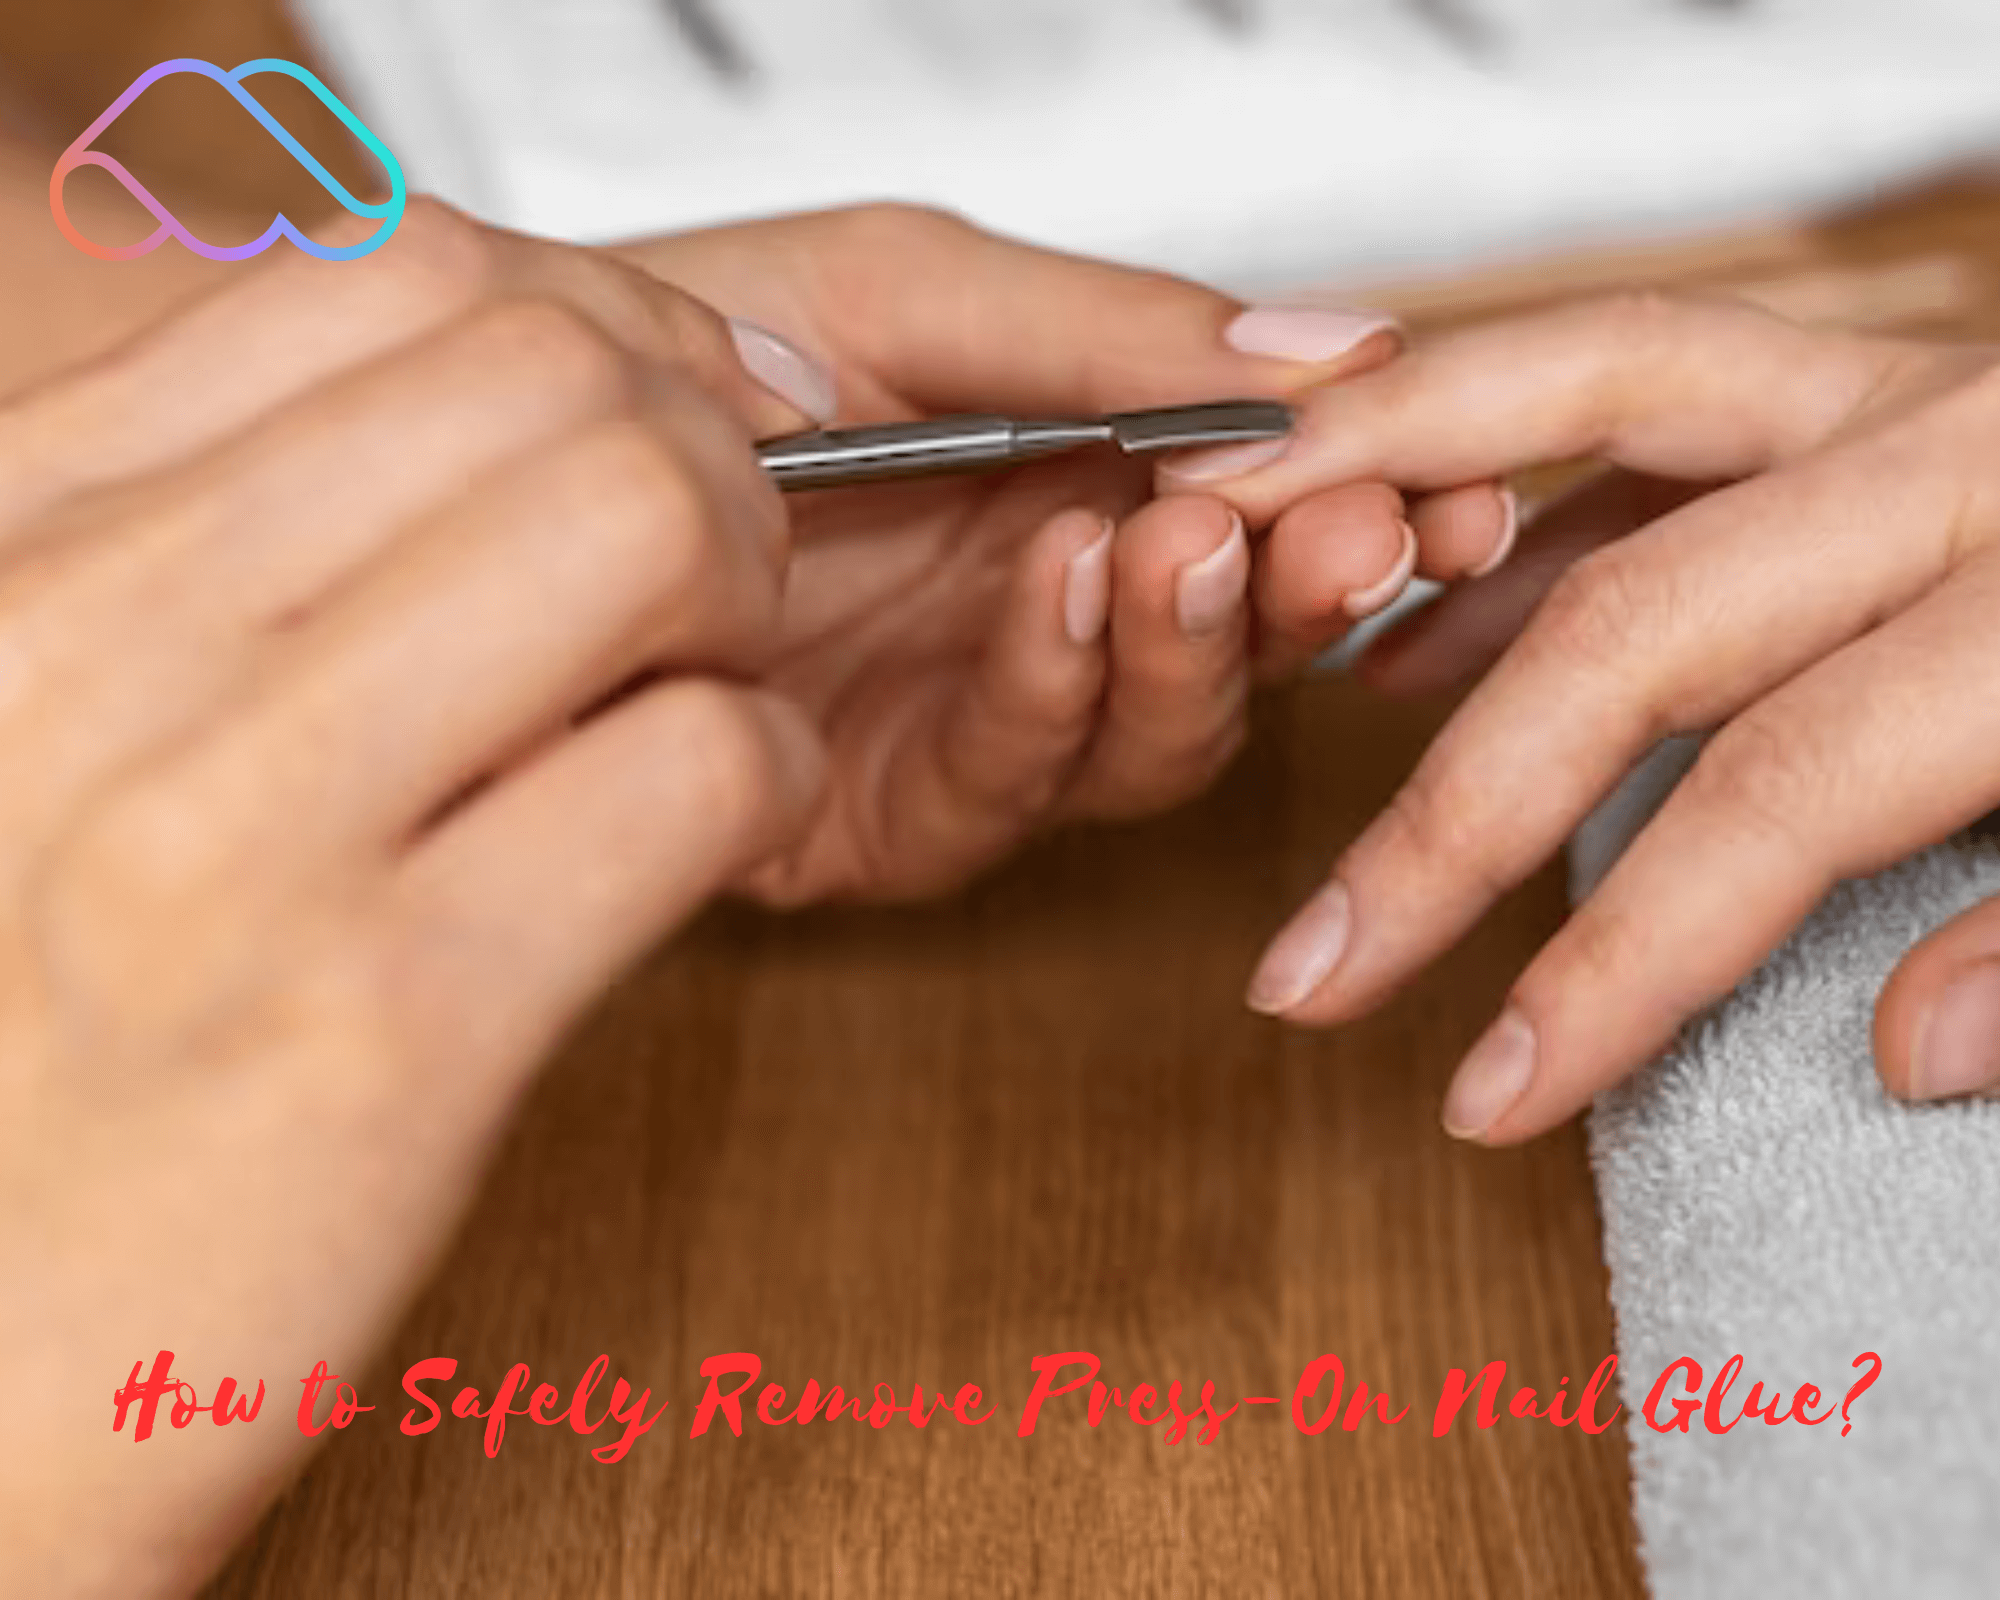
How to Safely Remove Press-On Nail Glue: A Step-by-Step Guide. Achieving a long-lasting and stunning press-on manicure is a fantastic way to enhance the appearance of your nails. However, dealing with nail glue can sometimes be a challenge. Whether you’ve accidentally gotten glue on your fingers or need to remove the press-on nails earlier than expected, it can be frustrating to get the adhesive off your nails. Fear not! In this guide, we’ll walk you through the easiest and most hassle-free method to safely remove press-on nail glue, ensuring a stress-free process.
Other related articles,
How To Treat White Spots On Your Fingernails? Best guide
How often should you get a manicure and pedicure?
How Many Times Can You Fill In Acrylic Nails Before Replacing Tips?
How to Remove Polygel Nails?
Understanding the Stickiness of Nail Glue
Nail glue is a powerful adhesive commonly found in press-on nail kits, sharing similarities with superglue due to its cyanoacrylate content. The presence of cyanoacrylate allows nail glue to dry rapidly and achieve a crystal-clear finish. While both glues can be sticky, it is crucial to distinguish between them, as nail glue is specifically designed to be safe for use on skin and nails, unlike superglue.
Superglue, also known as cyanoacrylate adhesive, is a fast-acting and strong bonding agent used in various applications. However, it is not intended for use on nails or skin and can lead to serious consequences if mistakenly used for press-on nails. Unlike nail glue, superglue is not formulated to be gentle on nail beds and skin, and it may cause irritation, damage, or even chemical burns.
When it comes to applying press-on nails or nail enhancements, using the appropriate adhesive is crucial for ensuring both the longevity of the manicure and the well-being of your natural nails. Nail glue is specifically developed for this purpose, providing a reliable and safe bond that adheres the press-on nails securely without causing harm.
To prevent beauty disasters and potential damage, it is essential never to use superglue in place of nail glue. Always check the label and product specifications to confirm that you are using the correct adhesive for press-on nails. Additionally, store both nail glue and superglue separately and securely to avoid accidental mix-ups.
When applying press-on nails, follow the recommended instructions and use only the amount of nail glue required for each nail. Less is often more, and excess glue can lead to messy application and difficulty during removal. Properly applied and removed press-on nails using nail glue can enhance your nails’ appearance while keeping them healthy and damage-free.
Types of Nail Glue Application
Two primary methods are commonly used to apply nail glue at home:
- Nail Glue Squeeze Bottle: This type of glue is typically included in press-on nail kits. To apply, you just need to squeeze the tube or bottle gently, allowing a drop of glue to dispense onto your nails. This method provides straightforward application, ensuring that the right amount of glue is used for each nail.
- Brush-On Nail Glue: With this type of glue, a small brush is attached to the tube or bottle’s cap. The brush allows for more precise application as it glides smoothly over your nails, ensuring an even and mess-free coating of glue. This application method is particularly suitable for beginners, as it offers greater control and prevents excessive glue usage.
Both of these application techniques are designed to provide a secure bond between your natural nails and the press-on nails, ensuring that your manicure stays in place. When using either method, it’s essential to follow the provided instructions and use the appropriate amount of glue to avoid any issues during application and removal.
Proper Nail Application for Easy Removal
Achieving a flawless press-on manicure involves proper nail application, which, in turn, facilitates easy removal of the glue. Follow these essential tips for a smooth and hassle-free process:
- Measure and Choose Nails: Before delving into the application process, take time to measure each nail and carefully select the faux nails you’ll be using. Lay them out in the order you plan to apply them, making it more convenient when you begin working with the glue.
- Trim, File, and Buff: Prepare your natural nails by trimming and filing them to your desired length. This step ensures that your press-on nails will fit perfectly and comfortably. Additionally, take the opportunity to buff the nail bed gently. By doing so, you create an ideal foundation for the glue and press-on nails to adhere to, enhancing their longevity.
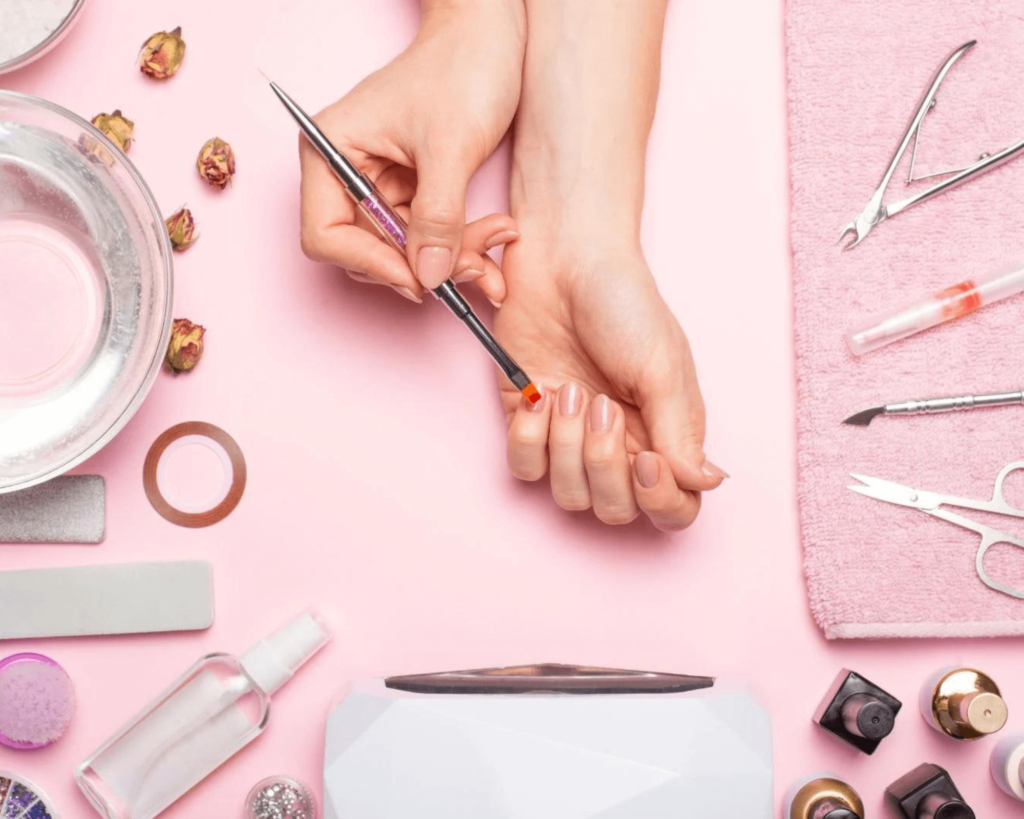
- Prepare Nails: Ensure your natural nails are in prime condition for the application. Gently push back your cuticles using a cuticle stick, promoting a neat and clean appearance. Next, wipe each nail with an alcohol prep pad to remove any excess oils or residues. This vital step creates a clean and oil-free surface, optimizing the bond between your natural nails and the press-on nails.
- Apply Glue: Begin the application process by working on one nail at a time. This method prevents the glue from drying too quickly, allowing you to apply it precisely. Add a small drop of nail glue to your natural nail and the corresponding press-on nail. Then, press the press-on nail firmly onto your natural nail, holding it in place for approximately ten seconds. This allows the glue to set effectively, ensuring a secure bond between the two nails. Repeat this step for each nail until your press-on nails are all in place.
- Final Touches: Once all the press-on nails are applied, take a moment to review your manicure. Trim, file, or shape the faux nails if needed, ensuring they match your desired nail length and shape.
By following these proper nail application techniques, you set the foundation for an easy and efficient removal process when it’s time for a new manicure. A well-applied press-on manicure not only looks stunning but also ensures that you can effortlessly enjoy stylish and immaculate nails for an extended period. Experiment with different press-on nail styles and designs to express your unique personality and showcase your impeccable sense of fashion.
Easy-Peasy Glue Removal
When it’s time to bid adieu to your press-on nails, follow these simple yet effective steps for a smooth and effortless removal process:
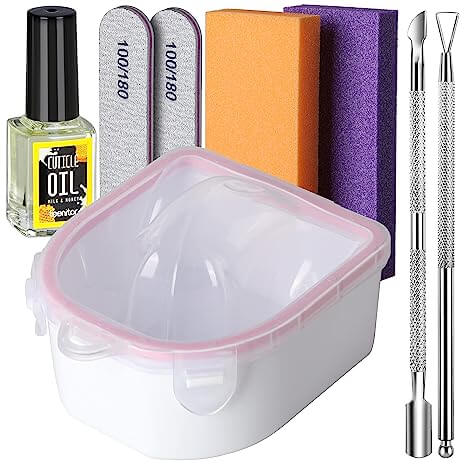
- Prepare a Soaking Solution: Begin by filling a small bowl with warm, soapy water. To add an extra touch of pampering and to facilitate gentle removal, incorporate a few drops of oil into the water. Options such as argan oil, cuticle oil, or olive oil work wonders as emollients. The warm water and oil blend will help soften the glue and loosen the press-on nails, making them easier to remove.
- Soak Your Nails: Submerge your hands, one at a time, into the soaking solution and let the magic unfold. Allow your nails to soak for approximately 10 minutes. Patience is key during this step as the soaking time ensures the glue’s bond weakens, making the nails more pliable for removal.
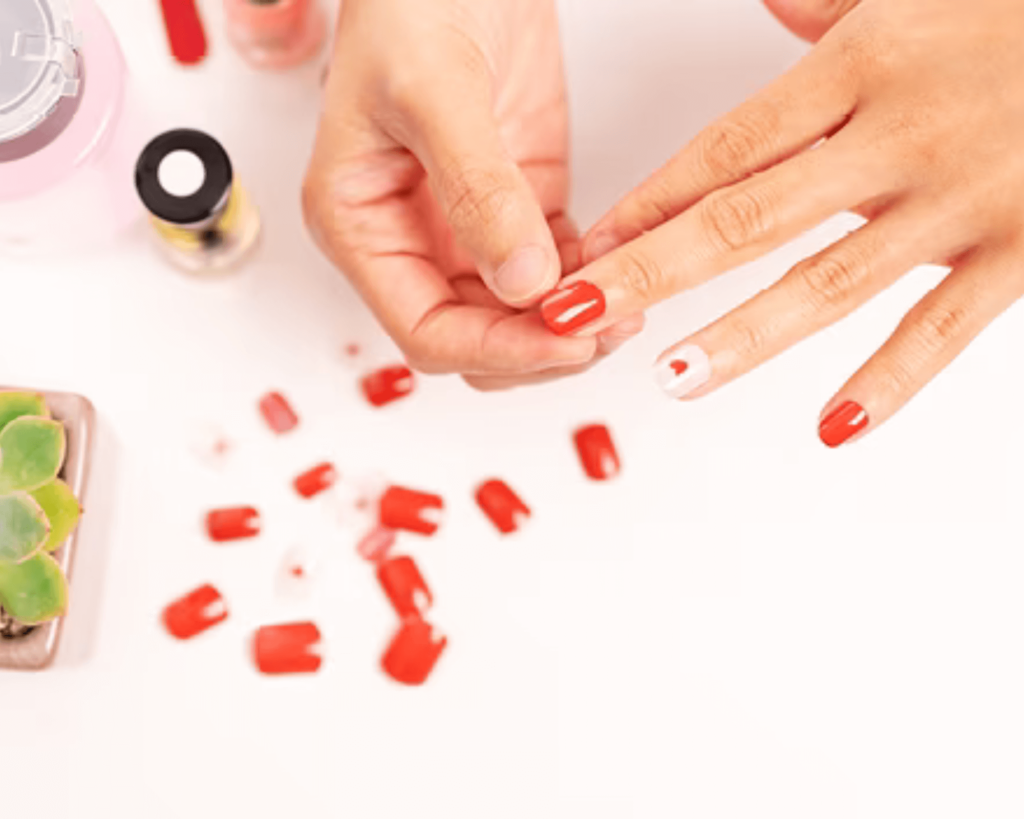
- Gently Pry Off Nails: Armed with a cuticle stick, gently pry underneath the press-on nails with a subtle upward motion. The softened glue will make it easier to pop the nails off without causing any harm to your natural nails. Take care not to apply excessive force, as aggressive removal can damage your nails. If some nails are still holding on stubbornly, no worries! Simply return your hand to the soaking solution for a few more minutes until they willingly surrender.
- Embrace Your Natural Nails: Congratulations! Your press-on nails have been gracefully removed, revealing your natural nails in all their glory. At this point, you have the option to indulge in a new press-on application, exploring different styles and designs, or embrace the beauty of your au-naturel nails. Your nails are now a blank canvas ready for your creative expression.
By following these easy-peasy glue removal steps, you can enjoy the flexibility and convenience of press-on nails without any of the worry. The gentle soaking process ensures a stress-free removal experience, allowing you to effortlessly transition between different nail looks with ease. Remember to pamper your natural nails and give them some tender loving care before your next press-on adventure. Happy styling!
Transform Your Nails with High-Quality Gel Strips
Are you tired of spending hours at the nail salon, waiting for your traditional nail polish to dry and worrying about chipping? Say goodbye to those frustrations and transform your nails instantly with our high-quality gel strips! The gel strips are the perfect solution for achieving a beautiful and long-lasting manicure in a fraction of the time.
What are Gel Strips?
Gel strips are a revolutionary nail product that combines the ease of press-on nails with the durability of gel polish. Made from high-quality materials, our gel strips are designed to adhere seamlessly to your natural nails, giving you a flawless and professional-looking manicure. With a wide range of designs and colors available, you can easily find the perfect gel strips to match your style and mood.
Easy Application
One of the best things about our gel strips is how easy they are to apply. No more messy nail polish or complex nail art techniques! Our gel strips come with a self-adhesive backing, which means you simply need to peel off the protective layer, press the strip onto your nail, and smooth it down. No need for any additional tools or special skills. Within minutes, you’ll have gorgeous nails that look like they were done by a professional.
Long-Lasting Results
Traditional nail polish often chips and fades within a few days, leaving you with a less-than-perfect manicure. Our gel strips, on the other hand, are designed to last for up to two weeks or more with proper application and care. The gel formula ensures that the strips stay securely in place without lifting or peeling, giving you the confidence to show off your stunning nails.
Customizable Designs
Whether you prefer classic and elegant styles or bold and trendy patterns, our gel strips have something for everyone. Choose from a variety of designs, including solid colors, ombre effects, glitter accents, and intricate nail art. You can even mix and match different designs to create a unique and personalized look that reflects your individuality.
Nail-Friendly and Safe
Unlike traditional gel manicures that require harsh chemicals and UV lamps, our gel strips are nail-friendly and completely safe to use. They don’t require any harsh chemicals or tools, making them a healthier option for your nails. Plus, since they are easily removable, you won’t have to worry about any damage or weakening of your natural nails.
Budget-Friendly
Visiting the nail salon regularly can quickly add up in cost. With our gel strips, you can achieve salon-quality nails at a fraction of the price. Each pack comes with multiple strips, giving you enough for several manicures. You can also reuse the strips if you remove them carefully and store them properly. It’s an affordable and convenient way to keep your nails looking fabulous all the time.
Perfect for Any Occasion
Whether you have a special event coming up or simply want to treat yourself to a little self-care, our gel strips are perfect for any occasion. They are versatile enough to match any outfit or mood, and they add a touch of elegance and sophistication to your overall look.
Conclusion
Properly removing press-on nail glue is crucial for maintaining healthy and beautiful natural nails. By following these step-by-step instructions, you can ensure a safe and effective removal process. Remember to be patient and gentle, and never force or peel off the press-on nails, as this can lead to damage. By taking good care of your nails during the removal process, you’ll be able to enjoy the convenience and beauty of press-on nails time and time again. Happy nail styling!
