The American Manicure is a popular style of nail art that offers a subtle and refined look. This manicure style is a great option for those who want to achieve a polished and understated look, perfect for everyday wear or more conservative settings. In this guide, we’ll delve into everything you need to know about the American Manicure, including its history, how to get the perfect look, and tips for making it last.
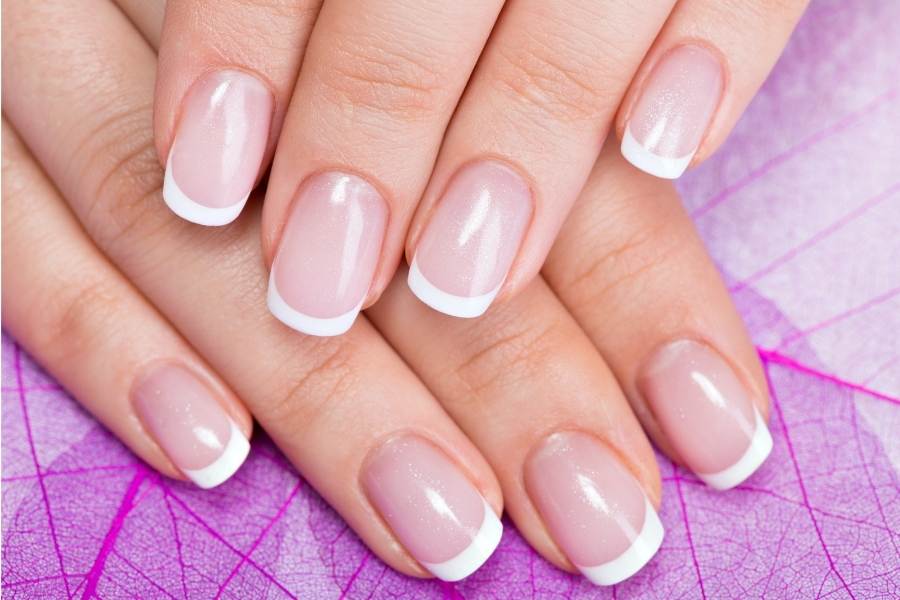
The American manicure is a subtle take on the classic French manicure. Instead of the stark white tip, the American version features a more natural-looking beige or nude color. This gives the nails a more understated and polished look, perfect for the transition from summer to fall.
One of the great things about the American manicure is its versatility. It works well on short or long nails and can be customized to suit any skin tone. If you prefer a more muted look, go for a shade that closely matches your natural nail color. For a bolder look, try a darker or more saturated nude shade.
Some helpful articles,
10 Best nail primer to prevent lifting
How to stop nails from curling under?
How to take off SNS nails?
Glass Nail File vs. Emery Boards
How to make an American manicure at home
To get the perfect American manicure, start by prepping your nails. Remove any old polish and file your nails to your desired shape. If you want to extend the length of your nails, consider adding acrylic or gel extensions.
Next, apply a base coat to protect your nails from staining and to help the polish adhere better. Once the base coat has dried, apply the nude or beige polish to the entire nail, making sure to cover the tips as well. You can use either a brush or a sponge to create a gradient effect if you prefer a more natural look.
Once the polish has dried, apply a sheer pink or beige polish to the tips of your nails. You can use a brush or a stencil to create a clean, crisp line. If you make any mistakes, use a clean brush dipped in acetone to clean up the edges.
Finally, apply a top coat to seal in your manicure and prevent chipping. If you want to add some extra shine, you can use a matte or glossy top coat, depending on your preference.
History of the American Manicure
The American Manicure has a rich history that dates back to the late 1800s or early 1900s. At the time, manicures were gaining popularity, and women were looking for new and unique ways to style their nails. While the French Manicure was already a popular choice, many women found the bright white tip to be too bold or harsh for their tastes. As a result, a new style was born: the American Manicure.
The American Manicure features a softer, more natural-looking white tip that blends seamlessly with the base color. This subtle, refined look quickly caught on and became a popular choice for women across the United States. The American Manicure has evolved over time, but it remains a beloved and timeless style to this day.
To visit a professional nail technician
How to Get an American Manicure? While it’s possible to achieve an American Manicure at home, it can be challenging to get the subtle, natural-looking white tip just right. It’s often best to visit a professional nail technician who has experience with this style.
Here’s what to expect during a professional American Manicure:
- Prep: The nail technician will start by removing any old nail polish and shaping your nails to your desired length and shape.
- Base coat: A neutral-colored base coat will be applied to your nails. This shade should closely match the natural color of your nail bed.
- White tip: The nail technician will carefully apply a white polish to the tips of your nails. The goal is to create a soft, natural-looking tip that blends seamlessly with the base color.
- Top coat: Once the white tip has dried, a clear top coat will be applied to seal and protect your nails.

Tips for Making Your American Manicure Last
Tip #1: Use a high-quality base coat Using a good quality base coat is essential for any manicure, but it’s especially important for the American manicure. A base coat will help the polish adhere better to your nails, preventing chipping and peeling. Look for a base coat that is specifically designed for the type of polish you’re using, whether it’s gel, regular, or dip powder.
Tip #2: Apply thin coats of polish When applying your nail polish, make sure to apply thin, even coats. Thick coats of polish are more likely to chip and peel, and they take longer to dry. If you need to add more layers, wait for each layer to dry completely before adding another.
Tip #3: Seal the tips One of the most important parts of the American manicure is the white tip. To ensure that the tip stays crisp and clean, seal it with a top coat. You can also use a stencil or tape to create a clean line before applying the top coat.
Tip #4: Avoid hot water Hot water can weaken the bonds between the polish and your nails, causing chipping and peeling. Try to avoid hot showers or washing dishes in hot water for the first few days after getting your American manicure. If you do need to wash dishes, wear gloves to protect your nails.
Tip #5: Moisturize your cuticles Dry cuticles can lead to peeling and chipping of your American manicure. To keep your cuticles healthy and moisturized, apply cuticle oil every day. You can also use a moisturizing hand lotion to keep your hands and nails hydrated.
Tip #6: Be gentle with your nails Avoid using your nails as tools, such as for opening cans or packages. This can cause your American manicure to chip or break. Instead, use a tool or your fingertips to do these tasks.
Tip #7: Touch up as needed If you do notice any chips or peeling in your American manicure, don’t panic. You can easily touch up the affected area with a small brush and some polish. Make sure to seal the tip again with a top coat to prevent any further chipping.
With these simple steps, you can enjoy your American manicure for weeks to come.
Nail Salon Vocabulary
When booking an appointment at a nail salon, it’s important to understand the various types of nail professionals available and the types of services they offer. Nail salon vocabulary is essential for communicating your needs and preferences to the nail technician. Simply showing a picture won’t be sufficient, as the nail technician will ask questions to ensure that they understand exactly what you want. Now we will explore the different types of nail professionals and the services they provide.
Manicurist
A manicurist is a nail specialist who provides services for natural fingernails. They clean and trim the nails, apply nail polish or synthetic materials, and offer hand scrubbing, massages, and paraffin dips to nourish and moisturize the delicate skin on your hands. Manicurists are skilled in shaping and polishing nails, as well as removing cuticles. They may also apply artificial nails or nail extensions.
Pedicurist
A pedicurist provides similar services as a manicurist, but for toes. They are responsible for cosmetic and, in some cases, medical foot treatments. Pedicurists can clean and shape your toenails and apply polish if desired. They are trained to address a variety of foot issues, including calluses, ingrown toenails, and fungal infections.
Nail Technician/Nail Tech
A nail technician or nail tech is a modern term used to describe a manicurist who has been trained to work with a drill, gel, and acrylic products. Nail technicians are skilled in extending the length of nails and shaping them as desired. They are unable to apply regular nail polish, as their focus is on synthetic materials. Nail technicians are popular in the United States and are often referred to as nail techs rather than manicurists.
Nail Artist
Нейл-майстер — це фахівець з нігтів, який спеціалізується на створенні дизайну нігтів вручну. Вони часто мають досвід малювання та гострий погляд на деталі. Майстри манікюру платять більше за свої послуги, але здатні створювати складні малюнки, такі як хвилі, квіти, тварини та навіть ваші улюблені персонажі. Якщо ви хочете отримати малюнок на нігтях, не забудьте заздалегідь повідомити про це салон, щоб вони могли записатися на прийом до майстра нігтів.
Removing Old Nail Coatings
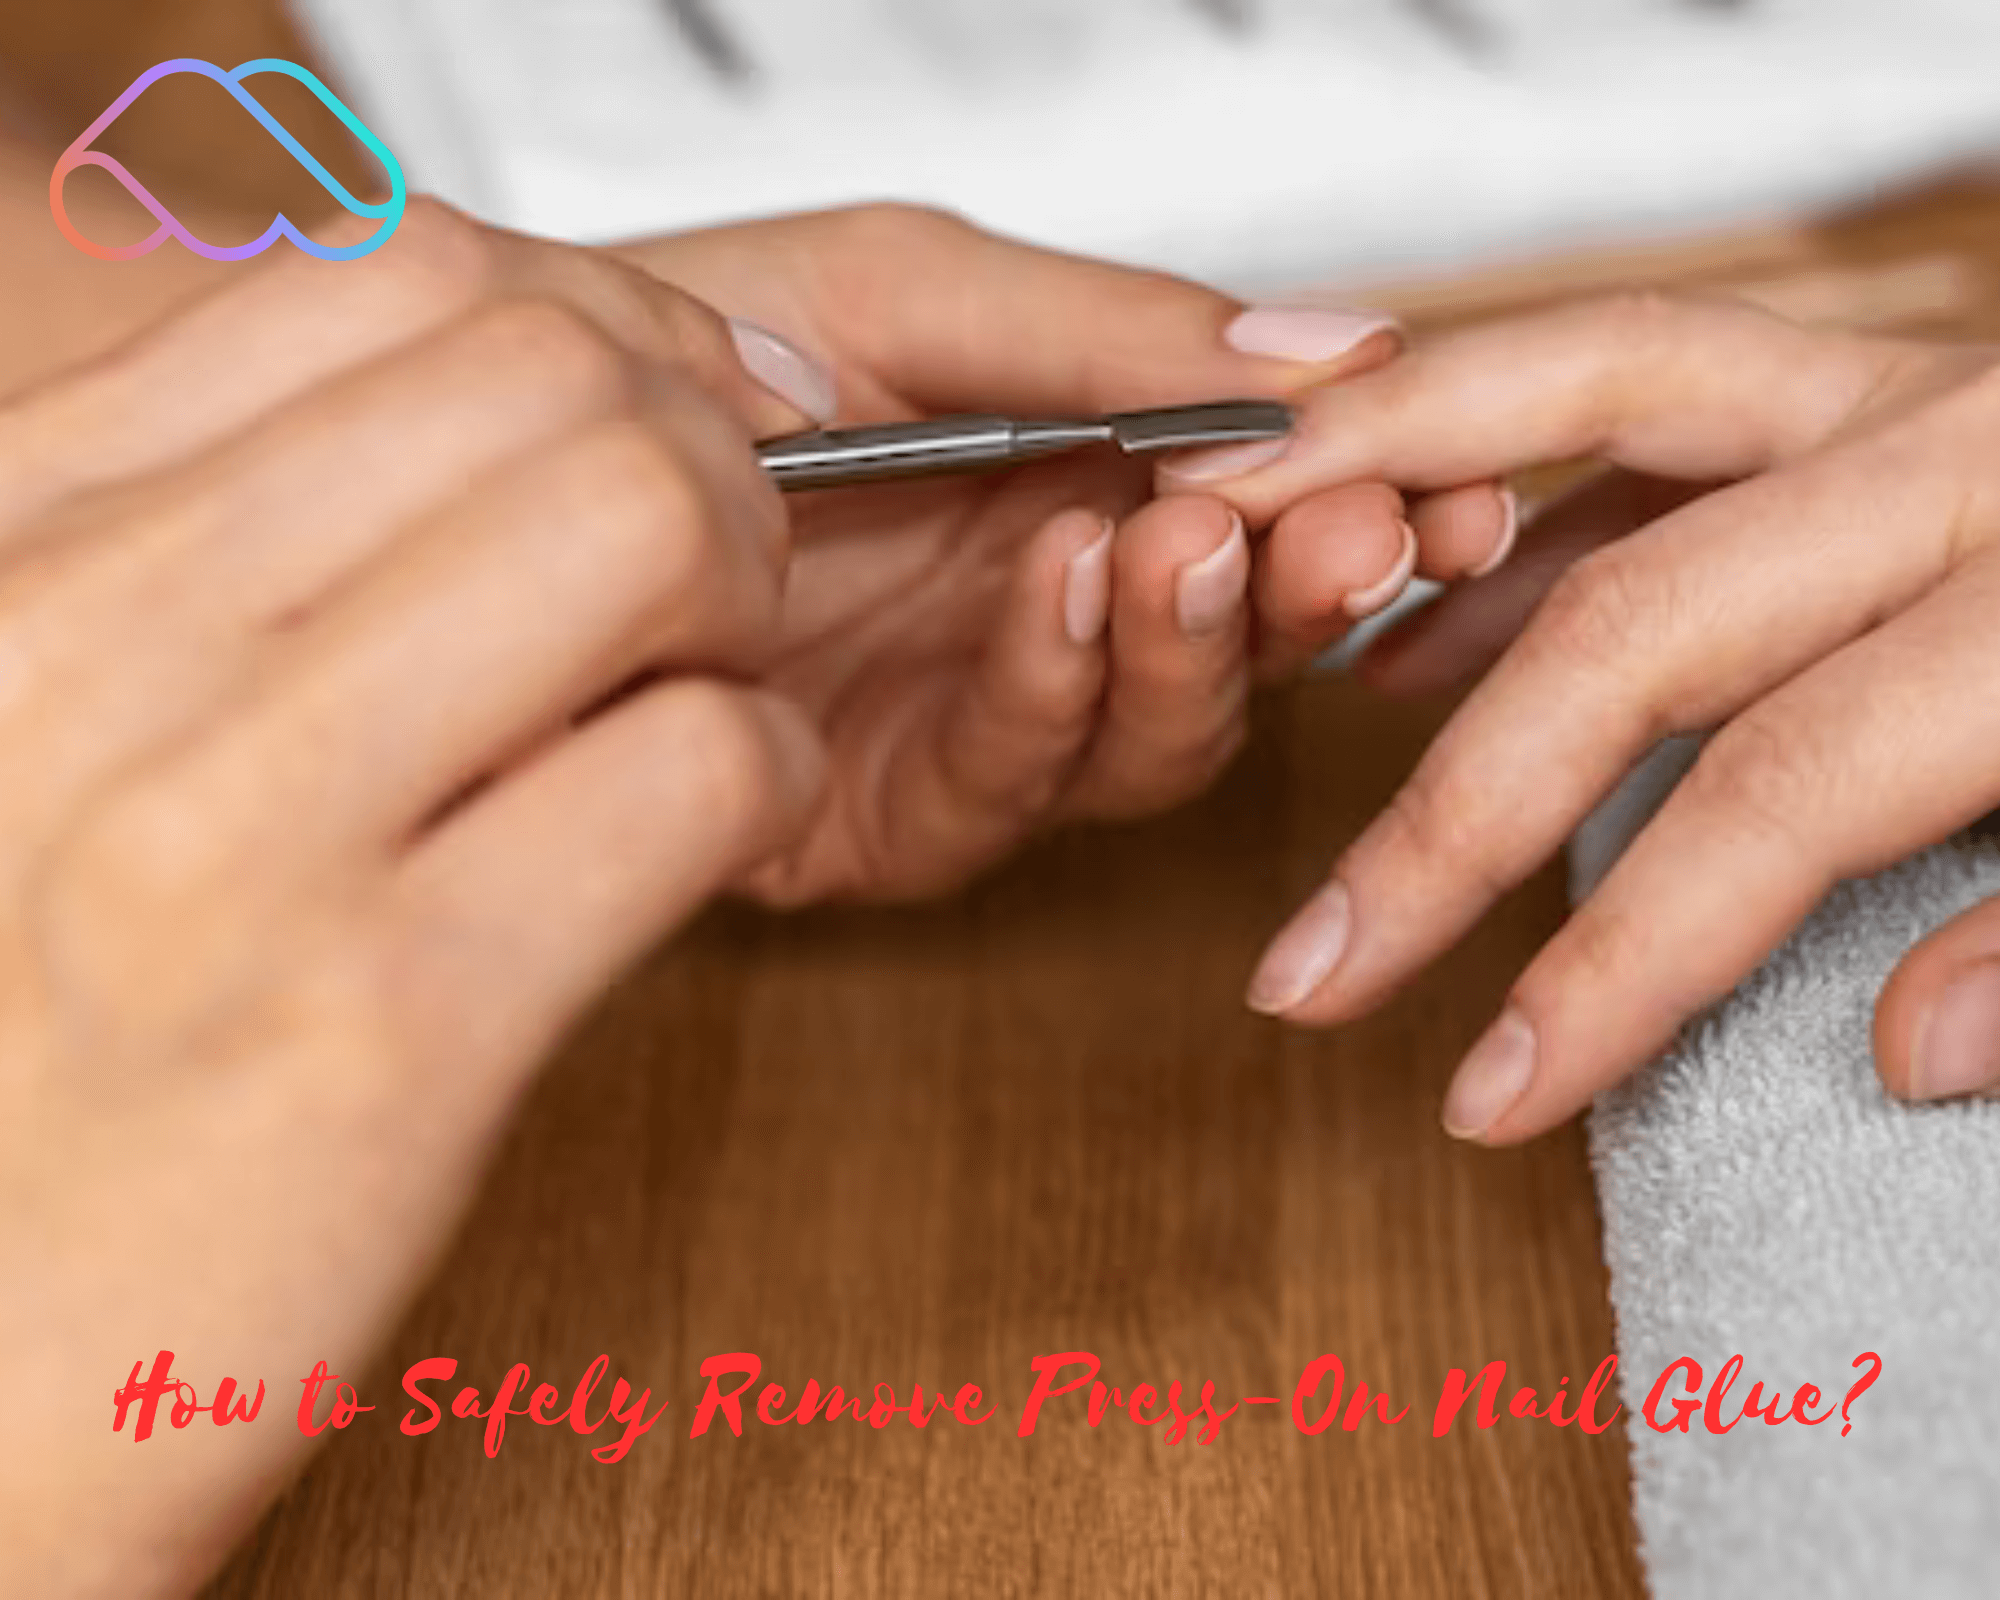
If you arrive at your appointment with old gel or acrylic coating, your nail technician will remove it using a special drill or soak it in acetone while your nails are covered in foil. The coating is then removed with a metal spatula. Your natural nails will be trimmed to the desired length, and the nail technician will either apply synthetic material to extend the length or shape your nails as desired. Next, a base coat will be applied, followed by two layers of color gel and a top coat. Each layer of gel will need to be cured in a UV lamp. Finally, cuticle oil will be applied for nourishment.
Read also: Why Are My Gel Nails Turning Brown, Best Tips & Tricks

There are several different nail shapes you can request from your nail technician:
- Round: This shape is simple and classic. The nail is filed in a circular shape with no sharp edges.
- Oval: An oval shape is similar to a round shape but is elongated, giving the illusion of longer fingers.
- Square: This shape has straight edges and a flat top, giving the appearance of a square.
- Squoval: Squoval is a combination of square and oval, with straight edges and a slightly rounded tip.
- Almond: An almond shape is similar to an oval shape but with a tapered, pointed tip.
- Coffin: This shape is also known as a ballerina shape. It is similar to a stiletto shape but with a squared-off tip.
- Stiletto: A stiletto shape has a sharp, pointed tip that resembles.
In conclusion, the American manicure is a low-maintenance trend that will last you for weeks. It’s perfect for those who want a polished and professional look without too much fuss. Plus, it goes with any outfit, making it a versatile choice for any occasion.
Overall, the American manicure is the perfect nail trend to try. Its understated elegance and versatility make it a great choice for anyone looking to update their nail game. Give it a try and see how chic and stylish your nails can look this season.


