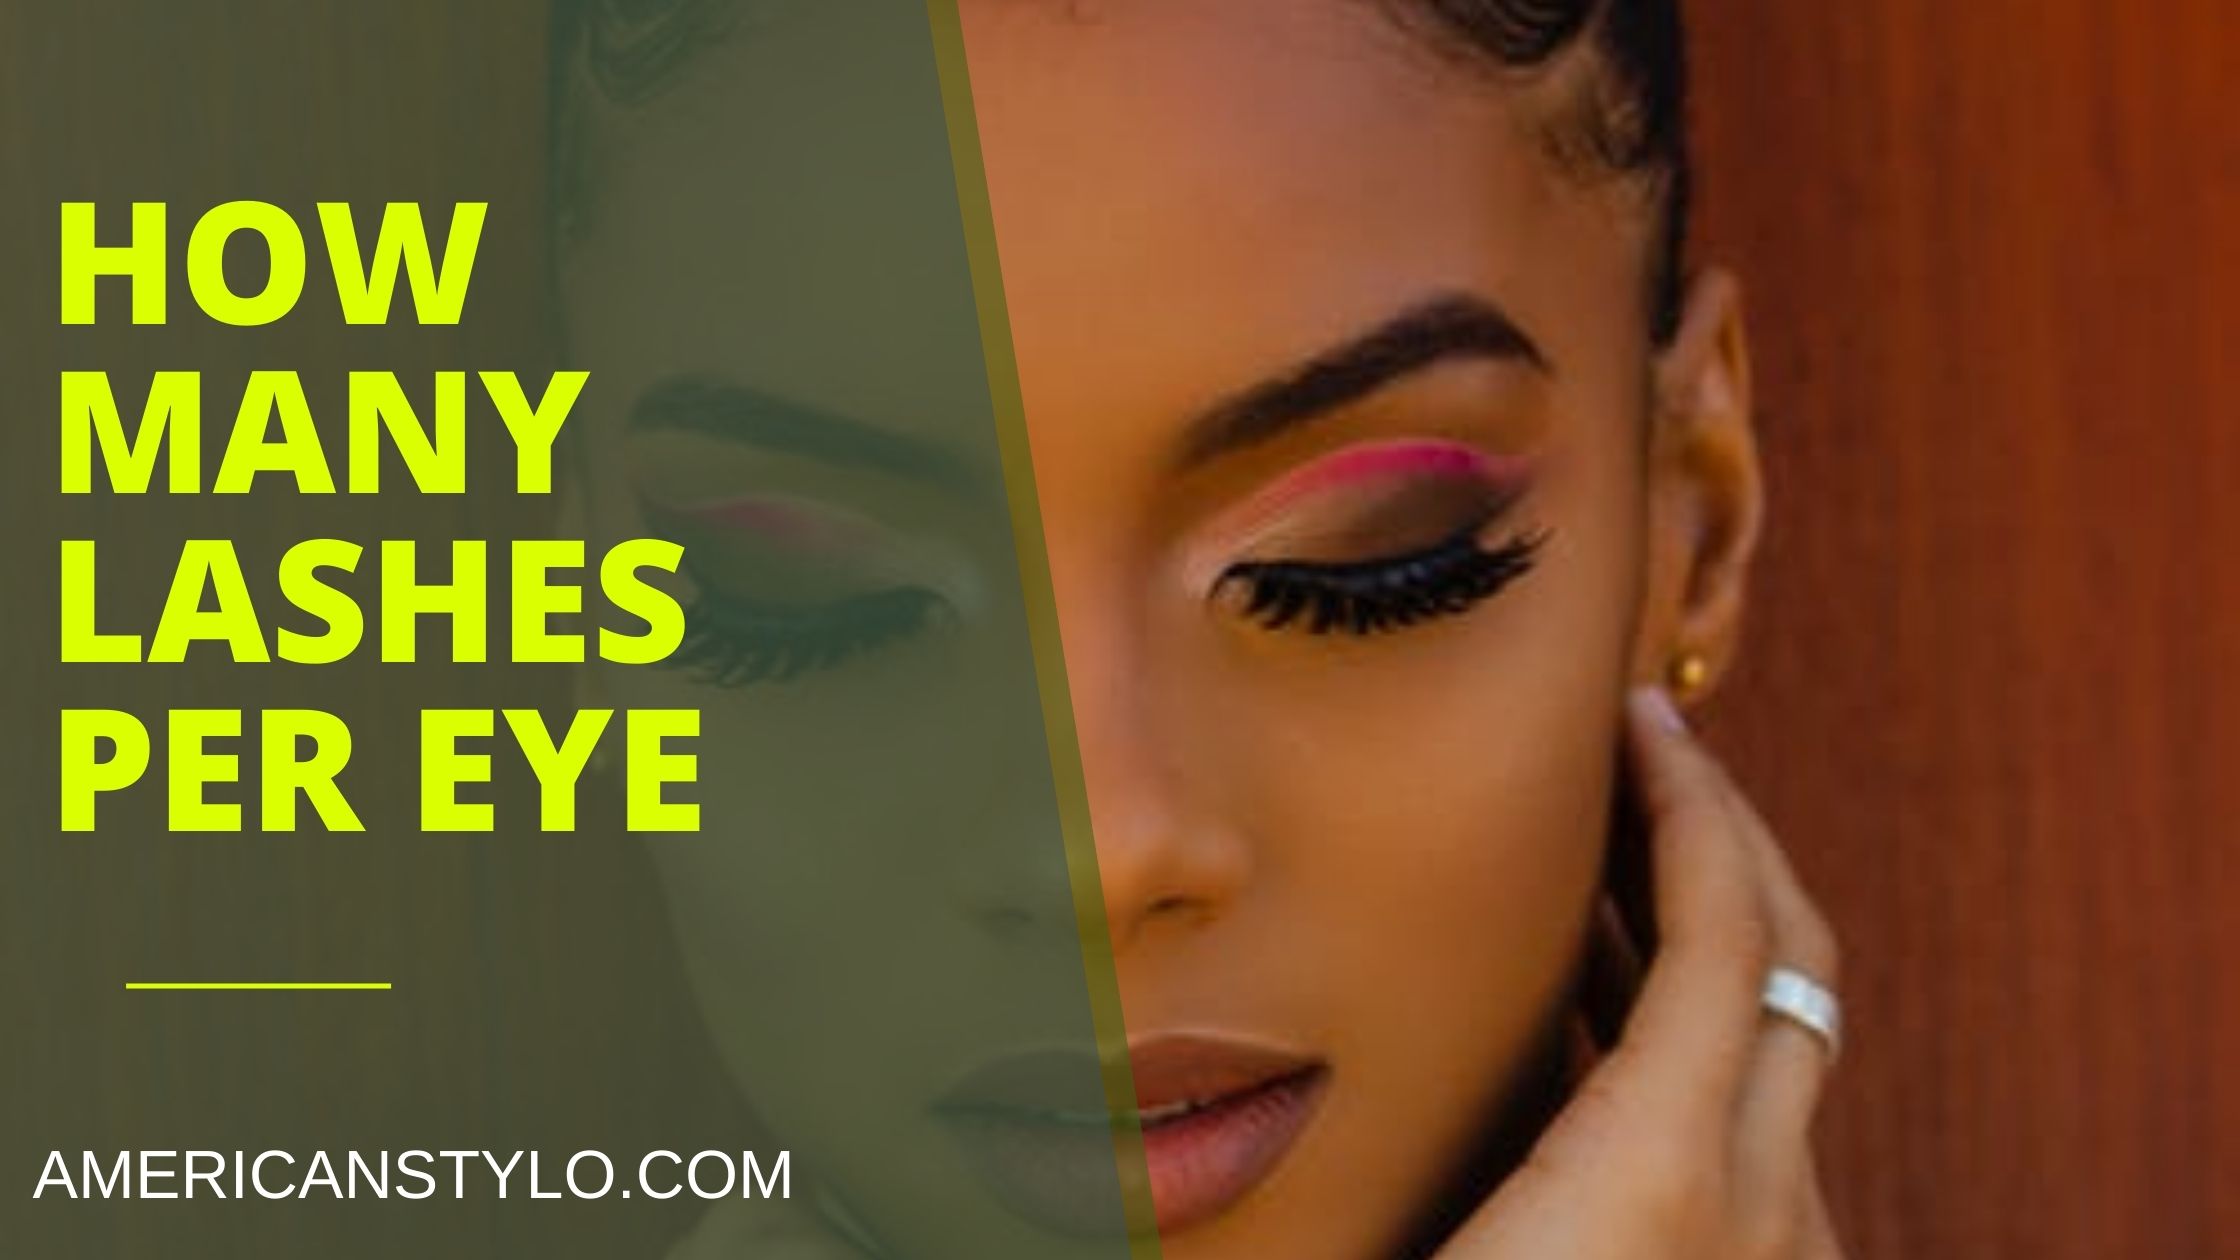
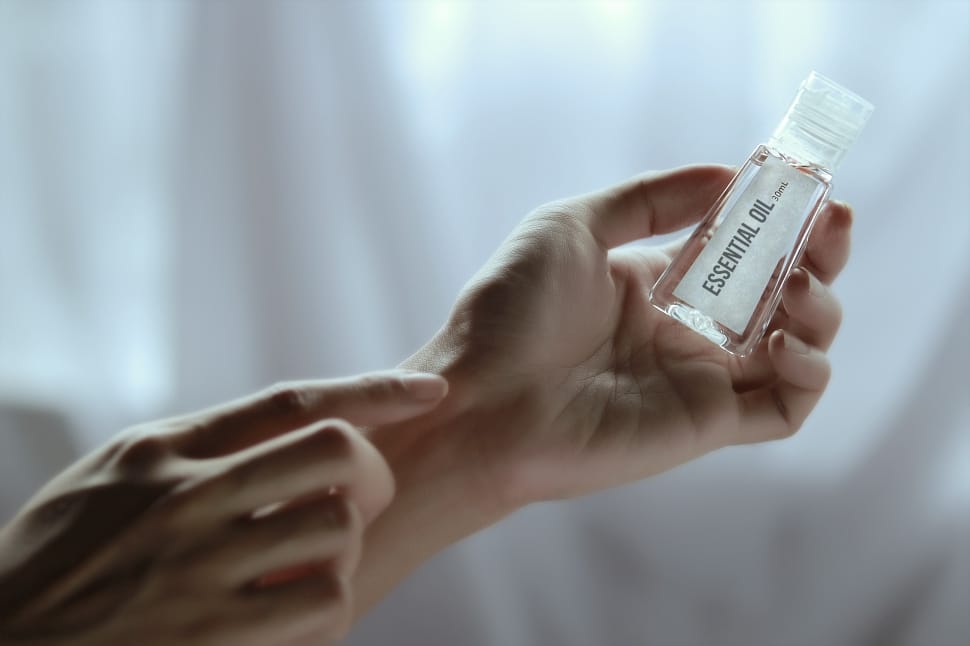
A uniform number of lashes throughout an entire set of extensions would be wonderful, wouldn’t it? You would be wondering how many lashes per eye are required? You can get 40 lashes per eye, 80 lashes per eye or even 100 lashes per eye. However, when it comes to extensions, you’ve probably seen the following terms:
- Unlimited Lashes
- Full Set
- Partial Set
- Half Set
- Lashes per eye (lash count)
- And I’m sure there are countless other permutations on these themes when you look for how many lashes per eye. So, in the end, what does this all mean? and what can we expect from your performance?
Seeing things from a different angle about how many lashes per eye
Size of the Eye
A person’s eyes can be any size or shape they want to be. A variety of eye shapes and sizes can be found in these categories: hooded or projecting eyes, deep or wide-set eyes, and a mix of all of the aforementioned. If 50 lashes are put to huge eyes, they will appear sparser than if they are applied to small eyes.
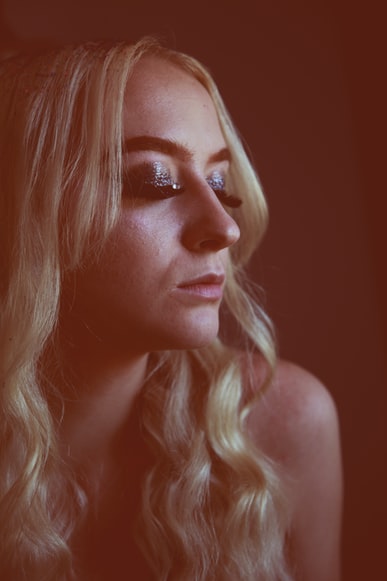
Natural Eyelash Count
There are 90 to 150 eyelashes on the top lid, and 70 to 80 on the lower lash line, on average in human beings. We’re not all the same, and there are always exceptions to the rule. The number of lashes on the upper lid can range from as little as 50 to as many as 200 for certain individuals. When it comes to applying for eyelash extensions, the number of your natural eyelashes will have a considerable impact on the final result.
To eliminate any ambiguity, we’re going to break things down even further about how many lashes per eye.
Time
Applying 50 lashes per eye takes, on average, an hour. As long as you have at least 5o lashes per eye, you’ll be fine. Agreed? Please continue reading if you’d like.
- An hour’s worth is equal to 50 lashes per eye.
- Two hours of lash time is equal to 100 lashes.
- 125 lashes will take 2.5 hours
Full sets of eyelash extensions include how many extensions?

This includes eye size, number of eyelashes, and length of time. Now, let’s talk about the ‘SETS’ and what to expect from them.
Unlimited lashes
You can expect about 50 lashes per eye each hour for one-hour sessions if unlimited refers to the number of lashes that can be applied in a certain amount of time.
Since every lash is considered infinite, it can take up to two hours to complete an endless set of lashes.
Partial Sets
It can be difficult to tell how much of a set a partial set is. As previously said, the number of lashes you may expect should always be based on the time given for the consultation.

Lash count
Clarity can be gained by counting lashes. You’ll know exactly what they’re getting and what they can expect from you.
Some people believe 50 lashes per eye to be a full set, while others consider it to be simply a partial set. Your eyelash specialist should be able to examine your natural lashes and decide what a complete set is for you.
How many lash fans per eye?
Volume lashes are synthetic eyelash extensions that are shaped into a fan before being applied to your natural lashes. These lashes are extremely lightweight and easy to apply.
Each eye has between 90 and 150 natural lashes, which varies depending on the individual. Volume lashing can boost the number of extensions on your lashes by as much as +700 per eye.
The sort of natural eyelashes you have has an impact on the number of fans you receive. Consider the following scenario: If you already have thick natural lashes, you won’t need as many to get adequate coverage. However, if you have sparse eyelashes, it will take more time and effort to acquire the coverage you require.
To obtain a natural look with 3D lashes, an average of 40 fans per eye should be used. Additionally, +85 fans per eye will be required for a voluminous and elegant appearance.
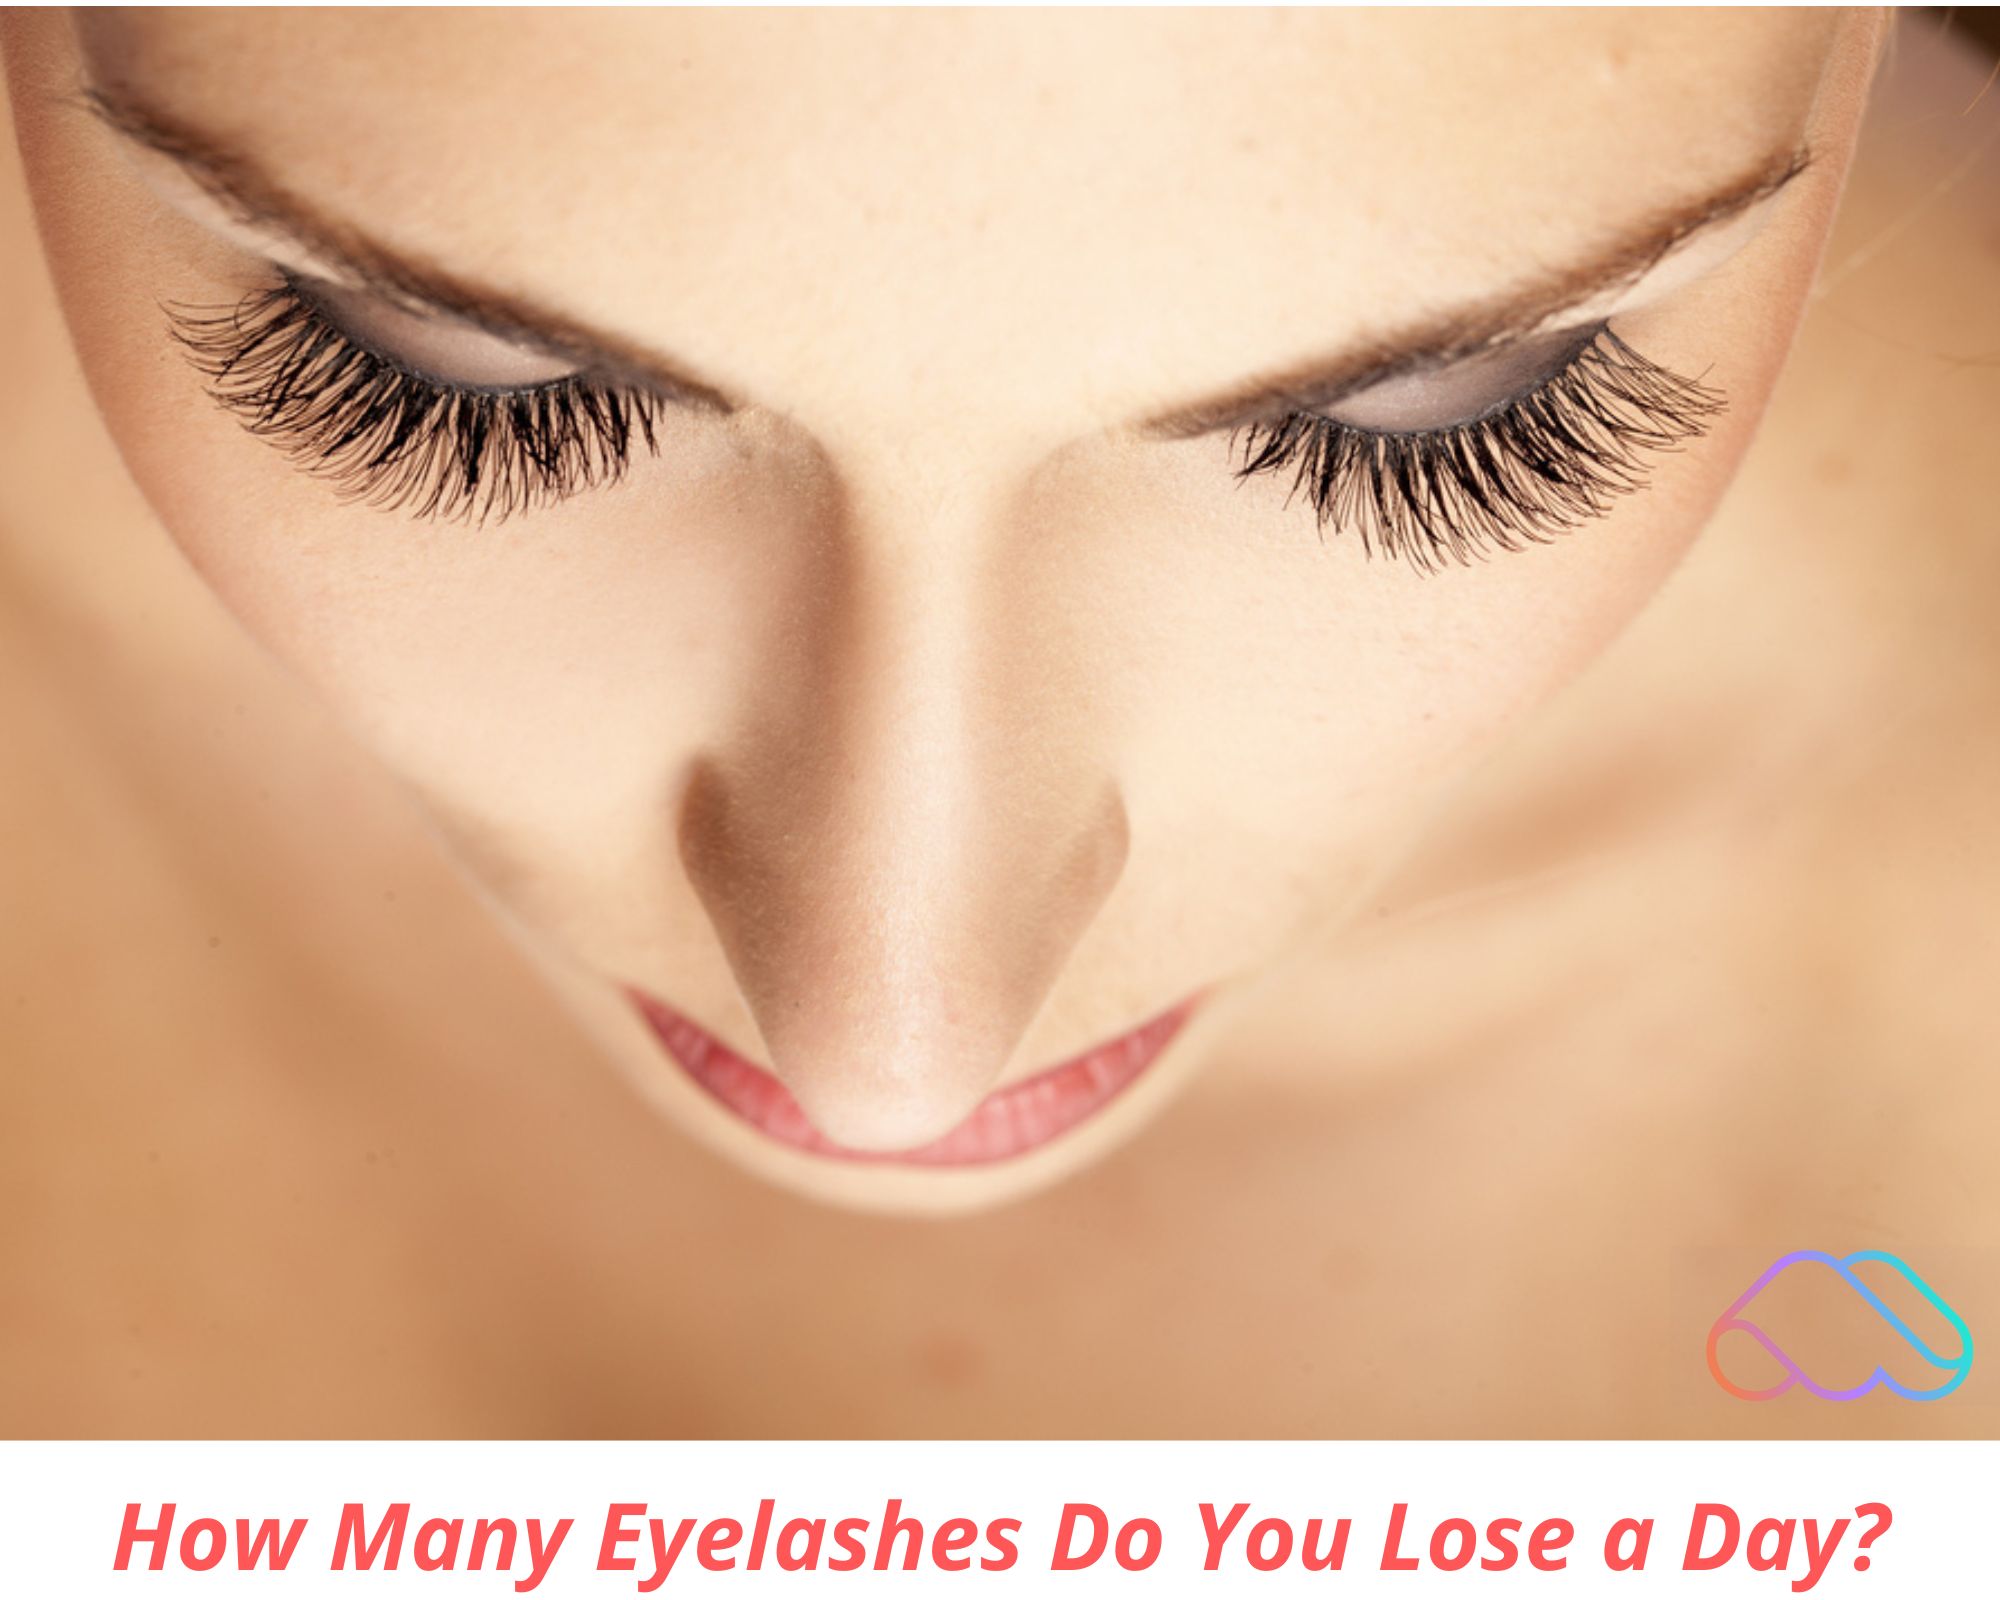
How many lashes do you lose a day?
Now that you know about how many lashes per eye, let us see how many lashes do we shed.
Every two weeks, a person can expect to lose up to 20% of their natural lashes on average. In nature, eyelashes grow in and fall out in cycles that last anywhere from 60 to 90 days each time.
A person’s natural lashes might be shed anywhere between 1 and 5 times every day, depending on their specific lash growth cycles.
A new eyelash has already begun to grow to replace the one that has fallen out, and for the majority of us, we are completely unaware of this.
When it comes to hair loss, you are not alone if you have noticed that your hair sheds more during particular seasons. This is referred to as “seasonal moulting,” and it is a fully natural process.
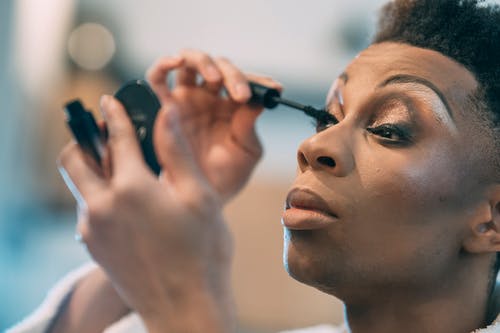
How to apply individual lashes on yourself for beginners?

As long as you don’t overdo it with the eye shadow, individual lashes may make any look a little more polished. Here’s a step-by-step guide to getting them on in under ten minutes.
To begin, put on your best lashes by first applying your mascara.
L’Oreal Lash Paradise is a great thickening or volumizing mascara that you can use after you’ve applied your eyeshadow and eyeliner. Before applying individual lashes, apply mascara to the base of the lashes. This will help the lashes stick to and hide behind the mascara. Mascara can lift, tilt, or bump out of position, undoing the effort you’ve previously done to get your lashes in the right spot when applied after your lashes are applied.
Allow the glue to dry until it becomes sticky.
Get some eyelash glue and put it on the back of your hand or the plastic tray that comes with your false lashes and stick it down. If you have no lash glue then don’t worry, just color read this article and your problem will solved Substitute For Lash Glue . When the glue is ready, you’ll know it’s ready when the color changes and the outer layer thickens. Wait 30 to 60 seconds. This is critical to guarantee that the lash adheres to the skin as soon as it is applied. Using glue that is too fluid will cause the lash to shift or slant.
Lean back in your chair, use the tip of a tweezer to apply lashes from the outside in.
Tilt your chin up like you’re singing from a choir book after you’ve applied mascara and the adhesive is tacky. The upper lash line and eyelids will be more easily exposed if you do this instead of opening one eye at a time. Tapping the base of the lash cluster into the glue is the best way to secure it. To get a more natural look, begin by dipping the lash into your lash line from the outside to the inside of your eye. The cluster should be able to be dropped in position and left alone for a few seconds to dry if the glue is tacky enough. The root of your lashes, not the skin of your eyelids, is where you want the adhesive to adhere.
Pick up another cluster and drop it next to the first one after a few seconds. Apply three to four clusters on the outer corner of the eye to achieve a flirtatious effect. Build from the outer corner of the eye down to the lash line for a larger, more dramatic look. Trim the lashes to match the natural lash line as you approach the inner corner (where the lashes are often fine and short). The clusters are simple to remove if you make a mistake or decide they aren’t in the right spot. Just give it another go with a fresh coat of adhesive.
Allow them to dry completely before clamping them.
Wait 10 minutes after you’ve applied the desired quantity of lashes and are satisfied with the placement to allow the lashes to completely dry. The rest of your makeup or hairstyling can wait. After that, let’s return to the lashes for one final piece of advice: Put your thumb and index finger together and press down on the artificial lashes until they are securely in place on your natural lashes. This mascara’s stickiness will hold on to your artificial lashes and help them disappear into your natural ones.
How to apply individual lashes professionally?
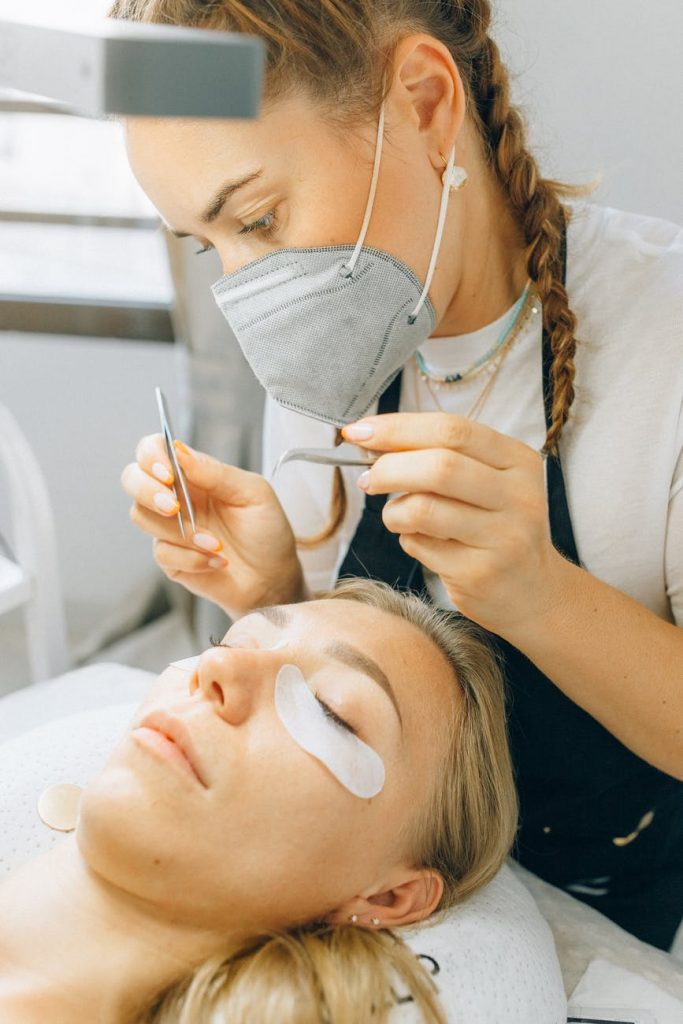
You’ll need these items:
- Individual eyelashes (know how many lashes per eye you need)
- Makeup or a thicker lash line can be achieved by using black eyelash glue, while white is best for a natural look.
- Tweezers are an example of an applicator.
- The best mascara to use is TOO FACED COSMETICS, which is not waterproof.
Follow these steps to get the look:
Sanitize.
The risk of infection can be reduced by washing one’s hands before touching one’s face. Apply the same precautions to any implements you’re using, including your tweezers.
Placement strategy
It is recommended that you plan out where you want to place the fakes. To achieve the look you want, you can either apply your false lashes below or above your natural lash line. To make the most of your eye shape, arrange your lashes in a way that emphasises the length of your natural lashes (i.e. longer lashes in the centre and shorter lashes in the corners).
Preparation is key.
A tiny layer of glue (we prefer BEAUTYGARDE Eyelash Glue For False Lashes) should be applied to the lash base, either by applying it to the end of the applicator or by dipping the base in. You don’t want a thick buildup of glue that will take longer to dry and be more noticeable when you place the falsie. Make sure you don’t over-dip. When the adhesive has grown tacky, “fan the lashes to speed up the drying process” and wait another 10-15 seconds.
Apply the lashes
Make sure that you are in the right place at the right time when applying eyelashes. Starting from the centre of your eyelid, place your first lash on the top lash-line by gently touching the lash-line with your eye slightly open. Take your tweezer and stroke your natural lashes towards each other to help blend them after you’ve inserted the first falsie. Once you’ve applied the “anchor” lashes to both eyes, repeat the process with the other eye’s center lashes.
Increase the number of lashes.
The outer and inner corners of the lashline can then be filled in as desired as you now know how many lashes per eye are required. To remove a misplaced lash or any adhesive residue, use makeup remover or lash remover (which you almost certainly will if this is your first time).
The final touch
It’s time to apply eye makeup after the adhesive has dried, which should take about 10-15 minutes. You can gently push the artificial and natural lashes together with a tweezer, your fingers or an eyelash curler to assist integration and secure placement. Once your new lashes have been applied, add black eyeliner to cover up any remaining glue residue.
How to remove individual eyelashes?

If you follow a few simple instructions, your new long lashes should endure for a few days (keep your hands off, be gentle while cleansing, etc.). When you’re ready to remove them all, make sure you do it the right way. They will probably start falling off on their own.
Avoid doing this at all costs. With them, you will be able to rip your lashes right out. Experts advise that uses an oil-free makeup remover if you intend to reuse the lashes. (The lash specialist, on the other hand, recommends using an oil-based makeup remover if you do not plan on reusing the eyelashes).
To remove the fake lashes, all you have to do is wet a cotton pad with the remover and gently rub it in. If any lash adhesive residue is left, use a makeup remover to carefully wipe it away. After properly cleaning the lashes with makeup remover and isopropyl alcohol, you can put them back in their original package for future usage. So that you do not have to worry about how many lashes per eye you have to buy again.
Final thoughts about how many lashes per eye
The number of longer lashes on the upper lid and the number of shorter lashes in the lower lash line might range from 90 to 150 lashes per eye on average.
An experienced lash specialist will walk you through the procedure before they begin if this is your first time receiving lashes. Start with a smaller set and work your way up, rather than announcing that you want a full set.
But don’t be afraid to speak up! Anyone can benefit from lash extensions. It doesn’t matter if you think you have sparse lashes; a competent lash specialist can transform your lashes into something you’ve never felt. I hope you would have found the answer to your question of how many lashes per eye! in this article.


