Shaking hands while meeting someone is a normal gesture and nails are the very first things that catch your attention either consciously or subconsciously. Thus retaining healthy and glorious looking nails are extremely vital as it strongly boasts of your personality. There are many main techniques through which you can ensure well-groomed and aesthetically appealing nails. One of them is the gel overlay technique.
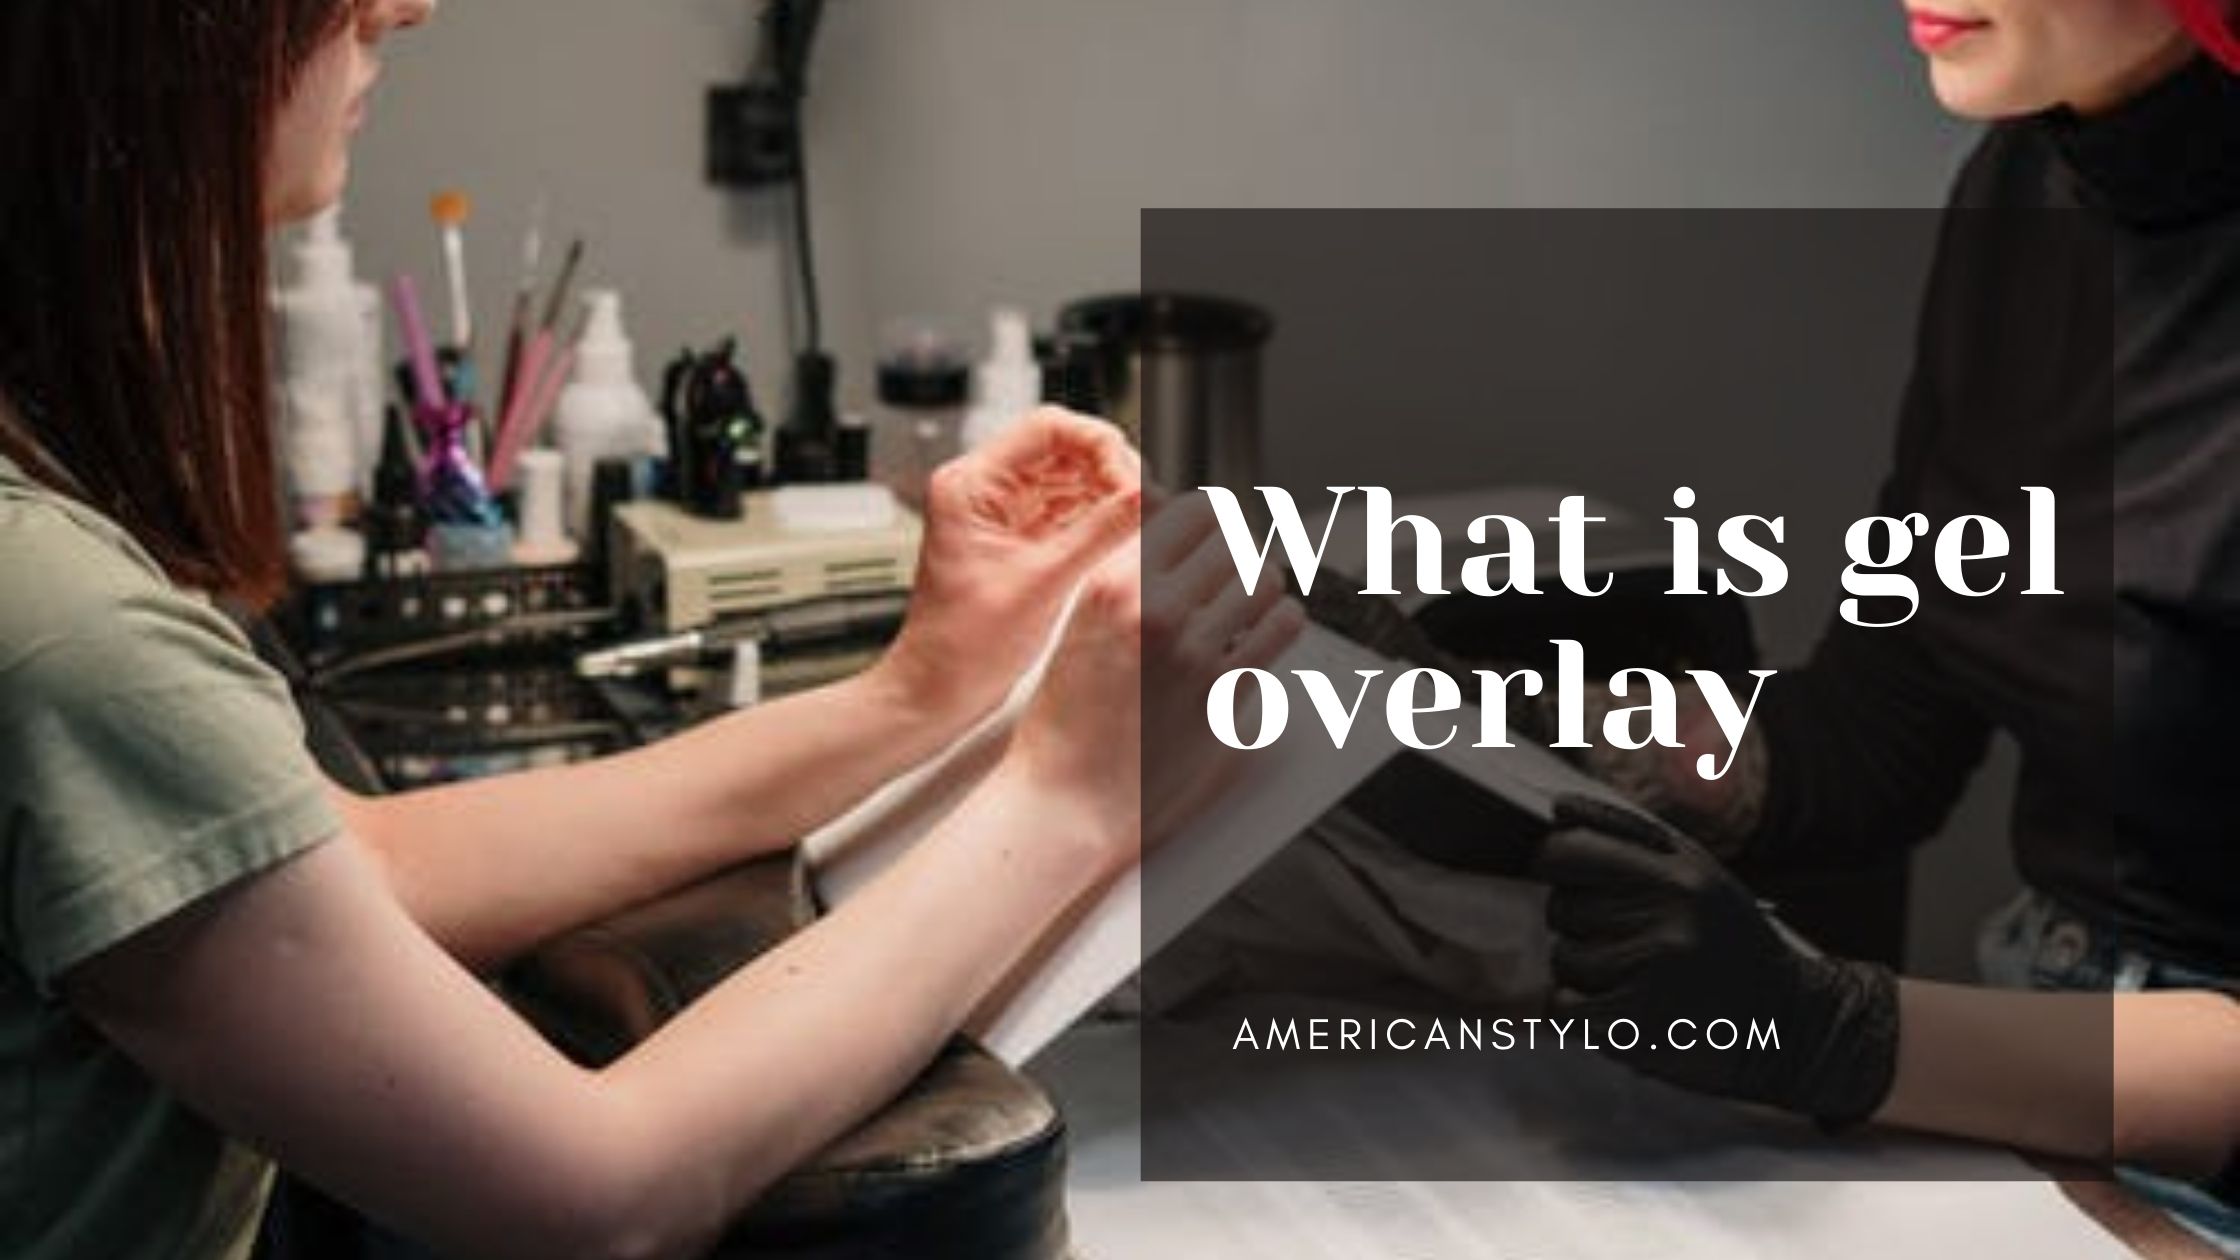
What is gel overlay?
It is possible to put a gel overlay directly to your natural nails, without the need for any kind of plastic or other kinds of extension. You may find it difficult to remember the names of various techniques and what they entail. Let’s divide this down into overlays and extensions to make it more understandable.
Nail extensions are the type of false nails you’re most familiar with.
This is what your mother, and her mother, as well as their mothers before them, used. To lengthen a natural nail, a substance, usually plastic, in the shape of a nail is applied to it.
After that, a coat of nail polish or enamel is put on top to complete the nail’s appearance.
When overlays are applied to natural nails, they don’t incorporate fake nails.
Instead, your natural nails are used to determine the shape of the nails. There are many people who have difficulty growing their nails out, or who are concerned about the potential damage that using false digits might cause. This is a great alternative.
They won’t extend past the point of your natural nails, but they can help mould them into something more appealing. Your naildresser is probably going to use a firm nail gel for this if you want it done with a gel. After that, you can decorate them in any way that you wish.
What is acrylic overlay on natural nails?
The powder polymer and liquid in acrylic overlays combine to form a hard protective covering that sits on top of your natural nails. As soon as you put the product on your nails, it begins to harden. Acrylic overlays, on the other hand, are completely transparent and clear. So you may choose the design and colour you wish to apply to them as soon as they’ve hardened.
Acrylic overlays have the advantage of being removably repairable in the event of an accident. Although their toughness allows them to stay longer, they can cause damage to your nail bed and give your nails an unnatural appearance.
Is there a difference between Gel overlay vs acrylic overlay?
We have discussed much about what is gel overlay! Acrylic nails, on the other hand, are created by dipping a powder in a solvent. They’re primarily used to increase the length of the nail or to strengthen the top layer of the natural nail. Think about Kylie Jenner’s crazy-long coffin nails.
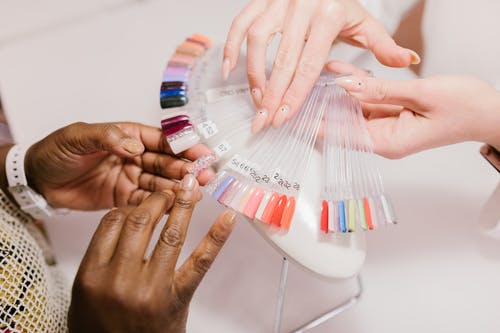
For the most part, artificial nails don’t come in colours, but they can be tinted. On the other hand, gel overlays are available in a wide range of colours and can be hardened with a UV or LED lamp for gel nails.
|
|
|
| Check For Price At Amazon | Check For Price At Amazon | Check For Price At Amazon |
What is a hard gel overlay?
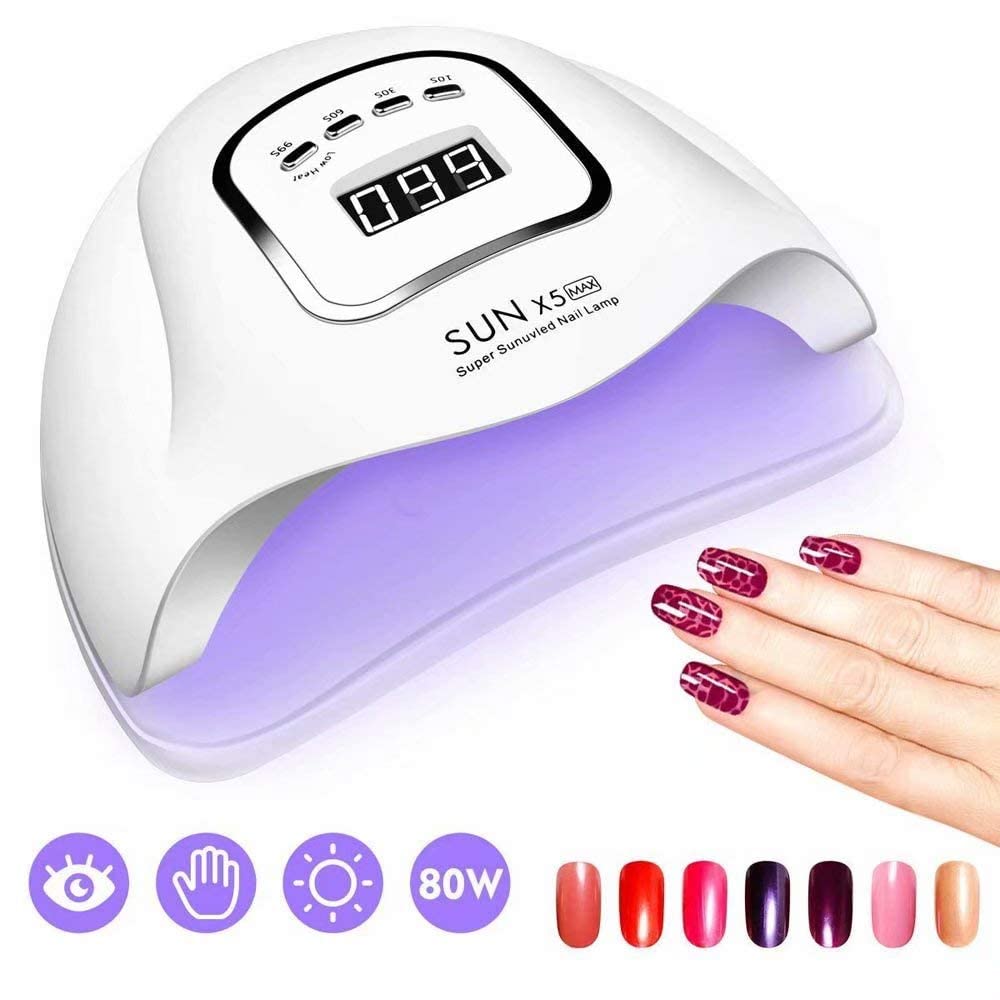
A UV light cures hard gel, a nail augmentation similar to acrylic nails. It’s not gel polish, shellac nail polish, soft gel, or soak-off gel. It’s Gel polish that can be applied over hard gel (and you should because it looks great). Using hard gel or acrylic, you too can make your nails longer by filing them down longer.
Just like acrylic, it can be carved and moulded. To put it another way, instead of evaporating liquids, UV light causes the hard gel to solidify (like acrylic). Hard gel, a revolutionary new nail enhancer, has a slew of advantages.
Why choose hard gel overlay?
Now that you know what is gel overlay! Here are some important features of hard gel overlays which make them unique.
- Hypo-allergenic
- The ability to last a long time.
- No overpowering odours
- Improved adherence
- The super-shiny top coat will never fade.
- It’s acid-free.
- Bonder conceals lift and fill lines in the surface.
- Bonder is really sticky.
- With hard gel overlays, you may achieve a very natural look
- In comparison to acrylic, the process of filing is much faster and easier.
- In many cases, hard gel overlays produce a more natural appearance.
- Many different nail shapes are possible (square, round, oval, stiletto, coffin, etc.)
- Won’t harm nails if trauma occurs.
How to do a gel overlay at home?
It is possible to do gel overlay at home and save some dollars. Below is all you want to know about DIY gel overlay.
- To begin, use an acetone-free nail polish remover to clean your nails. After that, lightly buff them to eliminate the lustre. If you need to form your teeth, do so and then clean them again.
- Using a gel nail bonder/primer is a good idea before applying the gel. Included in most gel sets are eyeshadows. Let the primer dry completely before applying another layer.
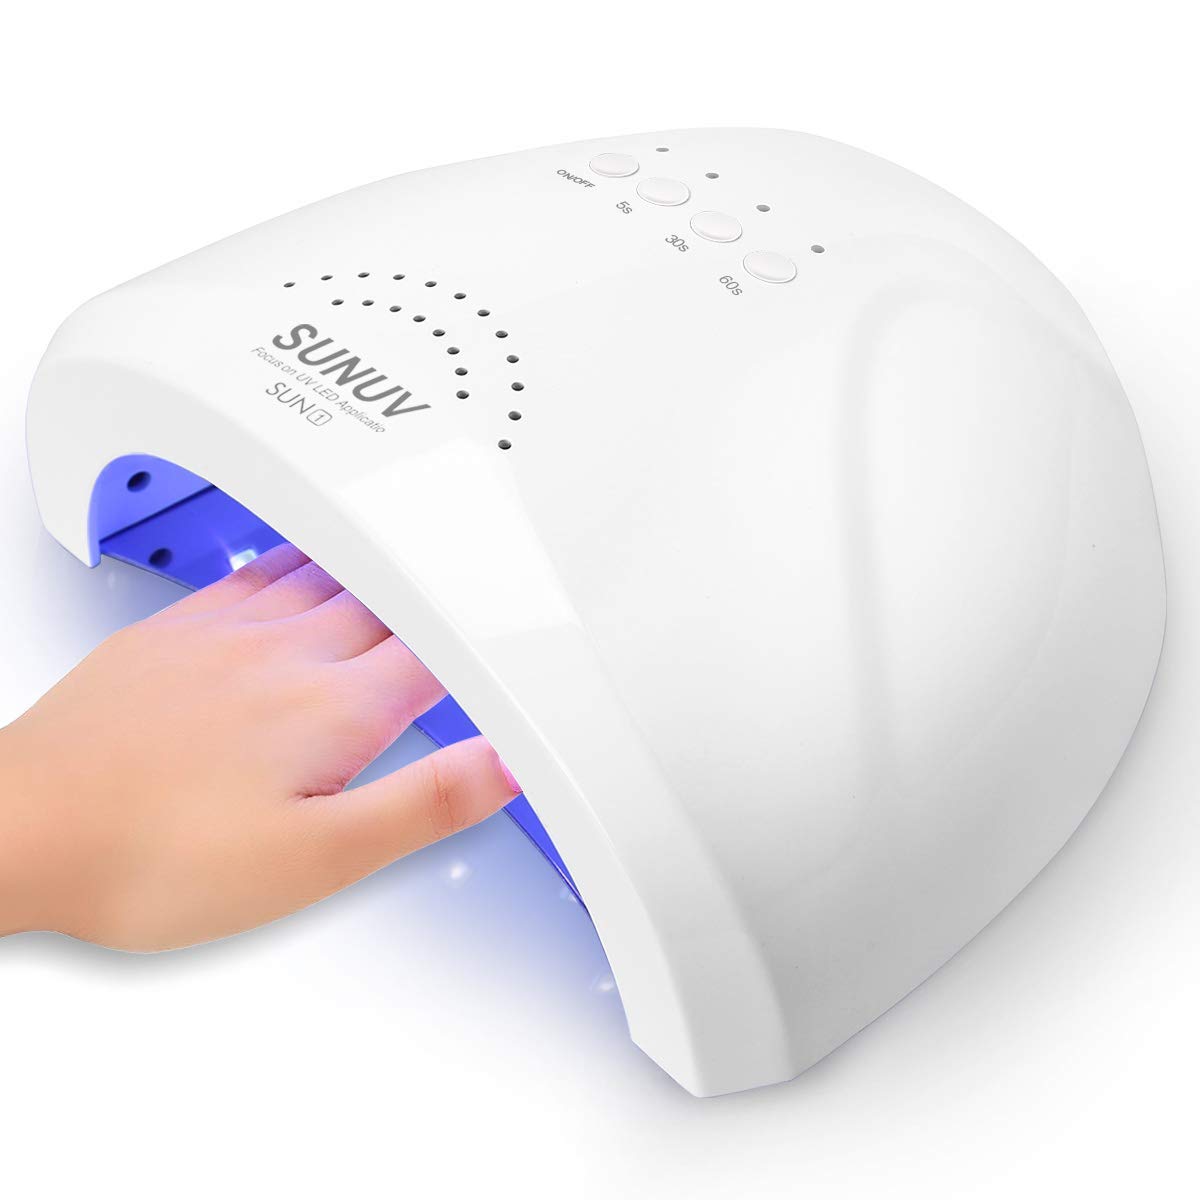
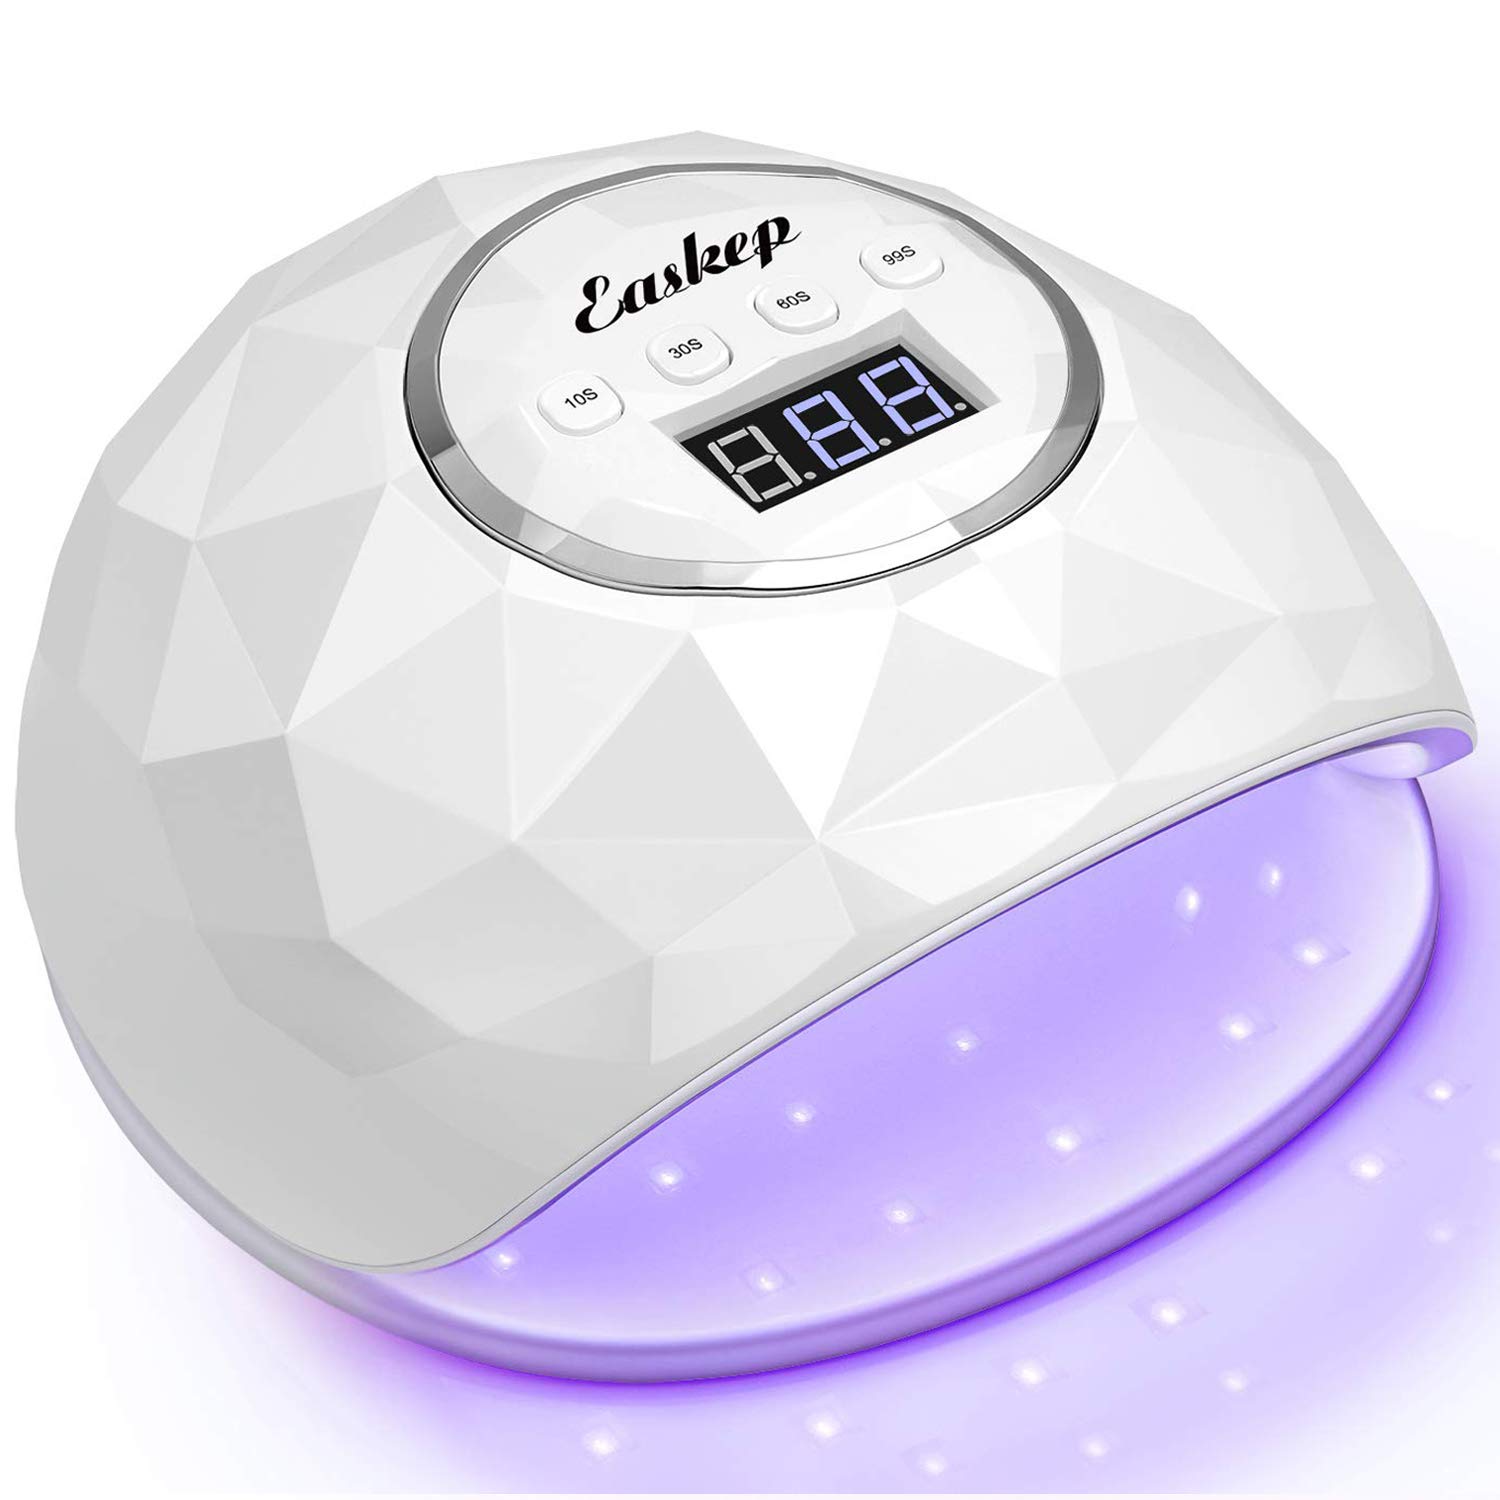
- It is gel time now! To begin, apply a gel base coat. It’s just nail paint in a bottle. Before curing it under a lamp, ensure it hasn’t come into contact with your skin. You can use an LED light. Use a wood stick to remove any excess gel and then cure it for 60 seconds in the light (or however long your gel needs).
- It takes a little longer and more effort to apply the second coat of gel. The gel should be applied to the entire nail.
- Add a tiny amount of extra gel to the centre of your nail, and let it dry completely (from the nail bed to the nail tip).
- Let the gel cool down for a few seconds before placing it under a lamp to harden. Using this technique for the second layer, you will be able to achieve a smooth curve. It doesn’t change the shape of your nails, but it can help those with “flat nails” achieve a more curved, round appearance.
The gel usually leaves a sticky film on your nails after application. However, a non-acetone nail polish remover is all you need to get rid of it.
- Don’t worry if your nails seem a little weird after the second application of the gel. There is a learning curve. Shape the gel with the help of a gel file. Make sure you don’t file it down to your natural nail to avoid damaging it!
- You can use a buffer to level down the surface or remove the shine if you did not need to do any filing after the second coat. After removing your old nail polish with an acetone-free remover, it’s time to paint your nails! Gels come in a wide variety of hues. You are free to include whatever you like.
- Every nail should have a thin gel top coat applied to it. The loose edges should be capped, and then the cure should be done under a light. Simply peel off the adhesive coating and you’re done.
How to remove gel overlay?
Now that you know what is gel overlay and how to DIY them. It is time to know how to remove gel overlay.
The tools you will need:
- Nail Clippers
- Coarse filer
- Acetone in its purest form
- Stick of orangewood
- Aluminium foil in little squares shape
- Cotton Balls
Step 1: Trim your fingernails.
If you have extensions, cut them back. It will help make the standard overlay removal easy.
Step 2: Stain the topcoat with sandpaper
Remove a third of the gel using a coarse file. As Ms Boyce explained, “filing allows the acetone to penetrate through the rest of the gel, making soak-off simpler.” Half of the gel will need to be filed down if it is hard.
Step 3: Wrap the nail with aluminium foil.
Acetone can be used to soak a cotton ball. Wrap the nail with aluminium foil and place it on top of it. Only one hand should be encircled at a time for safety reasons. Mrs Boyce advised: “You can use the other hand while you’re removing it.” Spend 10 minutes or so with the wraps.
Step 4: Take out the gel and discard it
During removal, some of the gel will come loose from the nail. Gently remove the gel from your nail using an orangewood stick.
How to remove hard gel overlay?
This gel will not dissolve in acetone soaks, which is a real shame. It’s all you can do to sort it out. Leaving a thin layer of gel on your nail is the recommendation from Ms Boyce. When even specialists go too deep when filing the nail, she claims that the nail is harmed. This could easily be done at home, so it’s not out of the question.
The tools you will need:
- Coarse filer
- Nail Buffer
Step 1: Trim your nails.
If you have nail extensions, cut them carefully so that you can easily remove the hard gel overlay and this will also minimise your effort for removal.
Step 2: Remove the gel by filing it away.
Work your way across the gel in a back and forth motion until only a thin layer of gel remains. Per nail, this process could take up to ten minutes. Buff the nail with a soft cloth after the thin layer has been left on the surface to smooth it.
How long are gel overlay nails supposed to last?
There is more to know than what is gel overlay. Gel manicures have the advantage of lasting a long time. According to Duguay-Gordon, “Gel manicures can last up to two weeks with correct nail prep and at-home treatment, such as cuticle oil and hand lotion.” Although they can last up to four weeks if you are extremely attentive,
Gels are an excellent choice if you have a slew of events, such as prom, interviews, and family vacations, all within a short period.
Frequently Asked Questions
Question: What is a natural nail overlay?
Answer: Acrylic or gel is used to seal in the glue before being applied to your natural nails. To get a tidy, beautiful look on your natural nails, overlays use a strong, hard-wearing acrylic or gel that is put directly to the surface of your nails and sculpted by hand.
Question: Are shellac and gel overlays the same?
Answer: People with weak nails can benefit from gel manicures, which are more durable than Shellac and last a little bit longer. The removal, on the other hand, takes a long time. This is a good option if you want to give your nails more “breathing” room and maintain strong natural nail beds by using a thinner lacquer-like Shellac.
Question: Is it safe to use acrylic overlay?
Answer: Your natural nail could be damaged by using it. Your natural nails might be damaged by the improper application and removal of acrylic nails. As a result, you should always seek the services of a qualified specialist and refrain from thinking of acrylic as a DIY project.
Question: Is a gel overlay well for nail growth?
Answer: In the long run, gel overlays will make your natural nails stronger, but the process will require some patience. With nail extensions kits, you may instantly add length. Is it a matter of whether or not you have the stamina for a long wait?
Conclusion about What is gel overlay
Once you’ve figured out what is gel overlay and how gel overlays work, you’ll be able to predict what your nails will look like after you’ve had the procedure. Even if you decide on a clear gel overlay on natural nails rather than experimenting with vivid colours and designs, the results are still jaw-dropping. Make your new fashion statement for this season by treating yourself to this special cosmetic/nail augmentation procedure. I hope that now you know much about what is gel overlay!!